Bunny Ears Cactus Painting
This cool cactus art tutorial is so eye-catching and lovely!

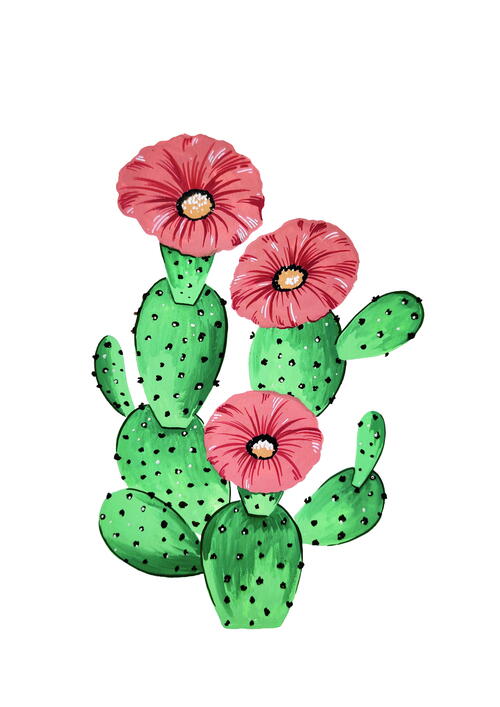
The cactus we are going to paint is commonly known as bunny ears because of its shape. In this project, we’ll paint the leaves of the cactus using wet-on-wet technique for a soft blended look and complete the artwork with round rust flowers.
We’ll also learn how to add a prickly texture to the leaves of the cactus using dots and a little stippling technique using pastel tones of green and red.
In this project, we are primarily using shades of red and green with a hint of yellow. Even though these are three generic colors, you’ll notice that just the variation in shades and the use of multiple tones of the same color can drastically enhance the overall outcome.
Main MaterialPaint
Primary TechniquePainting
Materials List
- Sketch Carbon paper (optional)
- Watercolor paper (300 GSM hot-pressed paper recommended)
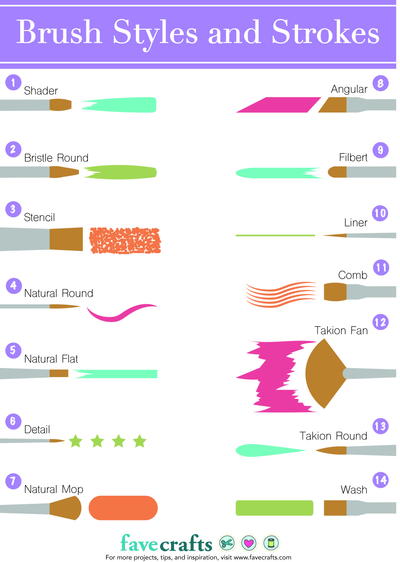
- Round brushes sizes 2, 4 and 1
- Gouache paints
- Painting palette
- Two cups of water, one to wash your brushes and the other to mix with the paints
- Paper towel, to clean the brushes and soak up excess water and paint
Instructions
-
Trace or copy the sketch from the back of the book onto your watercolor paper. If you choose to use carbon paper, follow the manufacturer’s instructions to transfer the design.
Click here to download the PDF sketch.
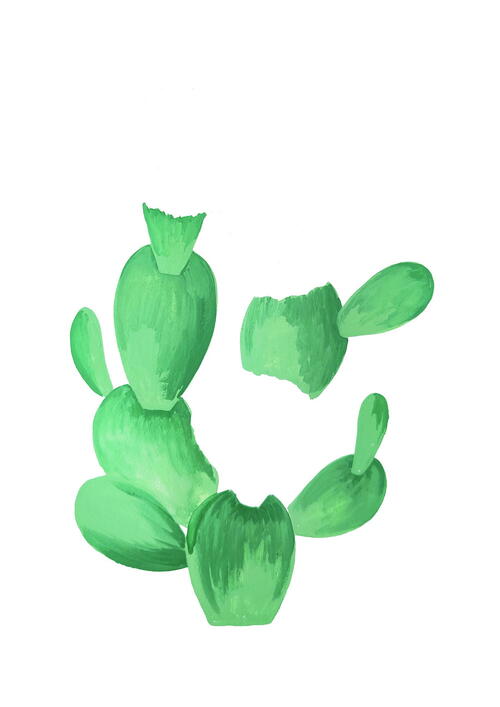
Start with painting the fleshy leaves with colors D and E using a round size 2 brush. These two colors will form the base for all of the leaves. Let’s take two leaves first and begin by painting the base of the leaves with color E. Since we are using the wet-on-wet painting technique, while color E is still wet, take color D and start painting strokes from the left or right of the leaf and let it blend with the base layer toward the center. -
Follow the above technique for all of the leaves. Use the darker color near the place where another leaf starts. That’s the area where the shadow of the top leaf will be formed.
-
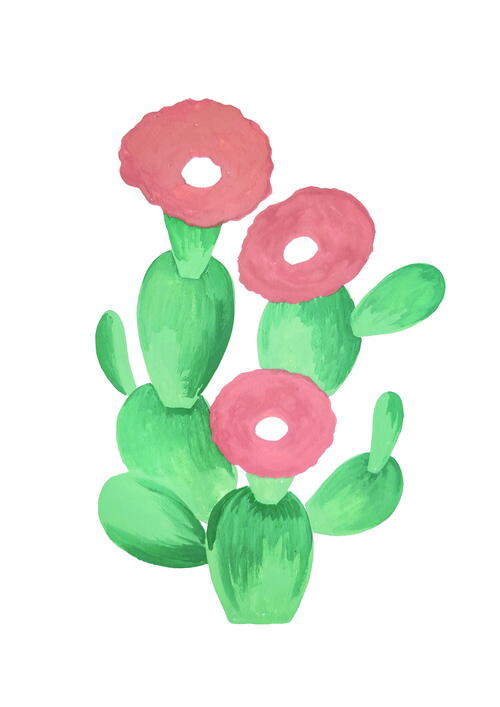
Once the leaves are painted, take a size 4 round brush and, with color A, paint the flowers in a round motion and create an uneven edge. Leave out the center of the flowers.
-
Next, take color B and a size 1 round brush. Starting from the center of the flowers, paint strokes toward the edge. Keep painting long and short strokes in all directions, gently moving the paper in a round motion. Also, paint a few short strokes from the edge toward the center. If you notice, the flowers now have dimension and have started to look 3D rather than flat.
-
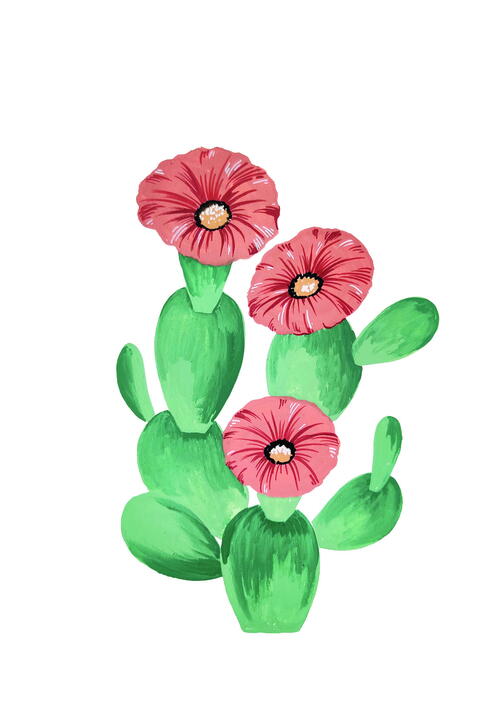
To complete the flowers, stipple in the center. Start with color G. Once it dries, stipple again with color C, leaving an outline of the previous layer. Once this dries too, stipple with white on one part of the center, covering just about half.
With the same white color, paint short highlight strokes on the flower, starting from the edge toward the center. These are the areas that would reflect light. -
Moving back to the leaves, take color F and with a size 1 round brush, paint an irregular outline around the darker areas of the leaves. Next, paint uneven dots on the surface of the leaves using black, color G. Vary the size and shape of the dots for a more natural look. Once dry, paint tiny white dots randomly on the leaves.


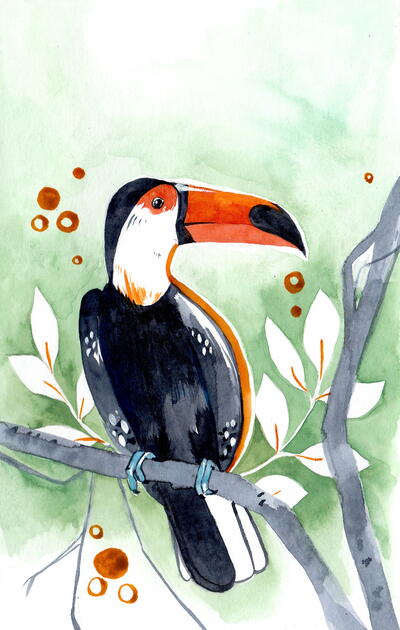
Read NextToco Toucan