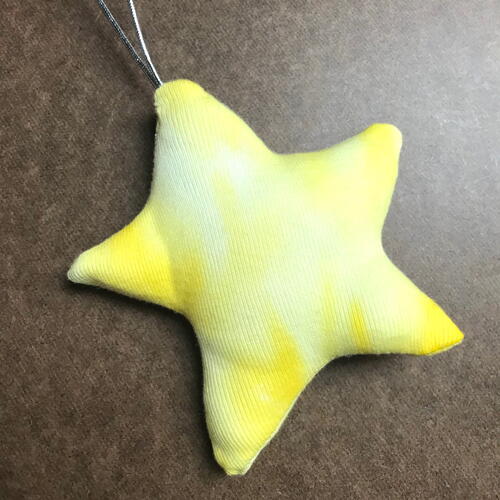
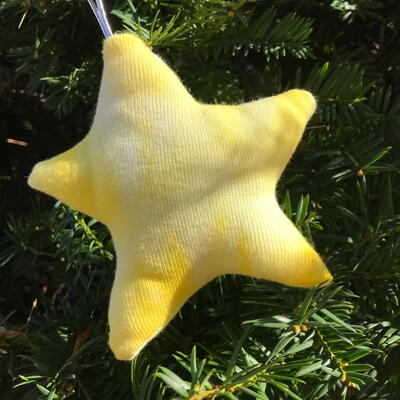
Tie Dyed Star Shape Christmas Tree Ornament

From the Designer: "Even as the holidays are quickly approaching, the tie dye trend will still be very popular this winter. How about using this technique to add colorful fun to your Christmas tree and decor? The traditional shape of a star can be made with simple materials in your craft room and kitchen. Here are the steps to create your own tie dyed star Christmas ornament."
HolidayChristmas
Materials List
- Light-colored fabric to tie dye (I used a basic white tank top)
- Fabric dye or food coloring (I used gel food coloring)
- Rubber bands (assorted sizes)
- Polyester fiberfill (about a hand-full per ornament)
- String or thin cording for the loops at the top- about 7” (inch) long per ornament
- All-purpose or similar thread (in colors that match your materials)
- Hand-sewing needle
- Fabric scissors
- Measuring tape or ruler
- Pins
- Pencil
- Sheet of thick paper or card stock
- Scissors for cutting paper and rubber bands
Instructions
Part A: Tie Dyeing the Fabric
-
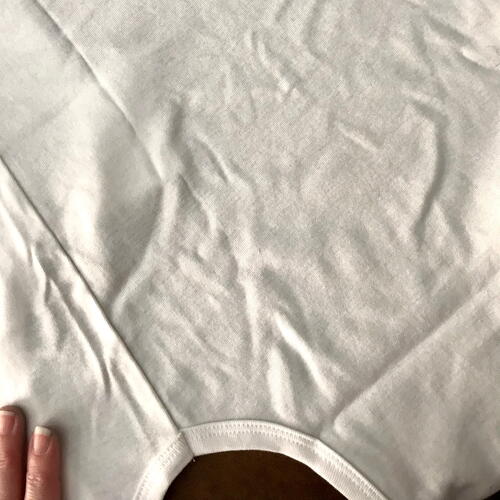
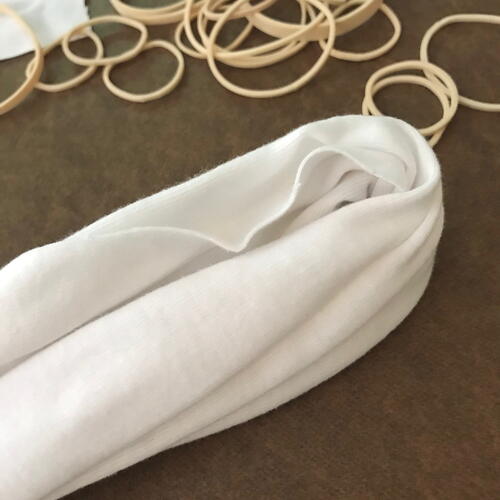
Start by preparing your fabric for tie dyeing. For this tutorial I used a white cotton tank top, but any white or cream fabric that is made from natural fibers should work. Prewash the fabric if it hasn’t been already to soften and clean it. Ironing isn’t required unless your fabric is very wrinkled (the fabric will be ironed after the tie dye process).
-
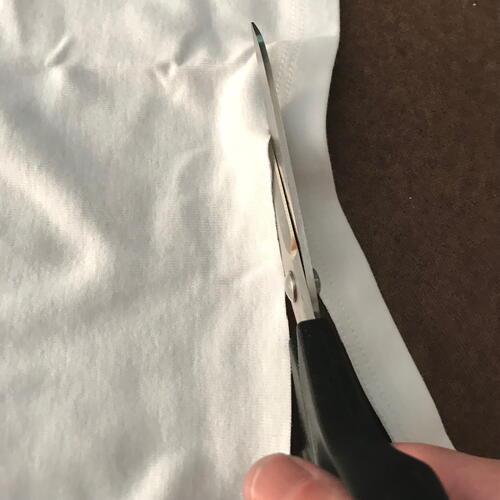
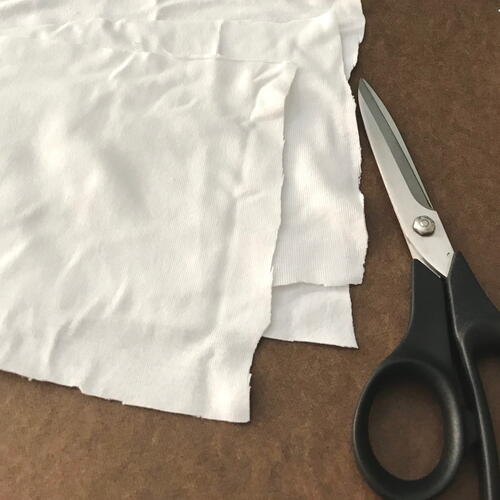
Place your fabric on a clean work surface. Using fabric scissors, cut out a few rectangles of fabric about 10” by 6” in size. These will be cut into the shapes in Part B to create the ornament. I like to make a few different tie dye fabric panels in the same color and then choose which looks the best after they dry.
-
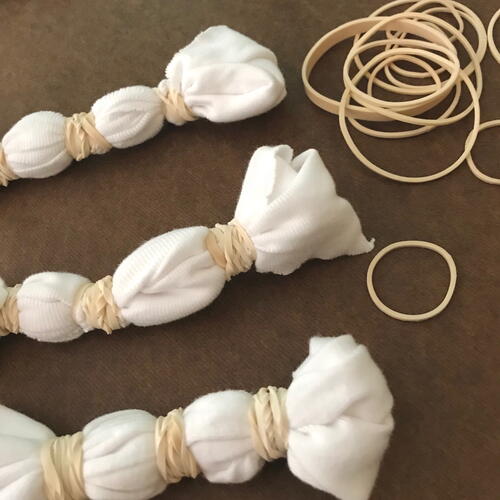
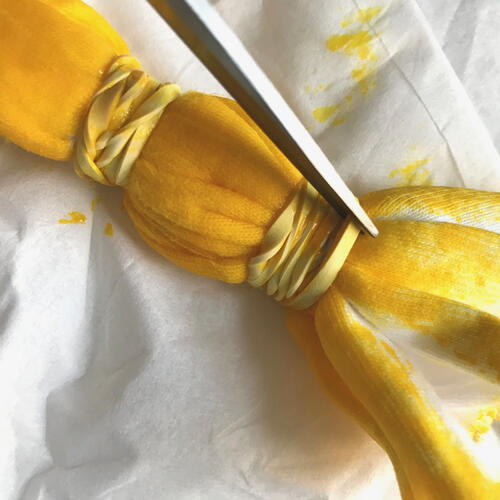
Using your assorted rubber bands, bundle and tie the fabric several times per piece. Different methods of placing the bands can create different patterns and effects, so I like to make “sets” of similarly banded fabrics so they coordinate. Make sure the rubber bands are tightly and securely attached so they don’t come loose later on. If you don’t have rubber bands, twine can also be used.
-
Next, get your dye ready. Dyes can be messy, so you might want to wear disposable gloves and cover your work surface or even dye the fabric outside. I chose a traditional color, but any color can be used!
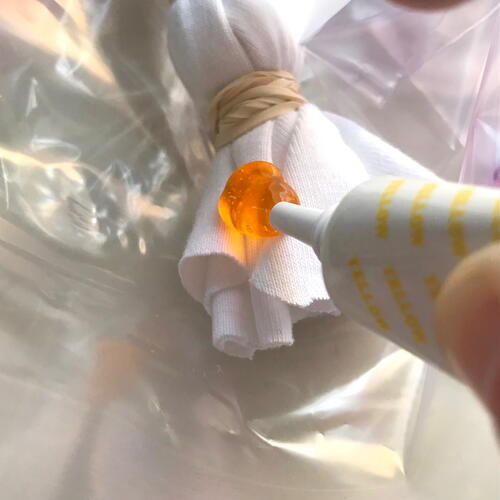
For this project I’m using gel food coloring. Normally I would use fabric dye, but chose food dye since these ornaments are not going to be washed and the amount of fabric is pretty small. If another kind of dye is being used, follow the instructions on the package. Doing a test swatch is a great way to make sure the fabric will take the dye. -
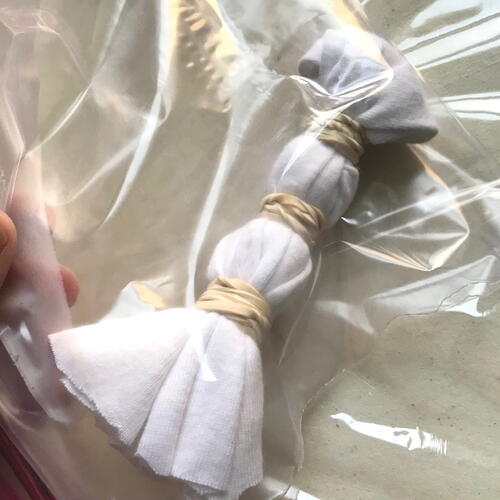
One color at a time, place a fabric bundle into a small plastic sandwich bag and squirt on the food coloring. The dye should reach all of the exposed white fabric by rubbing it around in the bag.
-
Remove the fabric from the plastic bag and blot off excess food coloring with a paper towel or tissue.
-
Use a pair of scissors to clip off the rubber bands. There will be a lot of areas of white remaining on the fabric.
-
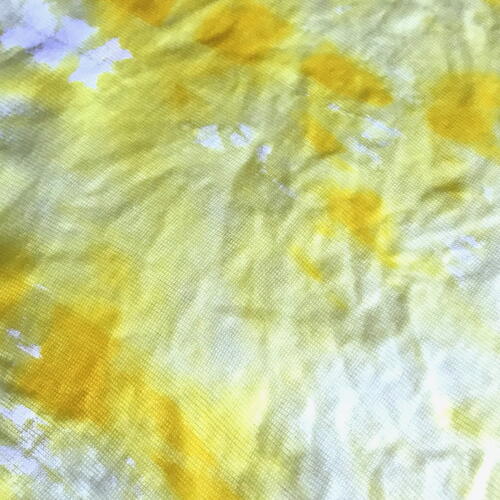
Next, gently rinse the material under cold water, allowing the dye to reach the white parts of the cloth. This will provide more overall color while keeping the dye still concentrated in certain areas.
-
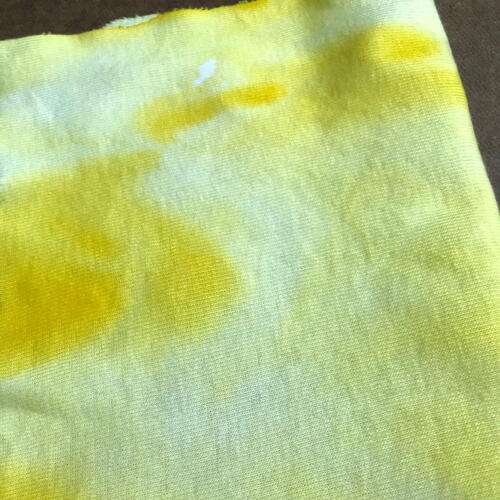
Lay the fabric flat and allow it to dry fully. I placed the fabric on paper towels with plastic wrap underneath to prevent dye transfer. This might take a day or so depending on temperature, fabric type, etc.
-
Iron the fabric to remove wrinkles. You may want to cover the ironing board with scrap fabric to keep any dye off of the cover.

Part B: Sewing the Ornament
-
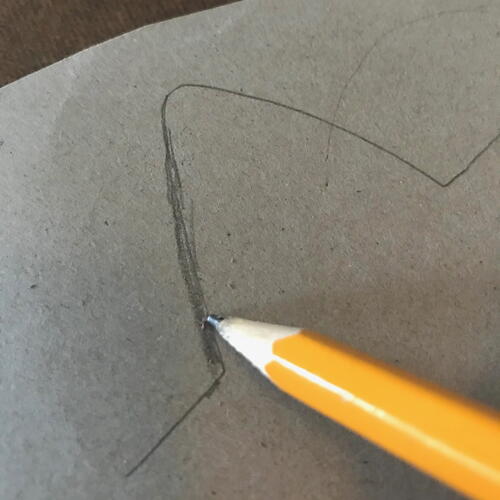
Draw the shape on the card stock or paper. My heart shape is about 4” tall, and I left a little extra room all around for the sewing seams. This step should be done with a pencil so the lines can be erased later.
-
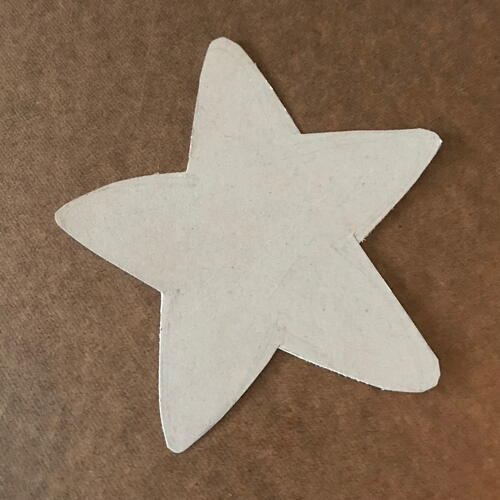
Once the ornament shape is the way you’d like it, cut out the paper to create a template.
-
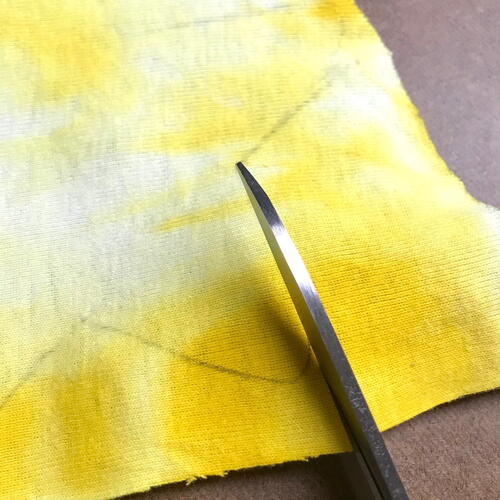
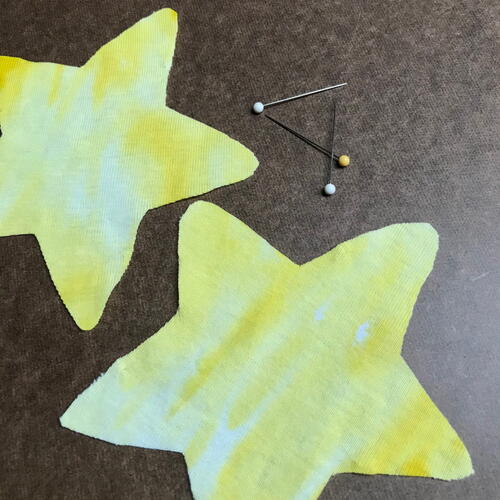
Using your paper template, cut out the fabric shapes from the tie dyed fabric, 2 per ornament. I chose to cut from the sections of the fabric with the best tie dye patterns. This step can also be done by tracing the shapes onto the fabric with fabric chalk or a soft pencil, and then cutting them out.
-
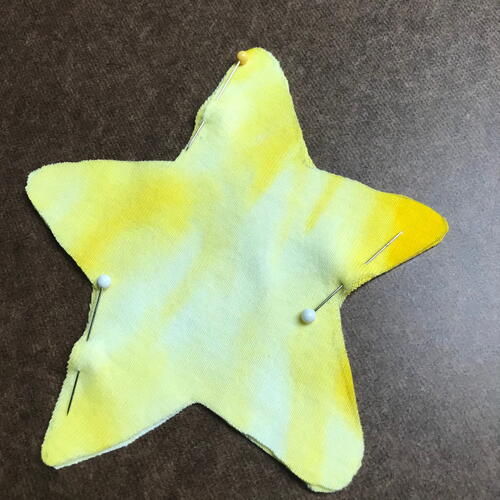
Now that the fabric is ready to sew, pin the pieces with the “wrong” or “inside” sides together.
-
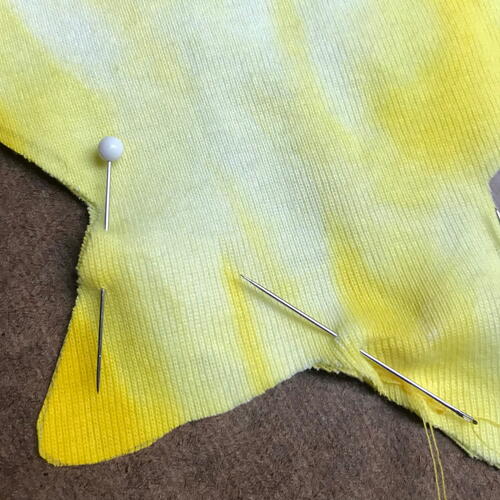
Using your hand-sewing needle and a thread that matches your material, carefully sew around the raw edges, leaving about 1” total open (not sewn) at the top. The seam allowance should be about 3/8” wide all around. I went back over my stitch line twice to make sure the sewing is secure. A sewing machine can also be used for this step if you prefer (this is a faster method but not required).
-
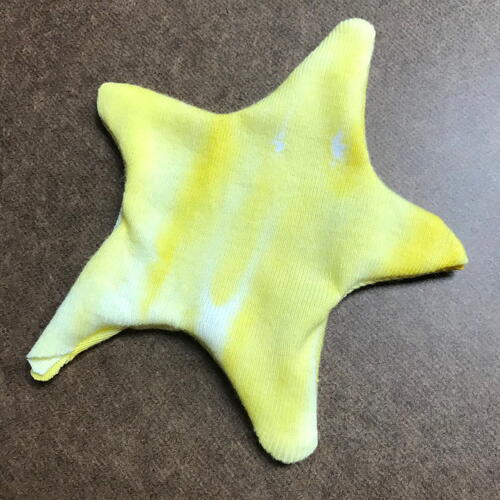
Very carefully turn the shape inside out so the “right” side is facing outwards.
-
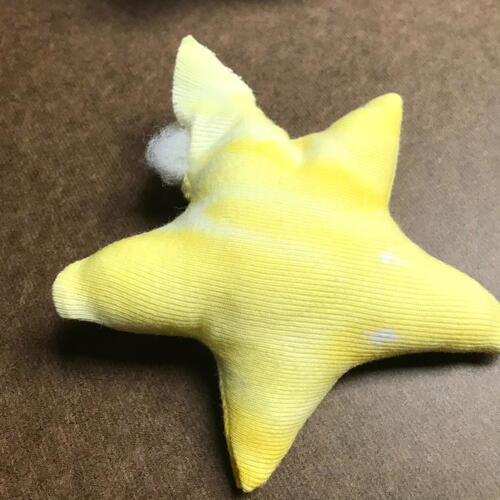
Now it’s time to stuff the ornament! A handful of polyester fiberfill should suffice for each ornament, though it may vary a little. Start with a bit and add more gradually. Don’t over-stuff the ornament until it is hard! Instead, it should be full and retain its shape yet still be plush and soft. Pay extra attention to the corners so they are filled out. If you don’t have any polyester fiberfill on hand, quilt batting is very similar and works well (the layers just need to be pulled apart and fluffed).
-
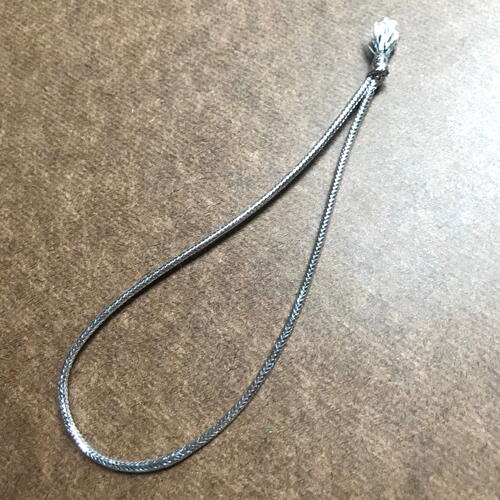
The string that will display the ornament can now be attached! Loop a piece of the string so that it’s about 3” tall or so, then knot it at the bottom. The exact length you will use depends slightly based on the ornament’s size and the kind of string you are using.
-
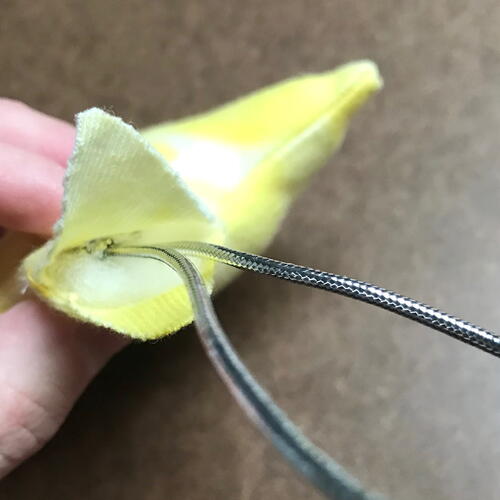
Place the knotted end of the string down into the ornament until it feels far enough in to be secure. Pin it in place to hold it until the ornament is closed up in the next step.
-
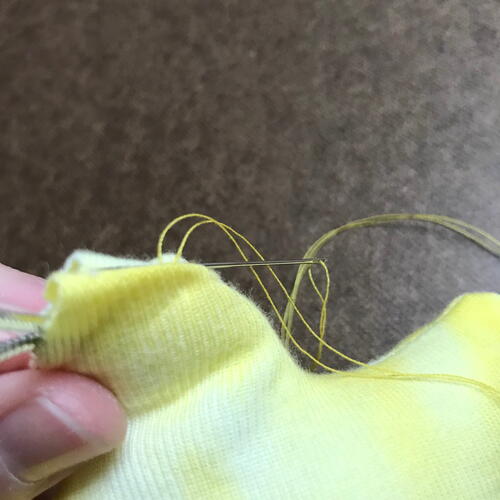
Next, hand-sew the hole on top closed, including the string loop. This may take a while as the thread should not be visible from the front. To achieve this, start sewing from inside the top of the ornament and gently pull closed from within.
-
Clean up any loose threads and check that the string is securely attached to your ornament before use.
Now your ornament is complete! Keep them away from lights or candles, and store them in a clean, dry space at the end of each holiday season.