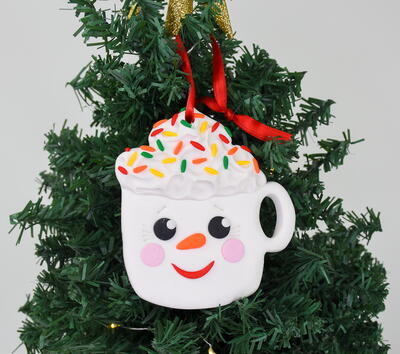
Cocoa Clay Ornament

Create this super cute and super light ornament in just about an hour, using Sclupey Ultralight clay.
Time to CompleteUnder an hour

Materials List
-
CLAYS:
- Sculpey Ultralight 8 oz. - 1 Bar
- Sculpey III® 2 oz. Black - 1 Bar
- Sculpey III® 2 oz. Red Hot Red - 1 Bar
- Sculpey III® 2 oz. Just Orange - 1 Bar
- Sculpey III® 2 oz. Ballerina - 1 Bar
- Sculpey III® 2 oz. Yellow - 1 Bar
- Sculpey III® 2 oz. Emerald - 1 Bar
-
TOOLS:
- Sculpey Tools™ Clay Blades
- Sculpey Tools™ Acrylic Clay Roller
- Sculpey Tools™ 5-in-1 Tool
- Sculpey Tool™ Mini Geometric Cutters
-
ADDITIONAL ACCESSORIES:
- Hot cocoa cookie cutter
- 12” Ribbon
- Scissors
Directions
-
Getting Started:
Please make sure your work area is covered and you are not working on an unprotected surface. We recommend working on the Sculpey® Oven Safe Work Mat, wax paper, metal baking sheet, or disposable foil. Uncured clay may damage unprotected furniture or finished surfaces. Be sure to cover your crafting area appropriately.
Start with clean hands, unwrap and knead clay until soft and smooth, or condition by running clay though a Pasta Machine. We recommend using a designated machine for clay purposes only. When working with multiple colors, clean hands with soap and water or baby wipes (we have found that baby wipes work best) before switching colors. Shape clay, pressing pieces firmly together. Wash hands after use.
Baking:
Begin by preheating oven to 275 °F (130 °C). After you are done creating; for best results bake clay on an oven-proof surface such as metal, aluminum foil, an index card or the Sculpey® Oven Safe Work Mat at 275°F (130 °C) for 30 minutes per ¼" (6 mm) of thickness according to package directions. Oven safe glass or ceramic surfaces are also acceptable for baking; however please note that the baking times may take longer as the glass or ceramic surfaces take longer to heat up. For best baking results, use an oven thermometer.
DO NOT USE MICROWAVE OVEN. DO NOT EXCEED THE ABOVE TEMPERATURE OR RECOMMENDED BAKING TIME.
-
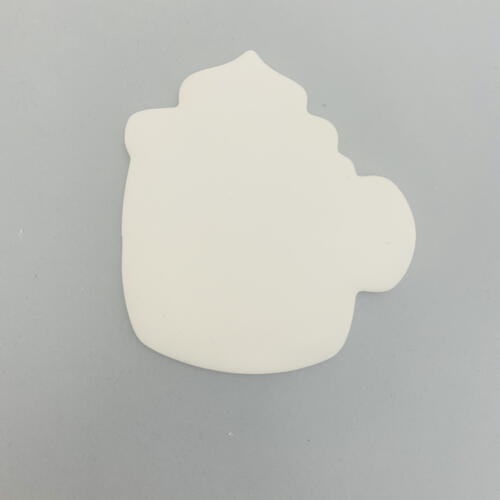
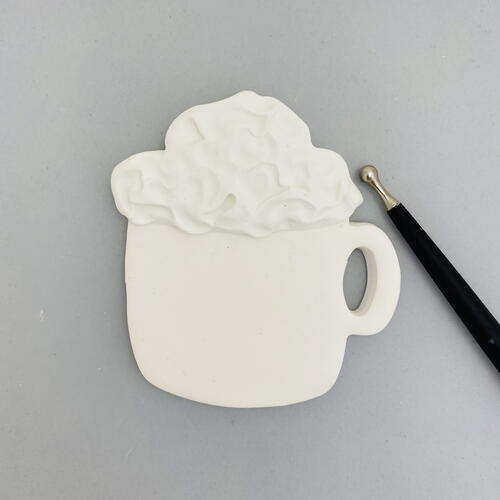
Roll Ultralight out to a thick patty, about 3/16”-1/4” thick. Cut out the shape using a hot cocoa shaped cookie cutter.
-
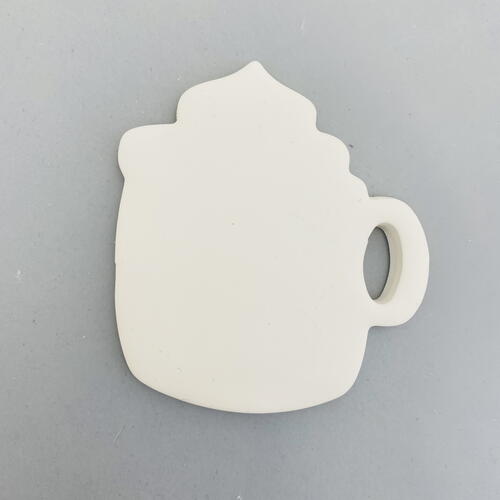
Cut out the handle area. I used a small oval shape from the Mini Geometric Cutters set to make the hole as shown here. Smooth all cut edges with your fingertips.
-
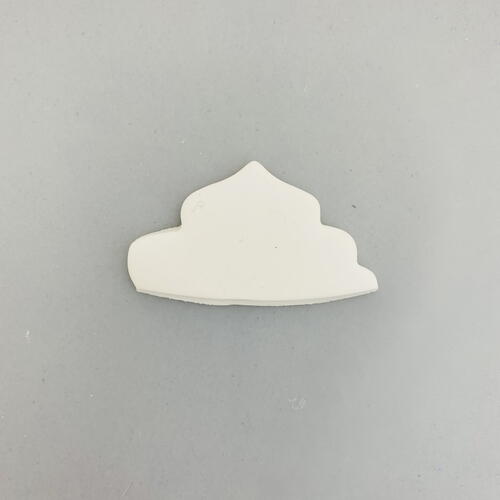
Roll more Ultralight to the same thickness as in Step 2 and cut out just the top of the foam portion using the cutter again. Even out the bottom edge as needed using the Clay Blade.
-
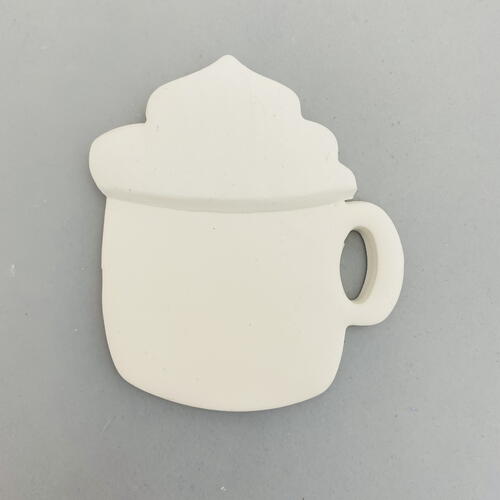
Press the foam to the top of the original cut out shape from Step 2, making the foam portion really thick. Smooth the bottom edge of the foam with your fingertips.
-
Use the Ball attachment in the 5-in-1 Tool to add swirls to the foam topping.
-
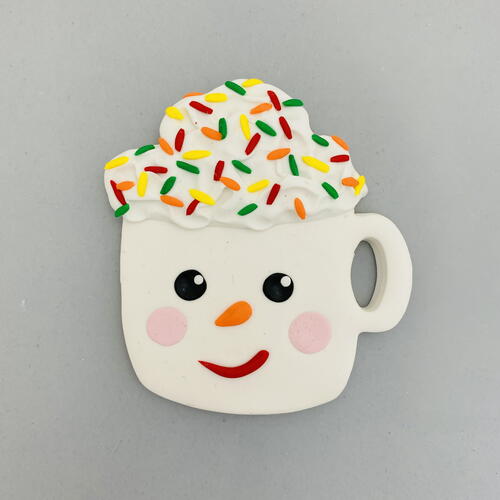
Add details as shown with little bits of Sculpey III®:
Flat Black for the eyes with little bits of White Ultralight for highlights.
Flat Ballerina for the cheeks.
Just Orange carrot shaped nose and sprinkles.
Red Hot Red comma shaped mouth and sprinkles.
Yellow and Emerald sprinkles. -
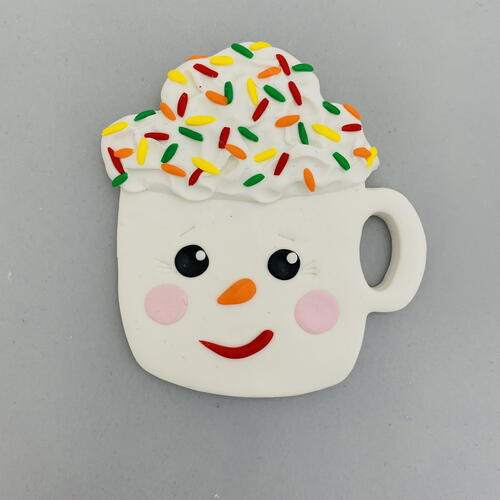
Use the flat chisel point in the 5-in-1 Tool to add eye brows and eyelashes.
Add a hole to the top of the foam with the needle tip in the 5-in-1 Tool. This will be for the ribbon so it will need to be made large enough to accommodate your ribbon.
Bake following the baking instructions for Ultralight.
When the piece is completely cool add a ribbon to the hole at the top. Tie an overhand knot and trim the tails with scissors.