"In Memory Of" Christmas Ornament Using Dried Flowers

Create a Christmas ornament using dried flowers to commemorate someone who has passed away. Remember loved ones by making a heartfelt ornament.
From the Designer: "Last summer my Grandfather passed away. He had served in the Navy during WWII, and we had a large arrangement of red, white and blue flowers on top of his casket. When the funeral was over, several people took a flower home with them. I took the remaining flowers. I was not sure what I was going to do with them at the time, but I knew I wanted to do something.
There were not enough to make arrangements that would hang on the wall for everyone in the family, plus not everyone likes the dried floral arrangement look. Since my Grandfather loved the holidays, I decided to make ornaments for every family member."
Time to CompleteIn an evening
HolidayChristmas
Project TypeMake a Project
Materials List
- Chipboard tag shapes
- Mod Podge
- Various inks
- Background stamp
- Viva Decor
Instructions
-
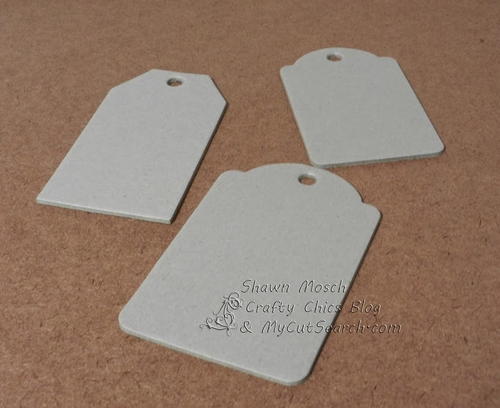
I started out with some plain chipboard tags in various shapes. I purchased this in a variety pack. You could use your Cricut to cut out tag shapes if you would like. If you don't know which Cricut cartridges have a tag shape on them, you can go to MyCutSearch.com and type in the word tag and you will find that there are a LOT to choose from!
-
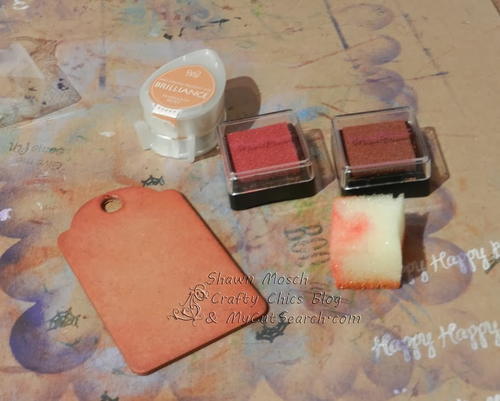
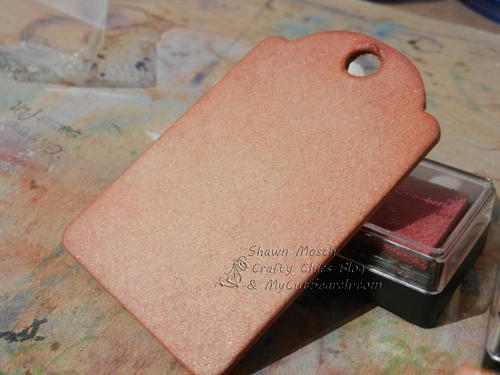
I wanted a soft, neutral colored background. I used several different shades of cream, brown, gold and a rusty red color. I would just "smooch" the ink on, then spread it around with the sponge. Then grab the next color and do the same. Some areas had a lot of color, and others were thin on color. I did this to both the front and the back.
-
Here you can see the nice soft background that this created.
-
I also stamped the entire tag with a background stamp to add a little pattern to it. I did this in a golden brown . . . it does not show up in this photo . . . it was a very subtle background, but that was what I was going for.
-
Next it was time to add the dried flowers. First I gently pulled the flowers apart and separated the nice looking petals from the ones that were too small to use or dried all curled up. I put them in three piles . . . red, white and blue. I also had some of the leaves that I saved too.
-
I used a paint brush to place a large dot of paint where I wanted the flowers to go, then I placed the leaves and petals in a circular arrangement . . . almost making mini-flowers with the dried petals. I then applied a thick coat of Mod Podge over the petals so seal them so they would not crumble. It also added a nice shine to them.
-
And here is where the Cricut came in . . . for the tags that were for my Father and my Aunt, I cut the word DAD from the Plantin Schoolbook Cricut Cartridge. I used a silver paper that had a little texture to it. I thought it looked like Duct Tape, and we used to tease my Grandfather that he used Duct Tape to repair EVERYTHING, so it seemed fitting.
-
For the tags for all of the Grandchildren I cut the word PAPA, since that is what we called our Grandfather.
-
These made a wonderful remembrance of my Grandfather that each person in the family could have, and hang on the Christmas tree each year so that Grandpa will always be there with us.


Read NextAngel in Frame Ornament