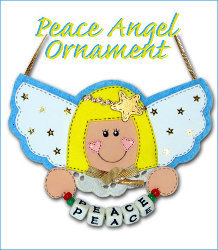
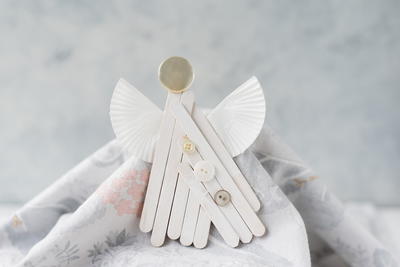
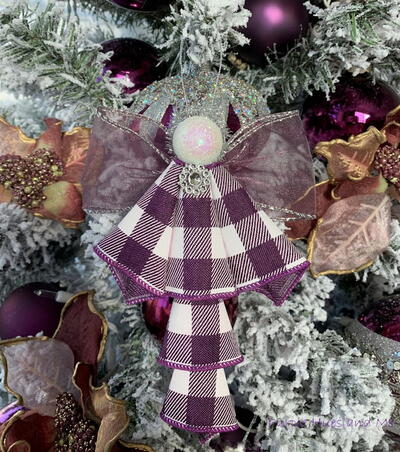
A Peaceful Angel Ornament
Use cardstock, ribbon, felt and other materials to create A Peaceful Angel Ornament. Once you learn how to make homemade Christmas ornaments, you'll never opt for the store-bought version. This is a memorable keepsake you'll want to save and display forever. DIY Christmas ornaments are a fun and meaningful way to celebrate the season and get in the holiday spirit. This is a great opportunity to rekindle your love of Christmas and ignite your creative spirit. The holidays can be stressful, but this free Christmas craft will help you unwind and enjoy the season.

Materials:
- GEM-TAC Embellishing Glue
- White, yellow & flesh-colored craft foam
- Pink cardstock
- Light blue stiffened felt (or cardstock if you can’t find stiffened felt)
- Heart punch
- Small wooden star
- White, black & gold acrylic paint
- Cream eyelet lace, 2 3⁄4” piece
- 1⁄4” gold ribbon, 7 2/3” length
- 1/8” gold braid, 11” piece
- 12 small gold stars
- Pony beads, 2 green and 2 red, 7 mm
- Alphabet cubes (12mm) to spell out PEACE
- Patterns
- Black permanent fine tip marker
- Tracing paper, pencil, scissors, paintbrush, toothpick, ruler
Instructions:
- Print patterns, cut out, and trace as follows: 1 angel silhouette from light blue stiffened felt or light blue cardstock; 2 wings from white craft foam; 1 hair from yellow craft foam; 2 hands from flesh-colored foam; and 1 face from flesh-colored foam.
- Punch out 2 hearts from the pink cardstock to use as cheeks.
- Draw lines around the cheeks, hair, hands and wings with black marker as shown in the photo.
- Draw a mouth on the face with the black marker. Dip the end of the paintbrush into black paint and make 2 eyes. Dip the toothpick into white paint and make highlights on the eyes and cheeks. Draw eyelashes with the black marker.
- Glue the small gold stars on the wings with GEM-TAC. Follow the pattern as to placement.
- Paint both sides of the wooden star with 2 coats of gold paint, drying between coats. Draw lines around the edges of the star with the black marker.
- Glue hair onto the face with GEM-TAC. Cut a 2” piece of gold baby rickrack and glue onto hair as in photo. Glue rickrack and painted star onto hair.
- Glue the wings to the back of the hair and eyelet lace to the back of the angel. Let everything dry well.
- Center and glue angel onto the light blue silhouette. Make a bow with the ¼” ribbon, cutting ends at an angel. Glue on bow.
- Glue on hands as in photo and the 1/8” gold braid to the back of the wings.
- Cut a 10” piece of gold embroidery floss and thread onto a needle, making a large knot at the end, and insert into the back of the left hand, bringing the floss to the front. Thread the beads onto the floss as shown and then insert needle into the front of the right hand. Knot the end in back and glue ends down.

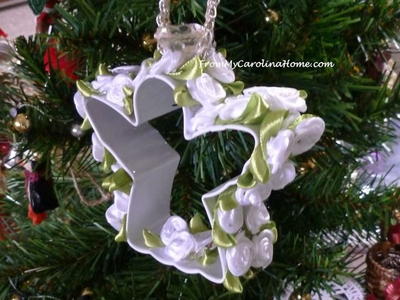
Read NextRose Angel DIY Ornament