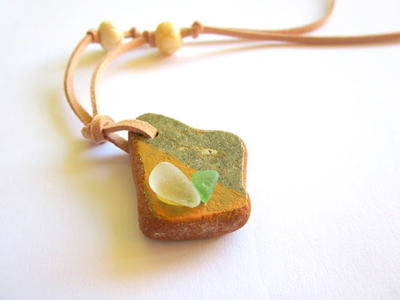
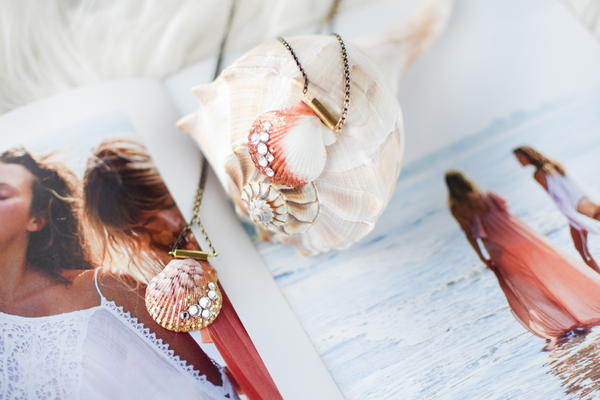
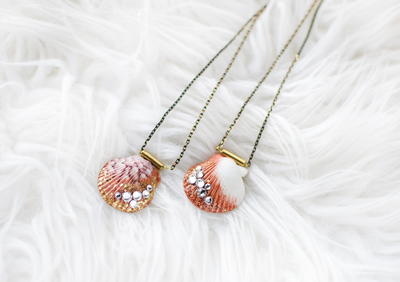
Shimmer Seashell Necklace DIY
Seashell jewelry ideas like this one are easy and gorgeous.

Learn how to make a seashell necklace without a drill when you follow the Shimmer Seashell Necklace DIY. This easy tutorial is great for those of us who are obsessed with nail polish crafts and sparkles. Bust out those favorite nail polish colors, and don't skimp out on the glitter. These stunning shell necklaces are made all the more beautiful with glitter polish and flat-backed crystals. Add your bail and you're good to go! This is a fantastic gift opportunity, especially if you collected seashells on your most recent vacation.
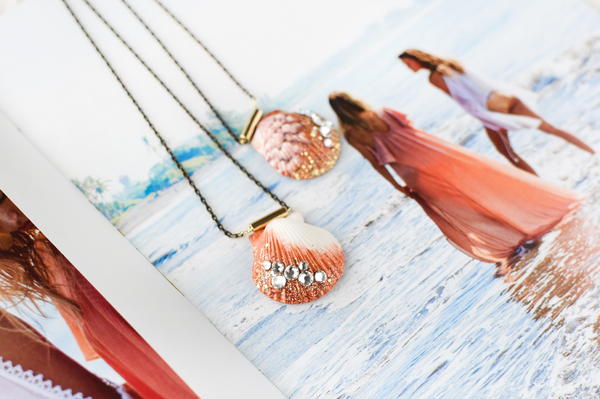
Go beachy-chic with these crystallized shell necklaces! These summery DIY pieces take ordinary beach shells and turn them into sophisticated pendants with the addition of glitter paint and Swarovski crystal flatbacks.

I used nail polish to paint the shells – choose whichever color you’d like! My theme was a more gold/orange scheme, but these would also look beautiful in mermaid tones of blue, purple and green.

Let’s get started with the tutorial!
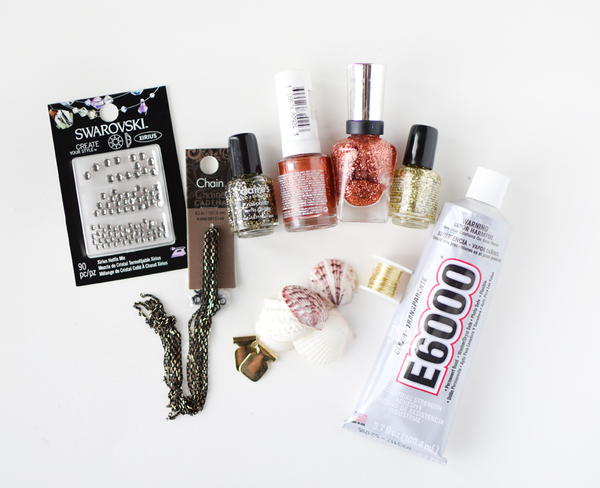
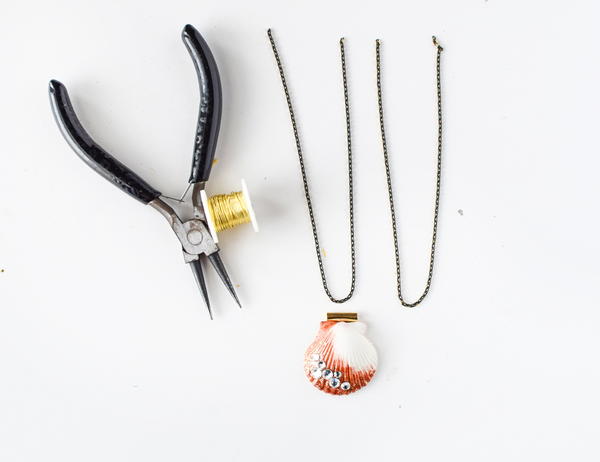
Step 1: Gather materials.
Needed are shells (choose ones with flat backs that the bail can be glued onto!), glue on bails, 24g wire, E6000 glue, chain, a lobster clasp, 6mm or 4mm jumprings, Swarovski flatbacks and nail polish. You’ll also need wire cutters and roundnose pliers.
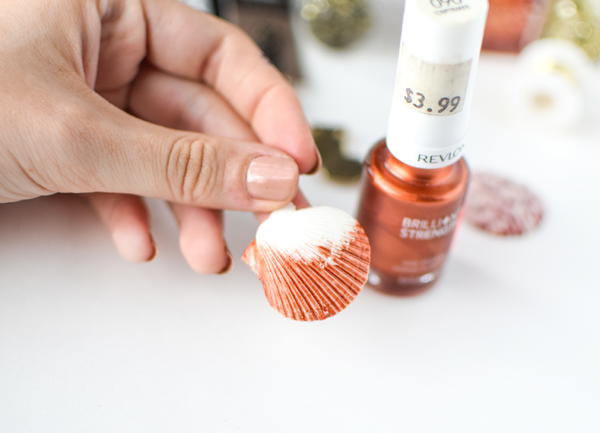
Step 2: Paint your shell.
For a “dipped” look, brush the paint up just one side of the shell.
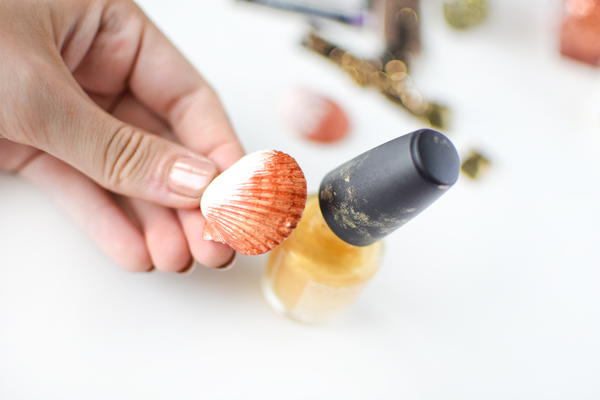
Layer colors and metallic (making sure you let each coat dry in between painting!
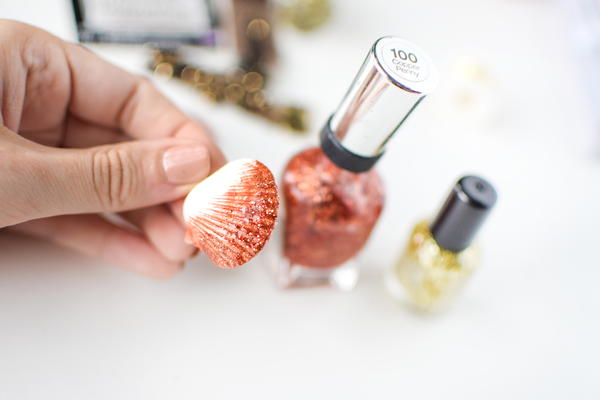
Finish by adding a glitter topcoat!
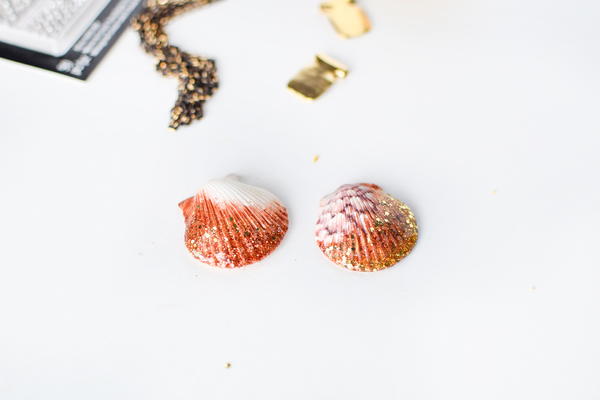
Let the shells fully dry.
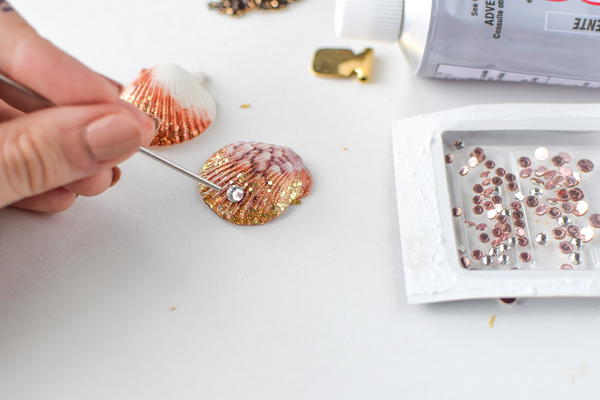
Step 3: Add the gems.
Use the E6000 and place small dots of the glue off-center on the shell.
Place the gems and press down to adhere.
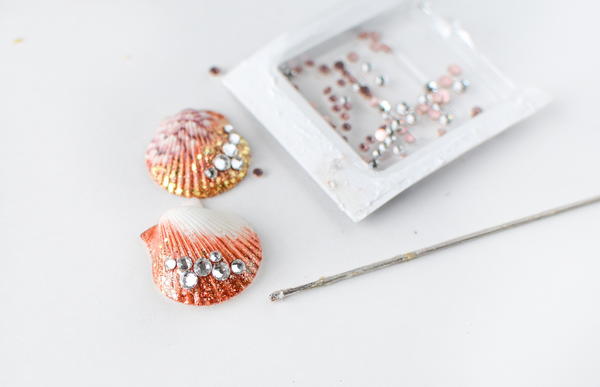
Continue adding gems until your desired look is achieved. Let the gems fully dry.
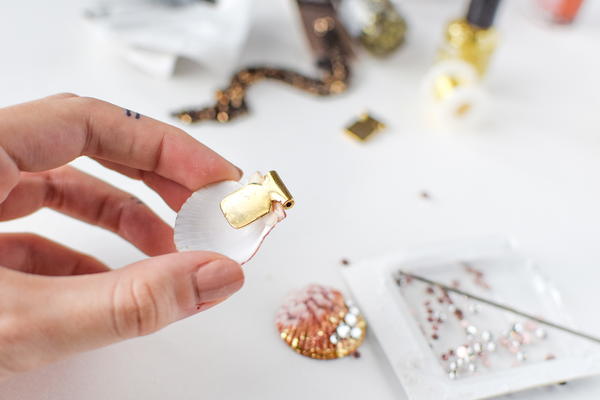
Step 4: Glue bail.
Add a large amount of E6000 to the bail and glue bail on back of shell. Let dry fully.
Step 5: Cut chain.
Step 5: Cut two 9” pieces of chain. Cut a 5” piece of 24g wire.
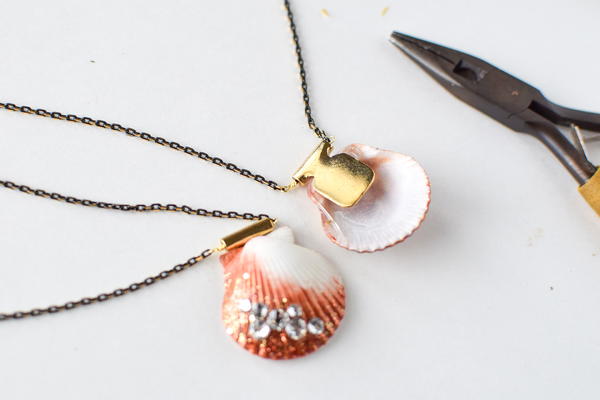
Step 6: Create wrapped loops through the bail.
Use the 24g wire to create wrapped loops through the bail, catching a chain link of each chain in the loops.
I made both necklaces at once, so I cut 4 pieces of 9” chain.
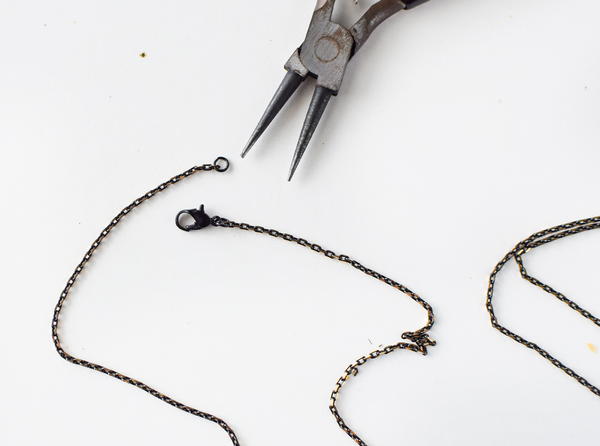
Step 7: Finish.
Add a lobster claw and jumpring to the ends of the chains to finish the necklaces.
Thanks for reading! Enjoy more of my tutorials on my site quietlioncreations.com!
Read NextAnchors Aweigh Necklace
Your Recently Viewed Projects
Thanks for your comment. Don't forget to share!
msdeb21
Feb 24, 2018
I am in love with this idea! I have a lot of shells I have collected from vacations over the years, and I have glittery nail polish in lots of colors. I think I will make one necklace in gold or bronze, then another one in mermaid blues and purples. I can't wait to get started making these. It will help me get through the rest of winter!
mulberrygalprinces s
Aug 23, 2017
What a simple yet pretty creation. Living in Florida I have access to all kinds of shells. I have collected many over the years and I am always looking for ways to use them. This is one of the prettiest uses yet. Thank you for offering such an easy, pretty and inexpensive project.
Report Inappropriate Comment
Are you sure you would like to report this comment? It will be flagged for our moderators to take action.
Thank you for taking the time to improve the content on our site.