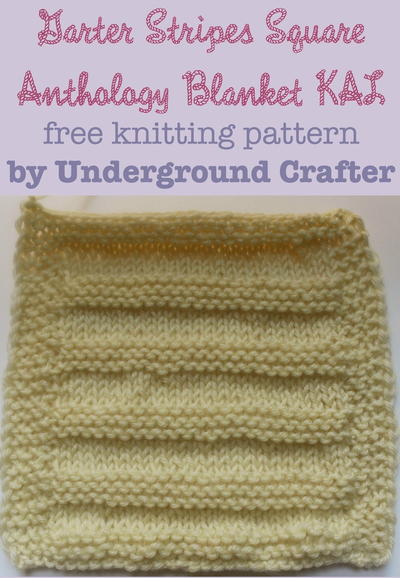
Knitting Cast On and Knitting Bind Off Techniques [Infographic]

Learn more about casting on and binding off! This Knitting Cast On and Knitting Bind Off Techniques infographic shows you that you can start and stop your knitting projects in a variety of ways. If you've ever wondered what the difference is between a standard bind-off and a tubular bind-off, or a knitted cast-on and long-tail cast-on, this free printable infographic gives you a helpful snapshot comparing techniques. While this infographic does not teach you how to cast on and bind off, it does give you an image of what the cast-ons and bind-offs look like, why they are different, and what uses each unique technique may have. Get a snapshot of the different knitting cast-ons and bind-offs with this helpful, demystifying infographic.

Knitting Needle Size8 or 5 mm
Yarn Weight(4) Medium Weight/Worsted Weight and Aran (16-20 stitches to 4 inches)
Materials List
- Medium sized needles to practice, such as size 6 or 4 mm, size 7 or 4.5 mm, or size 8 or 5 mm.
- Worsted weight yarn in a medium color, such as blue (not too light or too dark)
- Scissors
- Other materials depending on method:
- Tapestry Needle
- Crochet Hook
- Additional yarn in a contrasting color
Cast on Knitting Methods
-
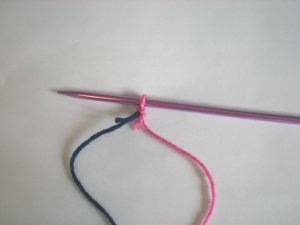
Knitted Cast-On: This is the best cast on method for beginners to learn. Similar to the regular knit stitch, this cast on method involves creating a slip knot, inserting your needle knit-wise, drawing through the yarn, and slipping the loop back over the starting needle (often the needle in your left hand) to create your cast on row.
Advantages:- You can use this method to add stitches to the beginning or even middle of a row.
- It's slightly stretchier than other methods like the long-tail cast on.
Are you a visual learner? Learn how to do the knit cast on with our video tutorial from AllFreeKnitting. -
Long-Tail Cast On: This is the most-used cast on method, which works for most patterns.
Advantages:- This method works for most patterns.
- It creates a firm yet elastic edge.
Disadvantages:- For this method, you must predict how much "tail" you'll need to begin your project. If you run out, you'll have to start over casting on.
Learn how to do the long tail cast on for beginners with this YouTube video. -
Old Norwegian Cast-On: This method is similar to the Long-Tail Cast On, but stretchier. It's a great, all-purpose cast on that creates a nice edge.
Advantages:- Creates a lovely edge.
Disadvantages:- Uses more yarn than the long-tail cast on, so it's a little more challenging at first to predict how much you'll need.
For a step-by-step photo tutorial of the old Norwegian cast on, check out the tutorial at AllFreeKnitting. -
Crochet Chain Provisional Cast-On: This is perhaps the most unique cast-on method of the four and designed specifically for projects where you'll be going back to work that cast on row at a later time. It allows you to keep the cast-on stitches live.
Advantages:- Excellent for going back later to add a decorative border.
- If you're working on a bottom-up sweater, you can use this method to add length to the bottom of the sweater if needed.
Disadvantages:- Depending on how you look at this, it can be an advantage or disadvantage, but you must know basic crochet in order to begin with a crochet chain.
Bind Off Knitting Methods
-
Standard Bind-Off: This is the most-used bind off method. It is perhaps the most straightforward and great for beginners. Note: don't pull your stitches too tight with this method!
Advantages:- Super easy to do.
- Works for most projects.
Disadvantages:- It is not very flexible, which could be good or bad depending on your project.
If you're just learning how to bind off, do the standard bind off with this step-by-step photo tutorial. -
I-Cord Bind Off: This type of bind off makes a rounded, elastic edge. It creates a neat finish for pockets, hems, collars, and more. It's a great option instead of using a croheted edging.
Advantages:- Very pretty finish!
Disadvantages:- Slightly more advanced than a standard bind off.
Learn how to do the I-Cord Bind Off with this video tutorial. -
Suspended Bind Off: This is a stretchier version of the standard bind off.
Advantages:- If you have a tendency to knit tensely, this is a great bind off method for tight knitters!
- It has a clean look.
- It's great for an elastic bind-off.
Disadvantages:- If you already knit loosely, this might turn out a bit looser than needed, but too loose is often better than too tight!
-
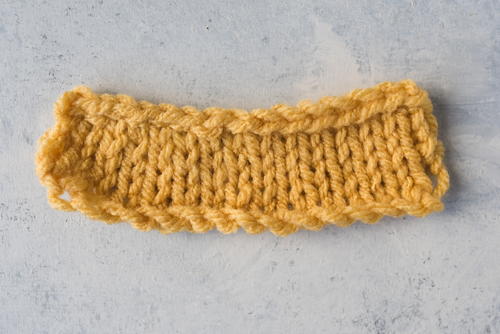
Tubular Bind Off: This is an invisible bind off that creates a slightly rounded edge along your stitches.
Advantages:- It's great for hats and ribbing.
- It's very stretchy!
Disadvantages:- It does not have the clean look that many other cast on and bind off techniques have.
There are many more cast on and bind off techniques! Let us know your favorites in the comments below.