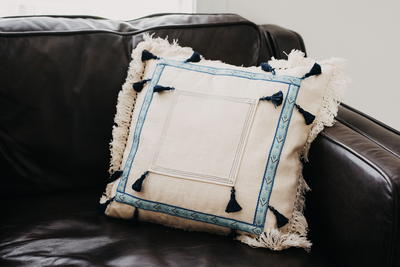
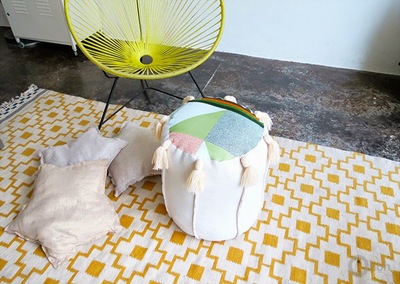
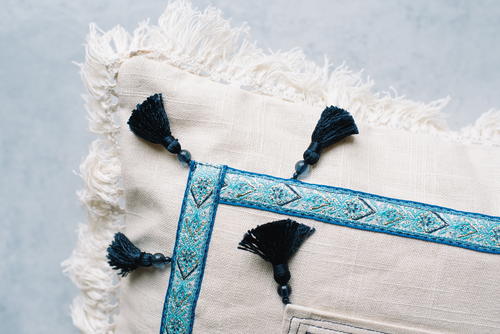
Tassel Pillow with Trim

Bring the tassel trend into your home decor with this easy to follow pillow project! This sewing project features fun corner tassels and a bright and eye-catching fabric trim to really make your couch or bed pop. Step by step photos are included to help you through the process of sewing both layers of fabric and your tassels together, so you won't be left confused. Since you're hand making this project, you can choose your colors and stick with simple neutrals or bright and bold shades. Try making this pillow in school colors for your college student!
Join FaveCrafts and the Craft Yarn Council for our #PomPomParty, a celebration and exploration of the pom pom and tassel trend: learn more here!
MaterialsFabric
Primary TechniqueHome Decor
Project TypeMake a Project
Materials List
- 1 yard linen fabric
- 2 yards coordinating fringe trim
- 1.5 yards decorative trim
- 1 16 inch square pillow form
- 1 yard tassel trim
Tassel Pillow with Trim
-
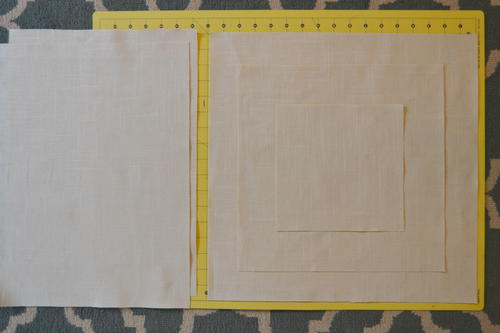
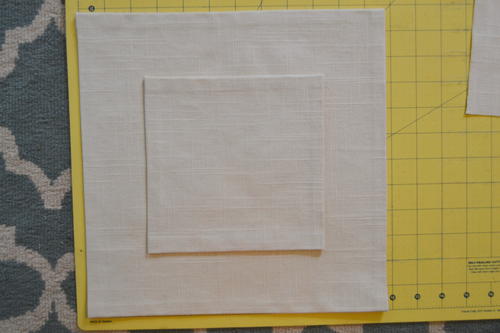
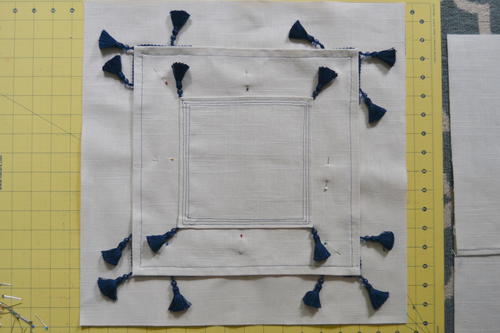
Cut the linen fabric into one 17 inch square, one 13 inch square, one 8 inch square, and two rectangle measuring 17 X 13.5 inches.
-
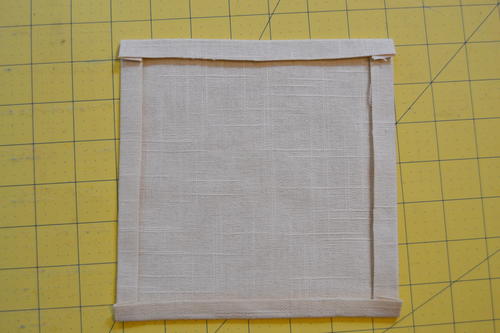
Take your 8 inch square and fold the edges over ½ inch and press. Do the same with your 13 inch square.
-
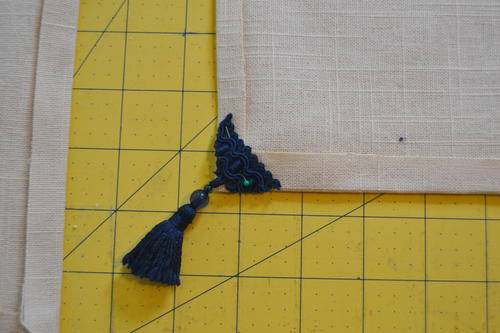
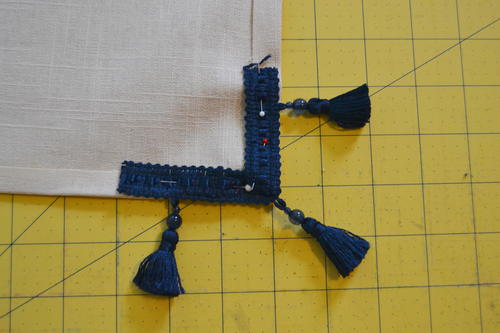
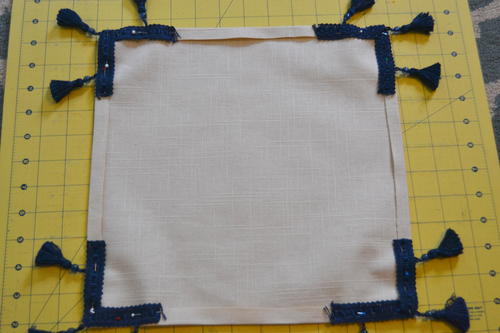
Attach the tassel trim to the corners of your squares.
-
Sew your 8 inch square onto the center of the 13 inch square.
-
Then sew your 13 inch square onto the 17 inch square.
-
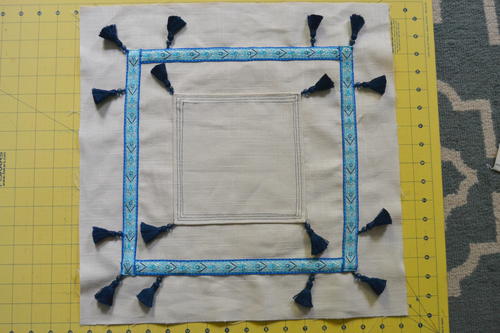
Attach decorative trim onto the edge of your 13 inch square.
-
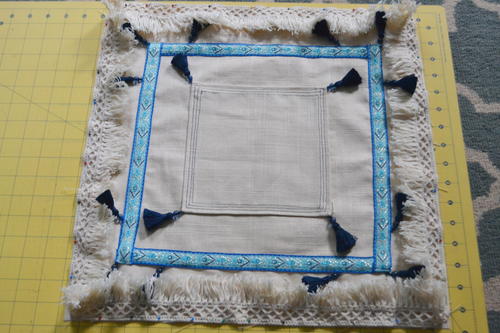
Pin and sew your fringe around the edge of your 17 inch square with the fringe pointed toward the center. You will sew about ½ inch from the edge. Set your 17 inch square aside.
-
Take your two rectangles for the back of the pillow. On one end of each, fold the edge over ¼ inch and press. Then fold it over another ¼ inch and press again. Pin and sew across the folded edge.
-
Now place your 17 inch square with the right side up. Lay the two rectangles down on top of it with the right sides down. They will overlap by a few inches. Pin and sew around the outside edges, sewing ½ inch from the edge.
-
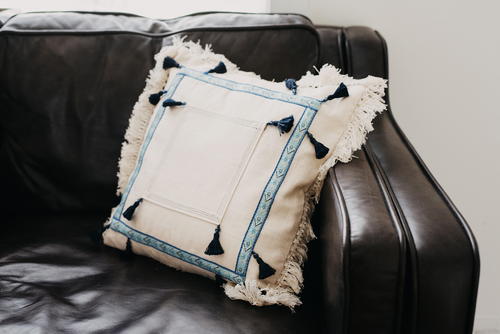
Clip the corners and turn the pillow case right side out. Use a pencil or something small to poke out the corners.
-
Insert your pillow form and you're done!
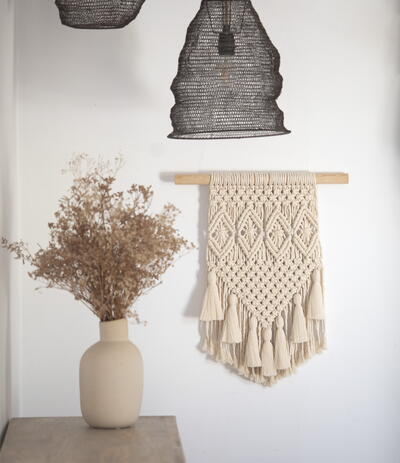
Read NextPampa Wall Hanging