This project was submitted by one of our readers, just like you.
Easy DIY Halloween Potion Bottles
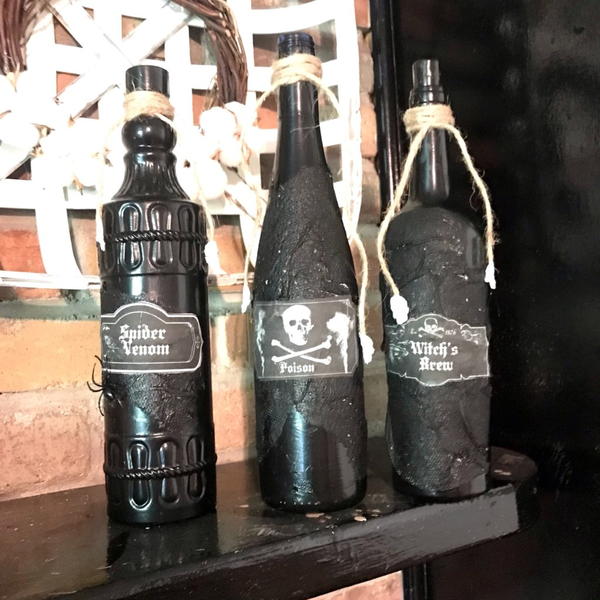
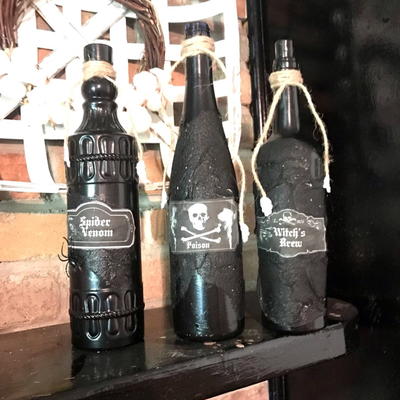
From the blogger: "It’s never too early to bring out the fall decor. It’s been fun to work on all the new decorations I am displaying in my home this autumn. Unlike other fall crafts found online, this DIY craft is one that I didn’t even need to buy anything for. I already had all the items I needed laying around my craft room. Better yet, I loved making these DIY Halloween Potion Bottles almost more than any other Halloween decoration yet! They were quick and easy. They look perfect on my fireplace mantel."
Time to CompleteWeekend project
Main MaterialGlass

HolidayHalloween
Project TypeMake a Project
Materials List
- Wine bottles
- Black acrylic paint
- Free potion printables
- Paint brush
- Twine
- Small plastic skulls
Instructions
-
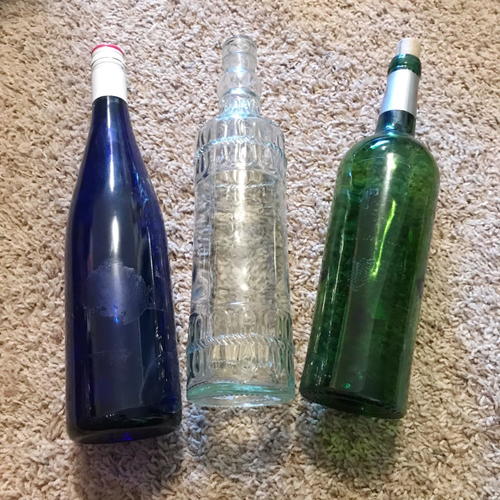
I had these bottles in my craft room just waiting to be used. I used two wine bottles and one vintage-style glass bottle. I got it from Dollar Tree, which is one of my favorite affordable stores to purchase DIY supplies.
-
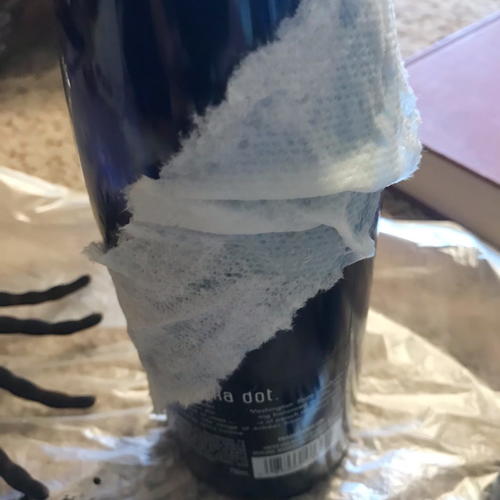
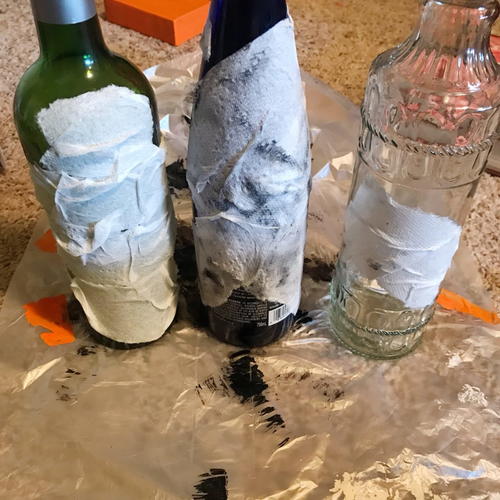
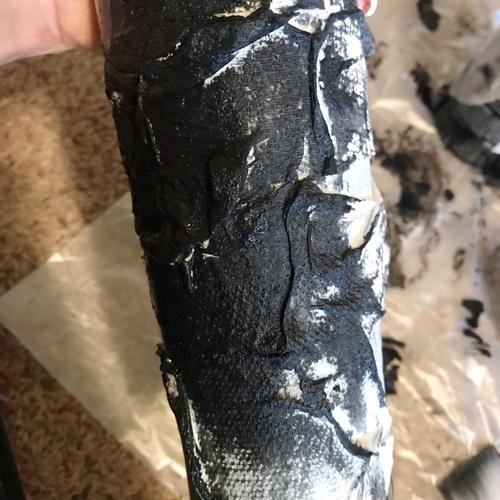
I use this technique all the time to create texture on items. It’s super easy. You will rip paper towel pieces up and mod podge them on your bottle. This creates a really cool effect when it dries.
-
They will take some time to dry. I let the three bottles dry overnight to make sure they were ready to paint.
-
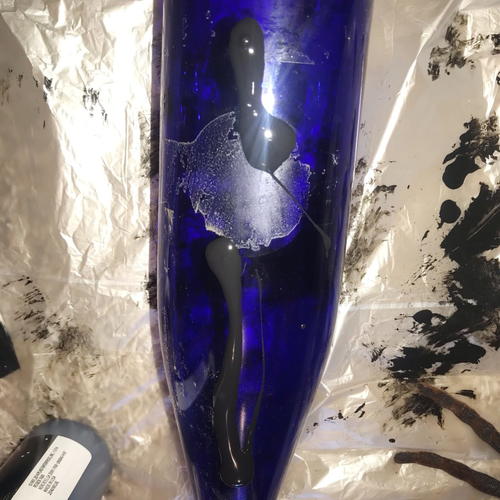
Once the mod podge textured paper towel layer was dry, I painted the bottles black. I used black acrylic paint.
-
It will take at least two layers of acrylic paint to cover the bottles completely.
-
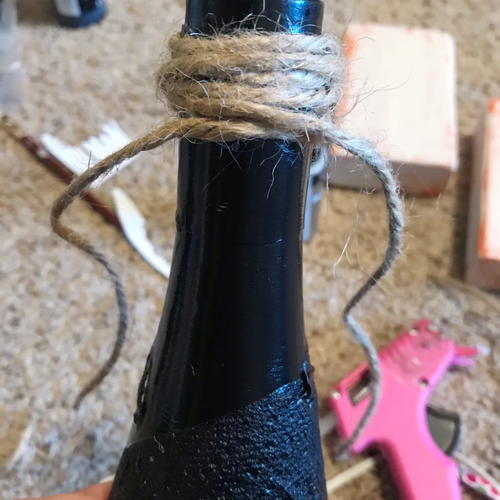
Once the bottles were painted and dry, I wrapped twine a few times around the top of the bottle.
-
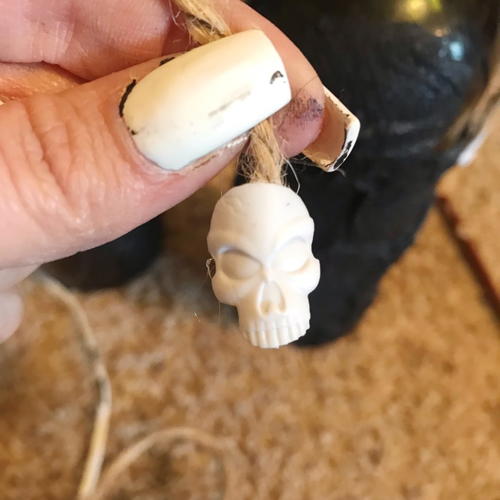
These cute skulls were plastic rings off which I cut the ring part. Then, I hot glued them on the end of the twine.
-
Next, you will need to mod podge the "FREE POTION LABELS" on the bottles.
-
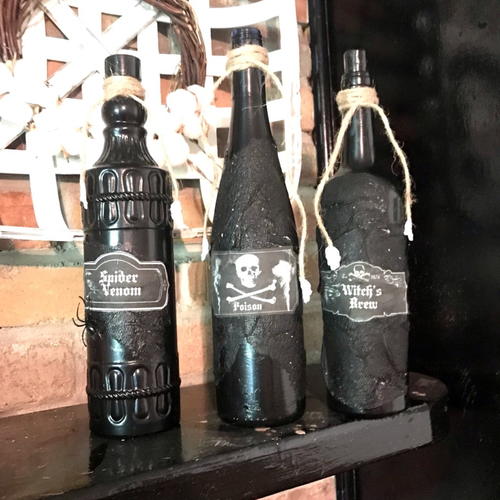
Here they are guys! Aren’t they so fun? I absolutely love the way they turned out. I think they are spooky and super cute!
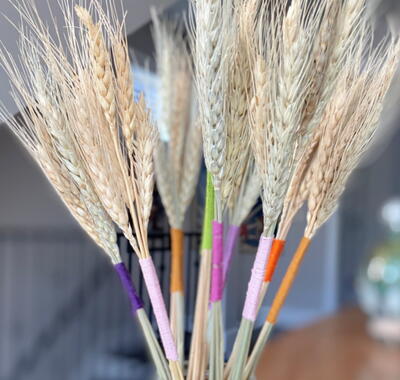
Read NextColorful Wrapped Wheat Stalks

