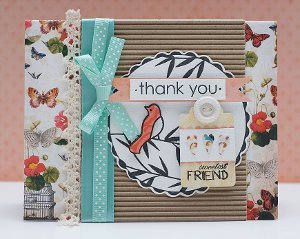
Grateful For You Handmade Card
 Visit Megan at I Teach Stamping.
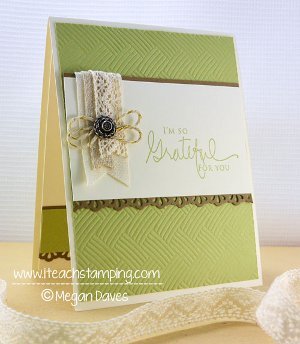
Tell someone how much they mean to you with this sweet Grateful For You Handmade Card. This handmade card is quick and easy to make, yet its message will stay with the recipient forever. This is sure to be one card that is cherished and appreciated for years to come...and it's the perfect way to tell someone just how much they mean to you. Sometimes a simple card can go a long way, and this Grateful For You Handmade Card is a great example of that.
You can find this project, as well as many other fabulous blogger projects, in our new eBook, The Best Blogger Craft Ideas 2014: Decoupage, Sewing, Jewelry Making, and More free eBook. Download your own free copy today!

Materials:
- Darice Basket Weave Embossing Folder
- Darice Metallic Hemp
- Signature Greetings Stamp (Papertrey Ink)
- Very Vanilla Card Stock (Stampin' Up!)
- Pear Pizzazz Card Stock (Stampin' Up!)
- Soft Suede Card Stock (Stampin' Up!)
- Antique Brads (Stampin' Up!)
- Big Shot (Sizzix)
- Assorted Ribbons and Lace
- Finishing Touches Edgelits (Stampin' Up!)
- Pear Pizzazz Ink (Stampin' Up!)
Instructions:
- Stamp sentiment in Pear Pizzazz ink onto Very Vanilla strip (2-1/4" x 4"). Secure behind it a 1" x 4" strip of Soft Suede card stock at the top, and a 1" x 4" die cut strip of Soft Suede card stock using the Finishing Touches Edgelits and your Big Shot.
- Attach your ribbon and lace strips as shown and finish layer with an Antique Brad that has loops made with the Metallic Hemp.
- Dry emboss Pear Pizzazz card stock (4" x 5-1/4") using your Basket Weave embossing folder and adhere to your vanilla card base (4-1/4" x 11"). Attach your sentiment layer to your card front.
- For the inside, dry emboss Pear Pizzazz card stock (4" x 1") using your Basket Weave embossing folder. Secure behind it a 1" x 4" strip of Soft Suede card stock at the top, and a 1" x 4" die cut strip of Soft Suede card stock using the Finishing Touches Edgelits and your Big Shot.
- Attach these layers to a piece of vanilla (4" x 5-1/4") and secure to the inside of your card.
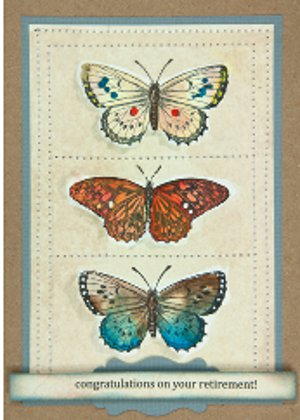
Read NextFoiled Butterfly Notecards