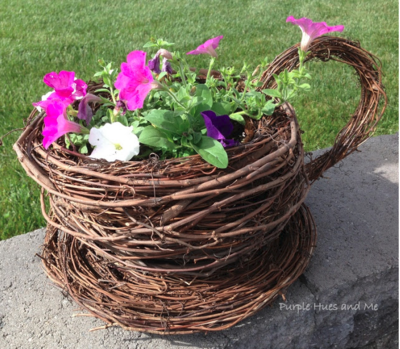
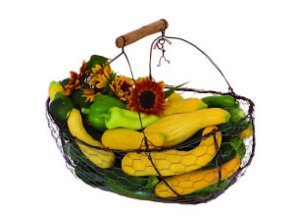
Chicken Wire Basket with Handle
Use inexpensive chicken wire to create a rustic basket for carting vegetables from the garden. This wire basket is a functional and attractive addition to your garden. Project designed by MaryJane Butters.
*Be sure to wear eye protection, and always bend over the ends of the wire after cutting to avoid sharp ends.*

Materials:
- 16-gauge utility wire
- 1" mesh poultry netting (chicken wire)
- needle-nose pliers
Instructions:
Top Ring: Cut 4 - 57" wire pieces. Form each wire piece into an oval. Brace together the four pieces with small pieces of wire to form one large oval ring.
Long Under Supports: Cut 4 - 36" wire pieces and brace together. Repeat to make 2nd brace. These will run lengthwise just left and right of middle of the sides of your basket, forming the bottom of the basket. Attach to top ring by clamping onto it; bending two of the wires to the left and two to the right; wrap around ring.
Side Under Supports: Cut 4 - 28" wire pieces and brace together. Repeat to make 2nd brace. These will span the width of your basket, framing the middle third of the basket on the sides. Attach like long supports.
Wire Handle: Cut 2 - 36" pieces for each side. For the top wooden piece, I used a piece of black walnut and carved grooves into each end to create a channel for the wire to fit in. Wrap wire snugly around the grooves and twist at bottom 2-3 turns until tight. Form handle onto basket on top ring at junction of side supports on each side.
Chicken Wire: Completely encircle the basket with the chicken wire and form to basket, cutting out wedges to make it fit to basket. Attach at top ring with long piece of wire, "sewing" it to the ring. Trim all wire and wrap ends.
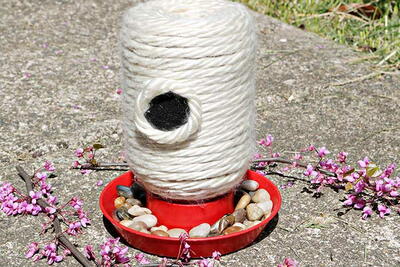
More Chicken Wire Crafts from MaryJane Butters:
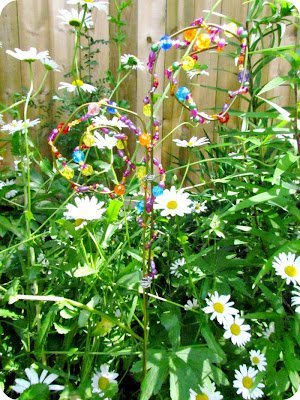
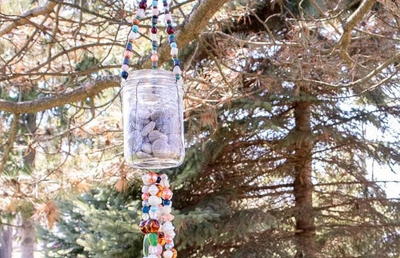
Read NextMason Jar Wind Chime
Your Recently Viewed Projects


Thanks for your comment. Don't forget to share!
editorKS
Feb 22, 2012
Hi, everyone. We tried re-uploading the picture to see if that would help. We have tested it in both Internet Explorer and Firefox and were able to view the photo. Please let us know if it is still not loading properly for you. Thank you! --Editors of FaveCrafts
Kelcey
Jan 23, 2011
I'm sorry I STILL can't see this picture. I have no problem seeing the other pictures on the site, just this one. That tells me that the problem is with the picture - not my computer. Maybe it's the picture format? Thx.
editor Linda
Jan 21, 2011
We made a change, so hopefully the photo will show for those of you who were having trouble viewing it. We were able to view it at this end previously. If you're still having trouble seeing the photo, please refresh the page - you can use the refresh button on your browser or press F5 on your computer.
Kelcey
Jan 08, 2011
Can't see the picture, could you please fix this. It's hard to follow the instructions without seeing the finished product. Thanks.
chandraklaa
Jun 07, 2010
hii can you please post this article in detail along with pictures if possible... it is so intresting to learn.... please post it in detail. thank you
Report Inappropriate Comment
Are you sure you would like to report this comment? It will be flagged for our moderators to take action.
Thank you for taking the time to improve the content on our site.