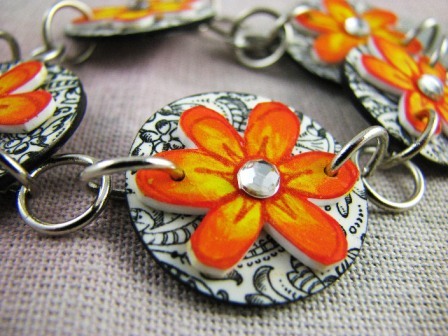
Shrink Plastic Charms Project
This simple and unique handmade project from Jacquard Products shows you how to create fun shrink plastic charms for any piece of jewelry. Crafts with jewelry made from shrink are friendly, cheap and easy, and will have you looking fabulous.
Materials:
- PolyShrink™ plastic/Lucky Squirrel
- Jacquard Lumiere (various colors)
- Fine sandpaper or sanding block (200-400 grit)
- Heat embossing gun
- Scissors or shape punches
- Paintbrush
- Rubber or wood stamps
- Hole punches
Steps:
- Sand a sheet of the PolyShrink™ plastic evenly with the fine grit sandpaper. Sand the plastic in a cross hatch pattern, first sanding in one direction, then in the opposite direction. Sand both sides. The paint will become embedded into the surface when the plastic shrinks.
- Paint a thin wash of the Lumiere onto the sanded surface of the PolyShrink™ using one or more of the Lumiere colors. The Lumiere may be thinned with water. Colors will intensify when the plastic shrinks. Be sure not to overload the PolyShrink™ with a heavy coat of paint or it may flake off after shrinking.
- Cut out the shape that you want to use. Remember that your shape will be about 45% of its original size.
- Punch holes in the plastic to make your shape into charms, jewelry or buttons. Hole punches come in many different shapes so you may want to experiment with them. The holes will maintain their shape even when they shrink.
- Using a heat gun, lay the piece on a flat surface that won’t be damaged by the heat. A thick piece of scrap wood works well. Heat the piece by aiming the gun at the plastic. The plastic will begin to move and curl when you heat it. If you feel it is shrinking too fast, hold the gun a little further away.
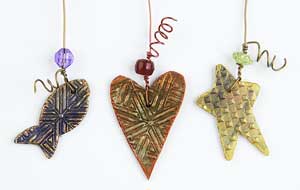
- For the embossing, continue to heat the piece with the heat gun. When the piece becomes very soft, stop heating and quickly press a rubber or wooden stamp into the plastic. After a few seconds, remove the stamp and let the piece cool completely. For embossing on both sides, place the piece on top of a stamp while pressing another stamp on top of the piece.
- After the piece is cooled, you can paint the edges and add highlights to an embossed area.
- Add a ribbon or jewelry findings to your finished piece. Or use it in a collage, scrapbooking or journal!

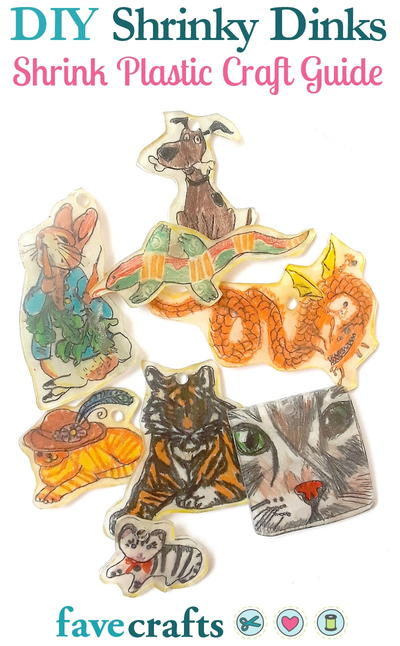
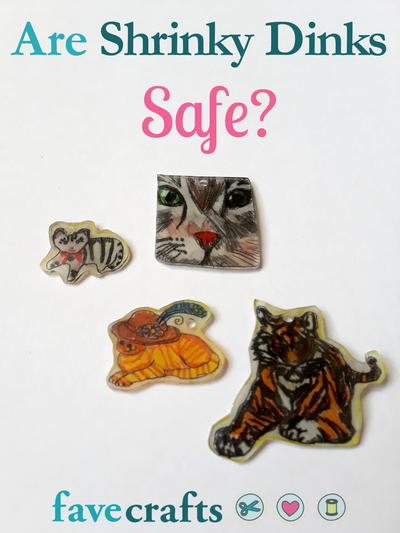
Love shrink plastic crafts? Find more gorgeous ideas for what to make with shrink plastic in DIY Shrinky Dinks: A Shrink Plastic Craft Guide.