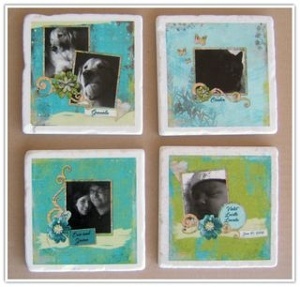
Personalized Photo Coasters
Make coasters from your own personal photos using this how to make coasters tutorial from Erin Bassett. These make great handmade gifts, and they're inexpensive to make too!

Materials:
- Tilano kit
- Computer and printer
Instructions:
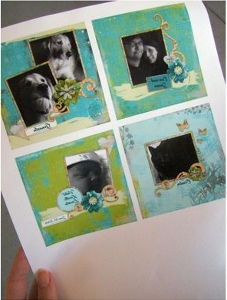
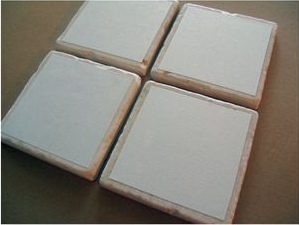
- The first step is to figure out your design. I decided to make mine 3.5 inches square, although the coaster is about 4 inches square. The designs I used are digital scrapbook pages I created with a digital scrapbook kit from ScrapArtist.com (created by Dianne Rigdon). After you finish creating your design you need to use a laser printer to print your design onto Tilano's special paper. I took a .jpg of my designs to Kinko's and let them print it for me. The contrast on the printout seemed much darker on the Kinko's print out then on my test print at home. I'm not sure if that's due to Kinko's printer settings, mine, or what. I also think they resized it a bit since once I got home I notice they were just over 3 inches square instead of the 3.5 inches square size I created. If I were to do this project over again I'd try using my husband's color laser printer to see if there was a difference. Oh, and an important thing to note is that you need to print out a mirrored image of your designs or your photos and text will be backwards.
- Once your images are printed out you brush on a thin layer of Tilano medium over them and the coasters and set them aside to dry. Once dry you can cut your designs.
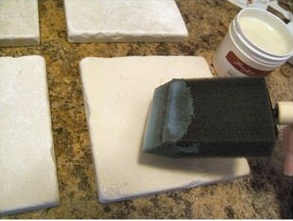
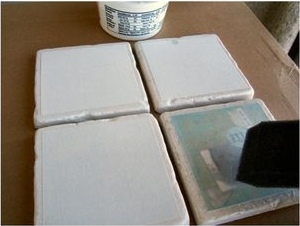
- Next, you brush on another layer of Tilano medium over the coasters & then place your designs over it. They give you a spreader to smooth out the paper & remove any air bubbles that may be trapped underneath. Once again you allow it to dry....they recommend 3 hours. With the warm dry weather we have here in CA it looked dry before that, but I obediently waited just in case 3 hours is the magical amount of time that causes things to work.
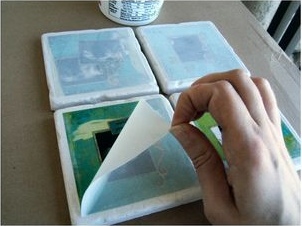
- After it's dry, you saturate the transfer paper with water from your brush and let the water sit on it for about half a minute. The paper should become translucent (if not, add more water & massage it a bit). You can then peel off the paper and reveal your design. Yes, peel it off...the special paper let's you just peel it right of, no rubbing and fighting it like with other methods of photo transferring- love that!
- Once your coaster has air dried you can sand any rough edges or areas where the medium oozed out around the transfer paper if you need to. Mine were fine & I didn't have to do that step.
- Lastly, you need to apply 3 coats of the medium...letting it dry 45 minutes in between coats. This protects the coaster from beverage moisture. You can also add some little cork "feet" to the bottom of each coaster, they come with the kit.