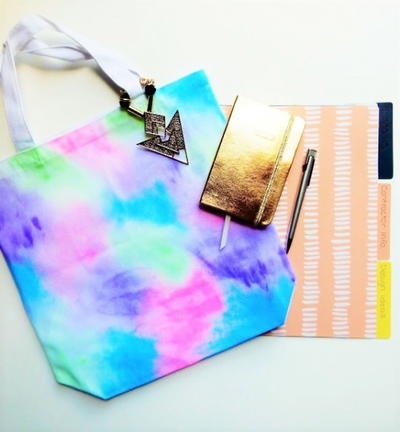
Stamped Market Tote Bag
Make your own market tote bag with this free pattern. Don't throw out your grocery bags, but now you can recycle using your own tote. Follow these step-by-step instructions and you can have your own grocery bag to go green with.

Materials:
- Blank cotton bag (I found muslin bags at my neighborhood dollar store)
- Rubber stamps of your choice (bold graphics without alot of fine lines will work best)
- Fabric inks eg. Speedball Screenprinting ink, or
- VersaMagic Chalk Ink stamp pads
- Rubber brayer and plate or cookie sheet (if using screenprinting ink)
Instructions:
- Prewash the bag in cold water, and dry without using fabric softeners. You need to wash the sizing out of the fabric or the ink will not print well. Press and smooth flat.
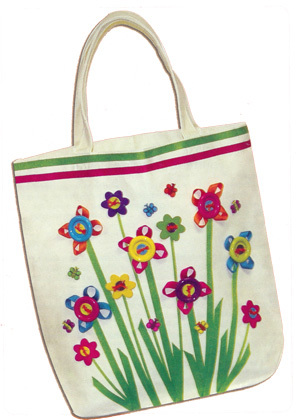
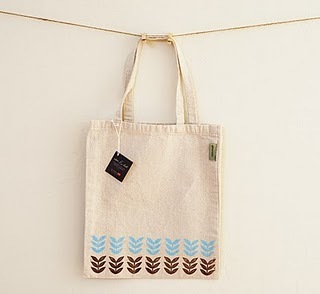
- Figure out how many stamped impressions you can make on the fabric, mark the center of your design and start there. For the bag shown above, I made two rows of 7 impressions, so I marked the middle and stamped to the left and right. If you are meticulous about spacing, you can mark each spot and stamp from one end to the other, but I find it easier to eyeball it from the middle.
- Prepare your ink. If you are using screenprinting ink, scoop out what you need with a clean spoon and spread it on your plate or cookie sheet. You'll get better results if you mix at least two colors together and don't use it straight out of the jar. Its an old habit of mine from my painting days, and I know from experience that the color comes out much richer this way. Use a clean spoon for each color.
- Mix the colors directly on your plate and use your brayer to smooth out a even coat. Apply the ink onto your stamp using the brayer. You should transfer an even coat onto the stamp. Always test on a scrap piece of fabric! Once you have gotten the hang of transferring the right amount of ink onto the stamp, press firmly onto the fabric with even pressure. Do not wiggle. Lift quickly. Repeat.
- Clean the stamp well before changing colors. For the bag above, I did the top row with Peacock Blue mixed with White, and bottom with Brown and a little Black.
- When the prints are dry to the touch, put a piece press cloth over it and set a hot, dry iron on it for about 20-30 seconds.* This will heat set the ink and render it washable. Make sure you cover every part of your design.
*Actual heat-setting time will depend on how hot your iron is. You can do it a little longer to be safe, as long as you use a press cloth to protect your fabric.
**If you are using the fabric stamp pads, you can skip all the mixing and brayer action but you will still need to heat set it.
Your Recently Viewed Projects
Thanks for your comment. Don't forget to share!
princess6860504
Jun 30, 2017
Wow! What a fun looking bag! It has a very bohemian look which is very on trend right now, and has been for a while now. These stamped canvas bags seem like they are so fun to make. Deciding what stamps you want to use, and being your own designer is the best part if you are indeed into expressing yourself with your art. How many could you make to give as gifts?!
Report Inappropriate Comment
Are you sure you would like to report this comment? It will be flagged for our moderators to take action.
Thank you for taking the time to improve the content on our site.