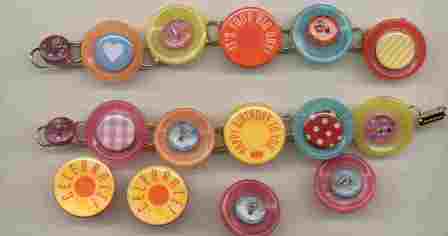
My Birthday Bracelet & Earrings
Celebrate your birthday with color and fun! Stacking buttons and epoxy stickers gives a unique look to these bracelets and earrings designed by Maria Nerius, FaveCrafts.com resident craft expert.

Materials:
- Buttonware bracelet kit*
- Around The Block celebrations epoxy stickers
- K and Company epoxy brads
- Wire cutter
- Jewelry glue
- Clip-on earring backs
*Kit comes with all buttons, beads, and wire needed plus bracelet blank or just use buttons and stickers you already have.
Instructions:
- Select and remove prongs from 2 brads with wire cutters. Pull the Happy Birthday To You, It’s Your Big Day!, and Celebrate! epoxy stickers from package. Line up five big buttons from kit. Select 3 small buttons from kit.
- Using wire from kit, thread through on hole of large button, then one hole of small button, then add clear E bead (E beads are in kit). Now thread wire back through second hole of small button and second hole of large button. Twist wire to secure and trim with wire cutters. Repeat. Adhere the epoxy brad fronts to the top of 2 large buttons. Adhere It’s Your Big Day! Or Happy Birthday To You epoxy sticker to the last big button. Although it’s a sticker, use a little jewelry glue to make sure bond is secure between epoxy sticker and big button. Using wire from kit, thread wire through last small button, add clear E bead, and thread wire back through second hole of small button and twist to secure. Trim. Now you have all five big buttons and one small button embellished.
- Line up buttons as desired with It’s Your Big Day or Happy Birthday as the center button. Line up bracelet. Keep in mind that the big buttons cover 2 of the square disk links. Adhere big buttons to the bracelet. There should be 1 square disk empty on the bracelet so adhere small button to that last square disk. It doesn’t matter which end (clasp or circle link) the small button is adhered near.
- You’ll have some leftover supplies for earrings. You can thread a small button to a large button as you did in Step 2 or you can adhere an epoxy word sticker to the big buttons. Use clip-on earring back for kids.
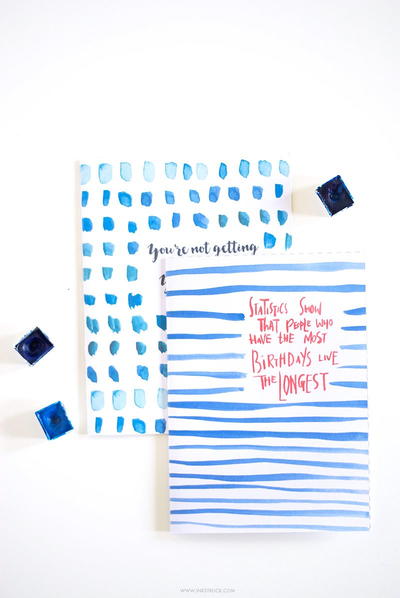
Read NextWatercolor Printable Birthday Cards