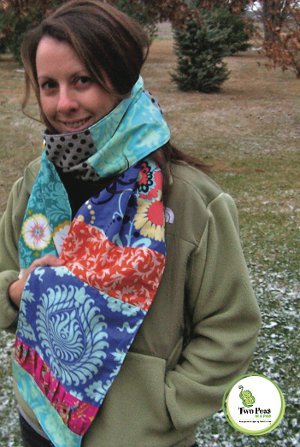
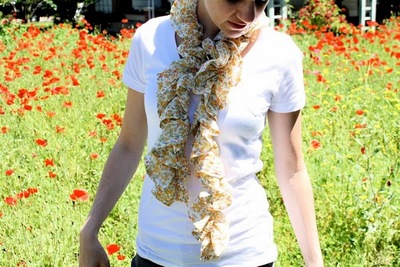
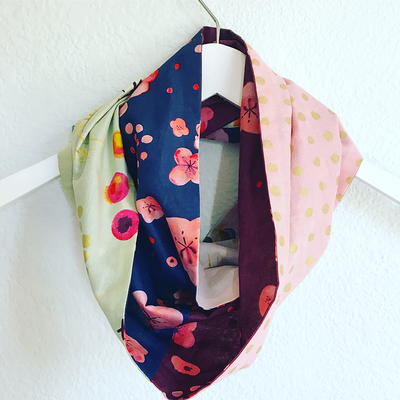
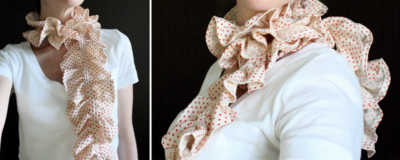
Summer Scarf: Version 2
This second version of the summer scarf shows how to make the scarf without elastic thread. This scarf sewing tutorial from Dana Willard gathers fabric into ruffles in the old-fashioned way.

Materials:
- 1/2 yard of very light-weight cotton, sear sucker, knit or linen; fabrics that seem to "breathe" and will give your scarf a bounce. (If you use knit, you don't need to do anything to the edges. Just leave them raw. Your project time just got cut in half!)
- Sewing Machine
Instructions:
- Prep the scarf as in the Summer Scarf Version 1.

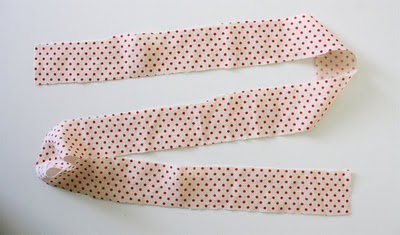
- Cut a strip of fabric about 50 x 1 1/2 inches (127 x 4 cm). This is the strip that will hold your gathers in place. If you want it to blend-in, use the same fabric. If you want it to stand out, use a contrasting fabric. You could also use ribbon, bias tape, I'm sure you can think of more!
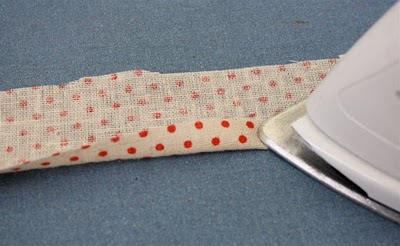
- Iron the sides of your strip over on all sides, so that you have one long strip of fabric, about 1/2 inch (1 cm) wide. It will look sort of like store-bought Bias Tape when you're done.
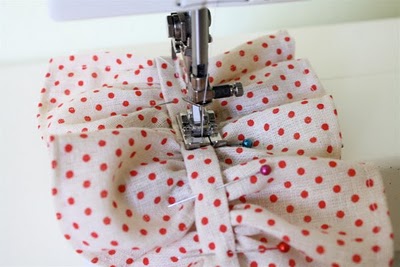
- Now, start gathering. Do NOT do a stay stitch (a back and forth stitch at the beginning) and set your machine to the longest stitch. Sew a straight line all the way down the middle of the scarf. Just eyeball it. Doesn't need to be perfect.
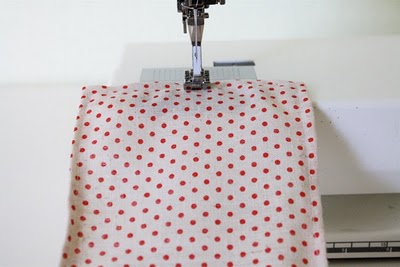
- When you get to the end, do NOT do a stay stitch and leave the threads long at the end.
- Sew another line about 1/4 or 1/2 inch next to the one before (remember not to Stay Stitch). Do NOT cross your lines (or as Egon says, Don't cross the streams! ) If this happens, the gathering will not work.
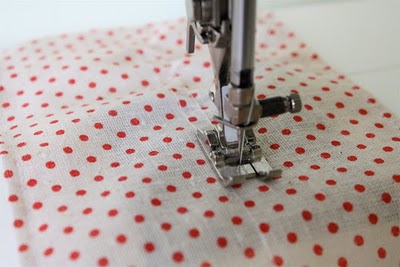
Gathering is much easier to do if you've sewn two lines to pull from (rather than only sewing one). Three lines are even better. But two is fine for this project.
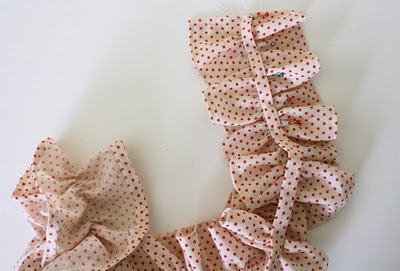
- Okay, taking both the threads from the front (or both the threads from the back, but make sure you're grabbing both threads from the same side), start pulling them and pushing the fabric down so that it gathers up.
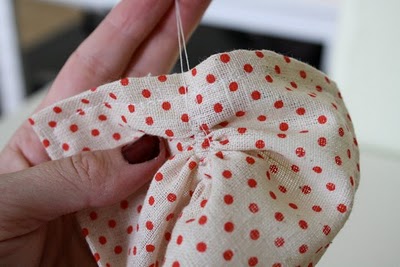
- Continue this process....shifting, pulling thread, pushing fabric down, etc.

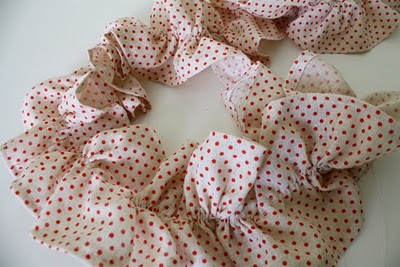
- Do this until the scarf is gathered to your desired length or the length of the strip you just ironed.
- Take that strip and pin it right on top of the gathered threads, so that it hides the thread underneath and holds the gathers in place.
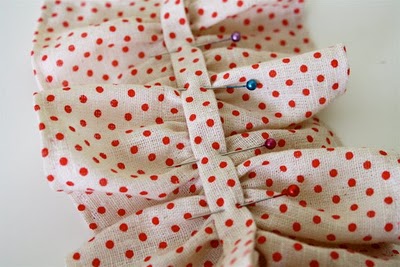
- Pin it all the way down to the other end.
- When you get to the ends, tuck the end of the fabric strip under.
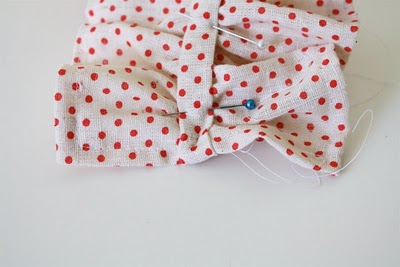
- And pin it in place on the other side.
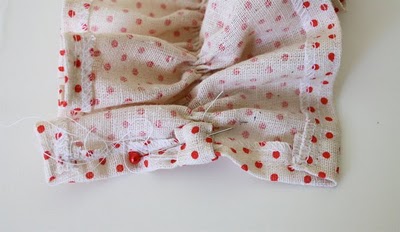
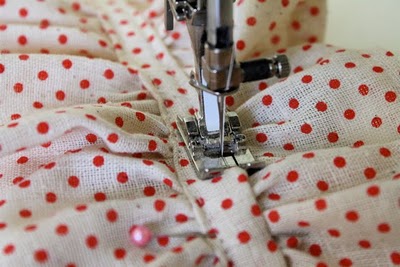
- Then, sew it in place! Sew down one side.
- Use your fingers to push spread the fabric as you go, so that the gathers are spread evenly.
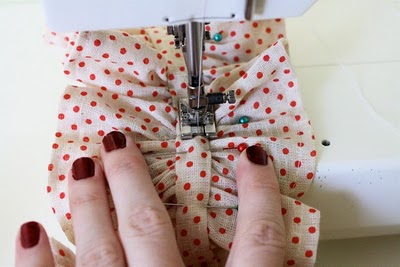
- Then sew down the other side.
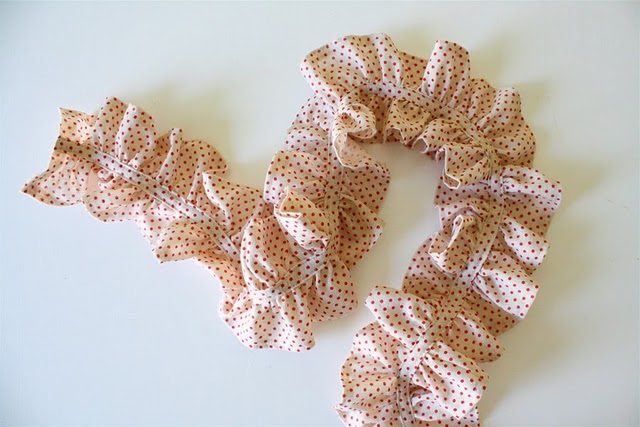
And you're done!

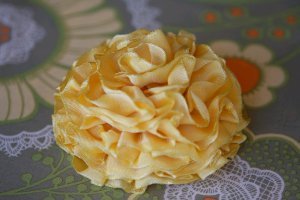
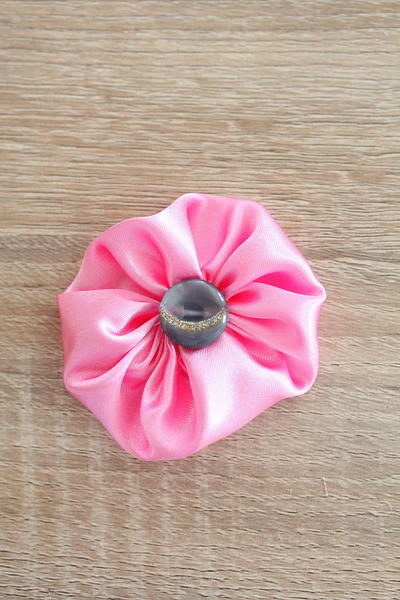
Read Next5-Minute Flower Yo-Yo
Your Recently Viewed Projects
Thanks for your comment. Don't forget to share!
Member 1757016
May 14, 2015
I made one last year, but it is stretch fabric I used and I didn't have to hem it came hemmed already. https//www.pinterest.com/pin/166562886193519853/ directions and what type of material how much etc. Very simple.
theresarios 973059 2
Mar 31, 2014
Wonderful have been doing the ruffle scarf with lace but ready to try another version.
arushibhatia321 68 78308
Mar 11, 2013
Awesome..... I like how it is easy but how long should the big piece so it is ruffled nicely and you can notice the ruffles and its not like wavy or anything?
terrihays67 379902 9
Jul 29, 2011
Oh my goodness Super easy love making them I am trying to get ahead on gifts Thanks So much
Report Inappropriate Comment
Are you sure you would like to report this comment? It will be flagged for our moderators to take action.
Thank you for taking the time to improve the content on our site.