Homemade Jar Opener From Jeans
Make a DIY jar opener from an old pair of jeans! This beginner-friendly tutorial will show you how.

Sometimes you just can’t get that jar open, or it tends to hurt your hands. Thankfully this post shows an easy and eco-friendly way to upcycle old denim into an opening tool!
Follow this full tutorial to learn how to make a Homemade Jar Opener From Jeans. All you need are the back pockets and a seam from a pair of jeans, along with a sewing machine and hand needle. You can also add an optional rubber grip to make it extra strong.
Because it's made from a pocket, you have a place to keep your hand steady and gripped on the jar inside your opener. This unique DIY fabric jar opener also has a loop so you can hang it in your kitchen, ready for action!
With this easy tutorial, you'll find step-by-step instructions to create your own.
Join Our 200,000+ Fans And Sign Up to Receive Your FREE eNewsletter!
Homemade Jar Opener From Jeans
Once you learn how to make a jar opener, you'll save yourself the struggle of trying to open difficult jars of all sizes. But that's not all! These jar openers make fantastic gifts for anyone (who hasn't had a troublesome jar?) and sell very well online, at craft shows, or at your local fairs.
Main Materials: Denim, thread, and sewing needle
Primary Technique: Sewing
Project Type: Make a Project
Difficulty Level: Easy
Estimated Cost: Under $10
Time to Complete: 1 hour
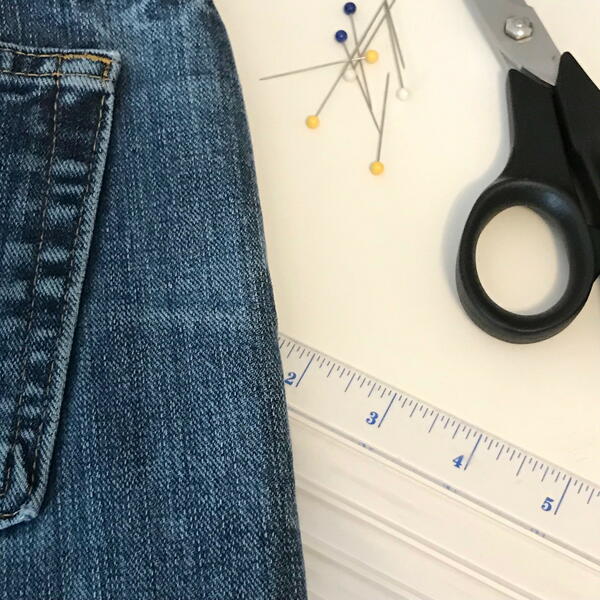
DIY Jar Opener Gripper Materials Needed:
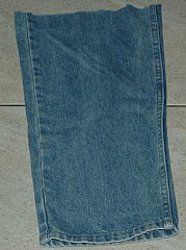
- Denim jeans (we are using the back pockets and one seam)
- Fabric scissors
- All-purpose thread
- Hand-sewing needle
- Quilt batting (the same size as the pocket, just one layer is needed)
- Seam ripper (if needed)
- Pins
- Thimble
- Measuring tape or ruler
- Optional: Rubber or silicone shelf liners (or similar sheets). Alternative: puffy-style fabric paint or hot glue.
While this tutorial does not include an extra gripping element, you can make your new DIY jar opener even stronger by adding some rubber, silicone, or paint to the side touching the jar top. You can add it at the end but it's easier to do it after cutting the pieces. See the note in the tutorial.
Homemade Jar Opener Instructions:
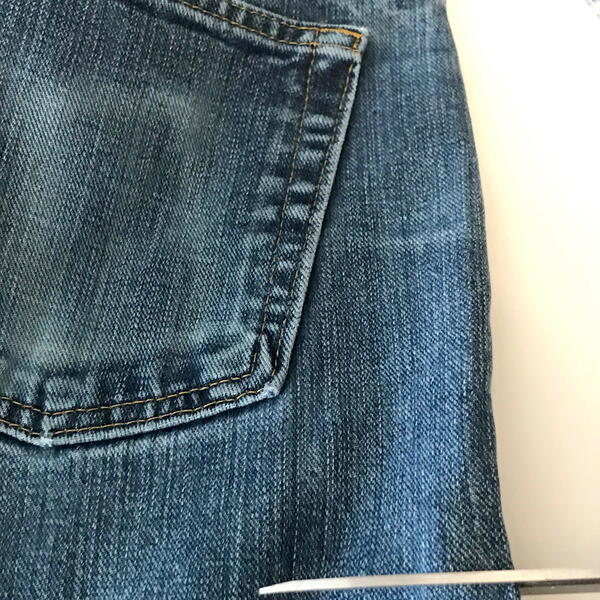
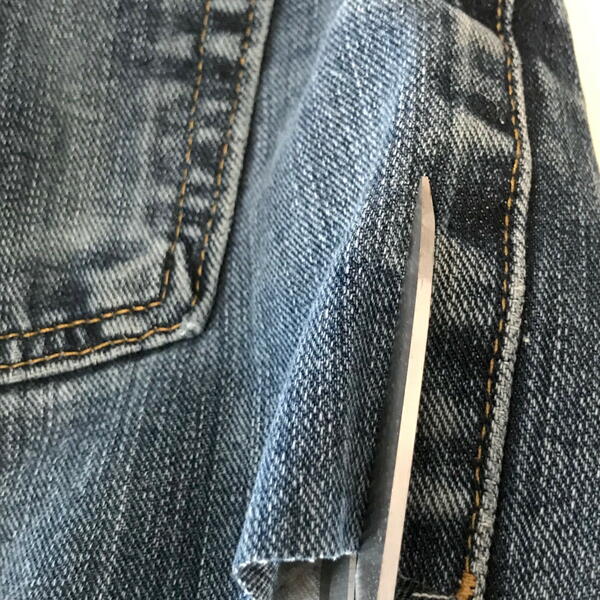
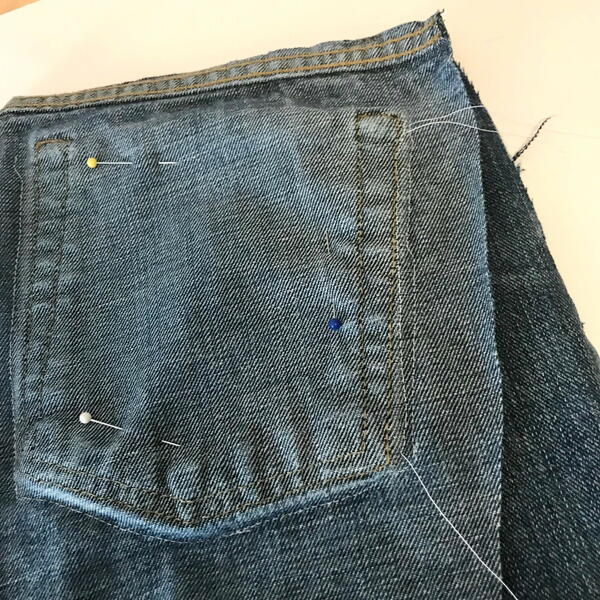
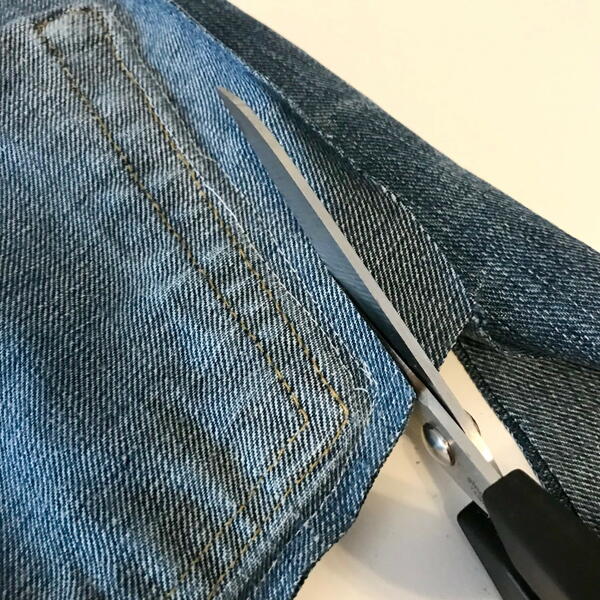
- Place the denim jeans on your work table with the pockets facing upwards. Using fabric scissors, cut around the back pockets, leaving some fabric around each (about 1-2" if possible). Remove the center seam and set aside.
Also, if you'd like to add a loop, cut a piece of the seam edge that's about 6" or whatever length you prefer.
Note: This is when it's easiest to add extra grip using a silicone/rubber sheet or fabric paint. If using a sheet, simply cut a piece that will fit inside the pocket seam section. Sew or use fabric glue to attach it to the outside of one cut jean piece.
If using paint or glue, squeeze across the jean piece inside the pocket seam section. Create a fun design or make basic lines to help grip.
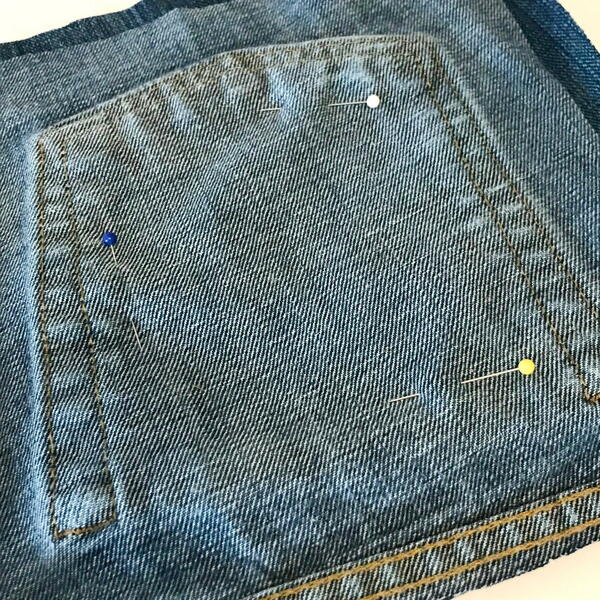
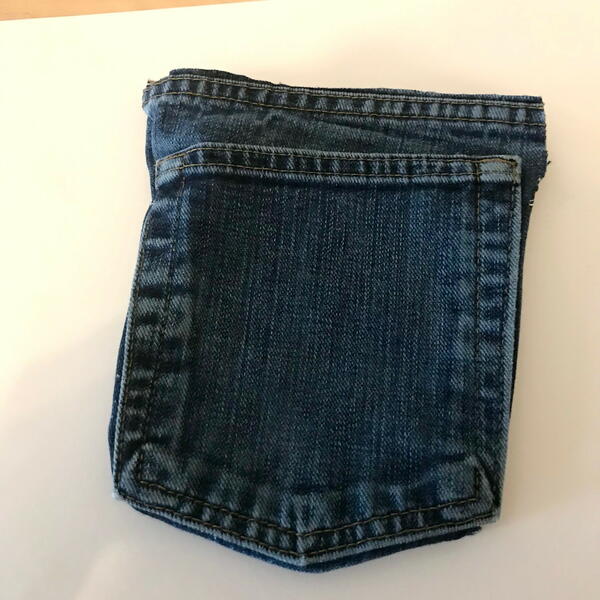
- Place the two pieces together with the pockets lined up to match each other (right sides facing inwards). Use a few pins to attach them in the middle.
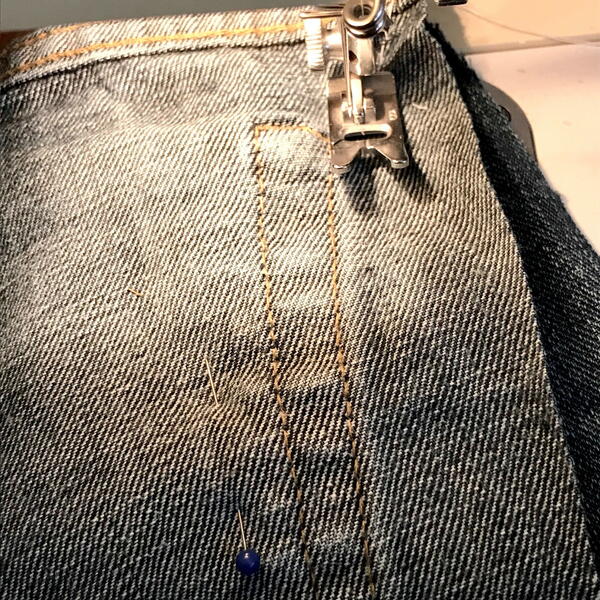
- Insert a denim or heavy fabric needle into your sewing machine. Connect the two pieces together with a sewing machine (except the top- leave that open!). A regular straight stitch in a medium-length setting (about 3) should work for most denim.
Set the machine’s needle to the left side (instead of center) so it can get closer to the edge of the pockets. Backstitch at the beginning and end for security.
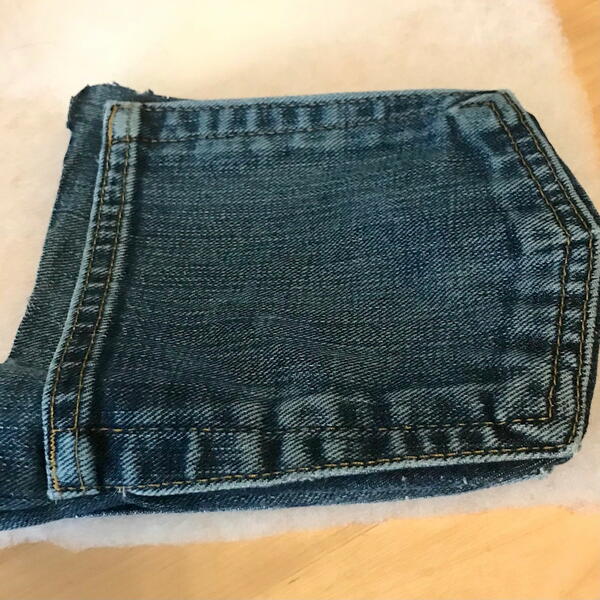
- Place the denim back on your work table and trim off any dangling threads. Carefully cut around the sewn edge, leaving about 3/8” or so remaining to prevent the stitches from coming out.
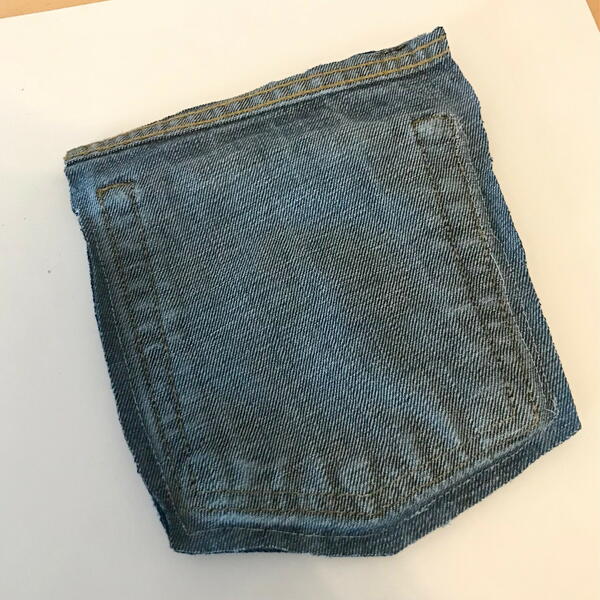
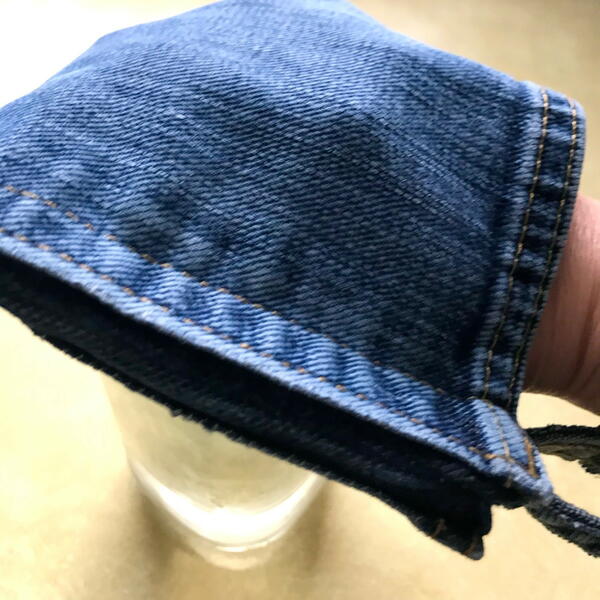
- Next, turn it right side out. Smooth and flatten into a nice shape.
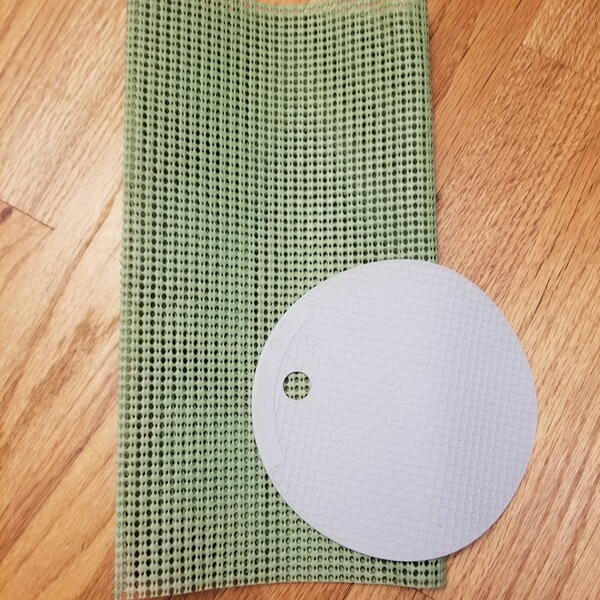
- Trim the quilt batting so it’s the same size and shape as the pocket.

- Place the quilt batting inside between the backing fabric of the two pockets.
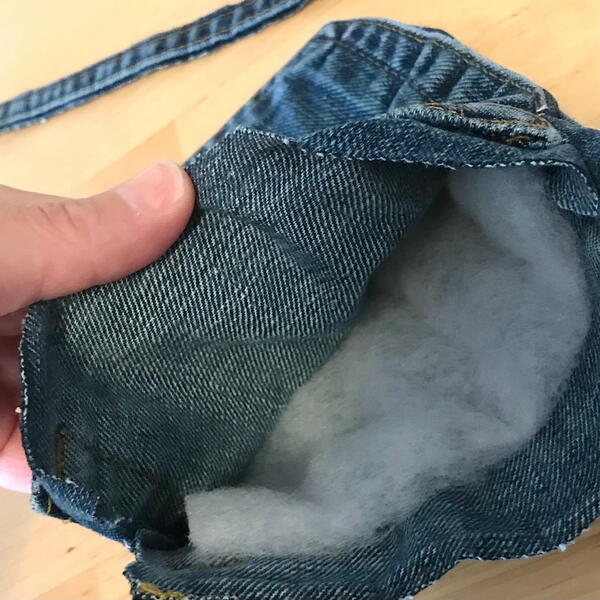
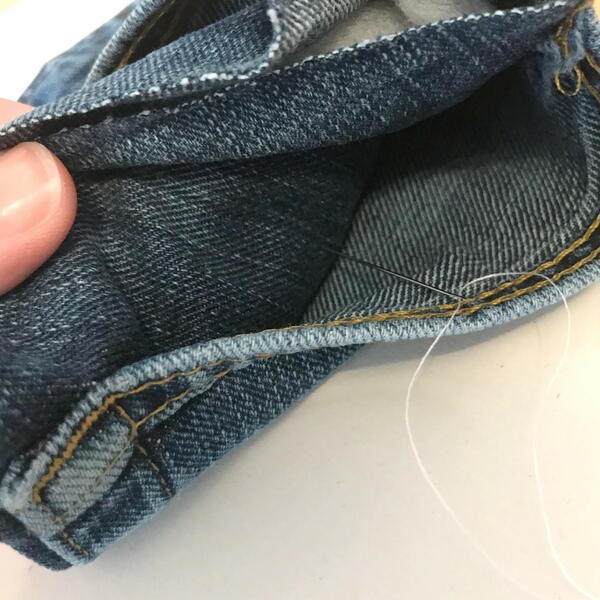
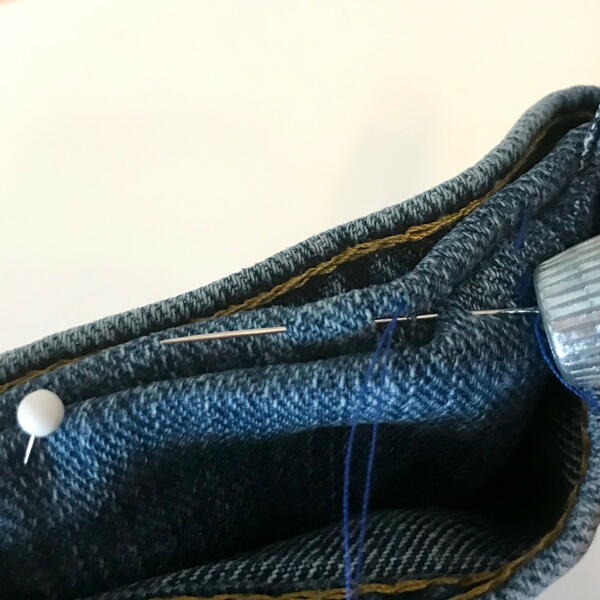
- Using a hand-sewing needle and thread, add a few discrete stitches inside (going through the inside of each pocket and the quilt batting, so three layers total). This should be hidden from the outside and is to hold the shape and quilt batting in place.
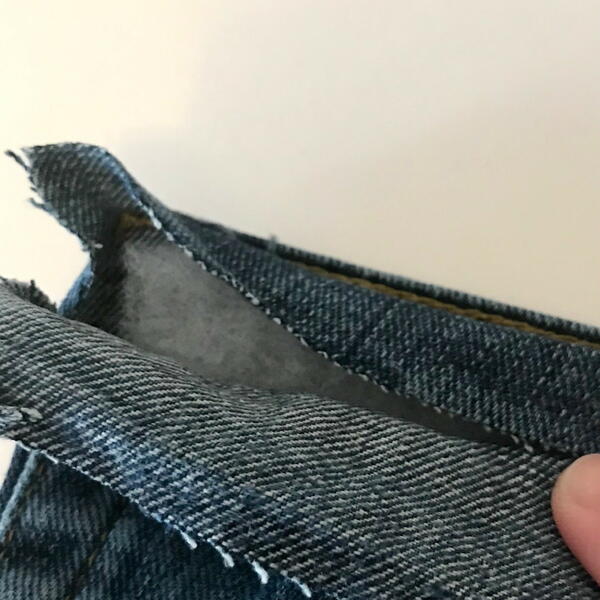
- Cut off the top edges where it is still open so they are just a little longer than the pockets. As mentioned earlier, use the seam edge design for the loop (but if your jeans don’t have it a side seam is fine too).
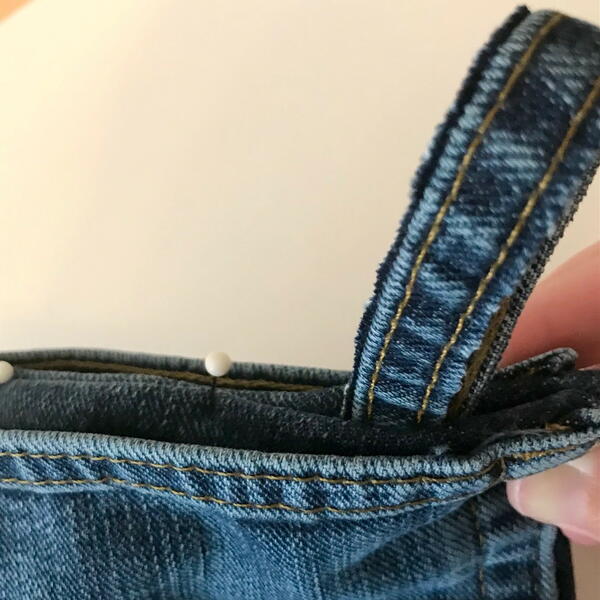
- Fold both of the cut top edges inwards so they cover the quilt batting and create a clean finish. Place pins along it to hold the fabric together.
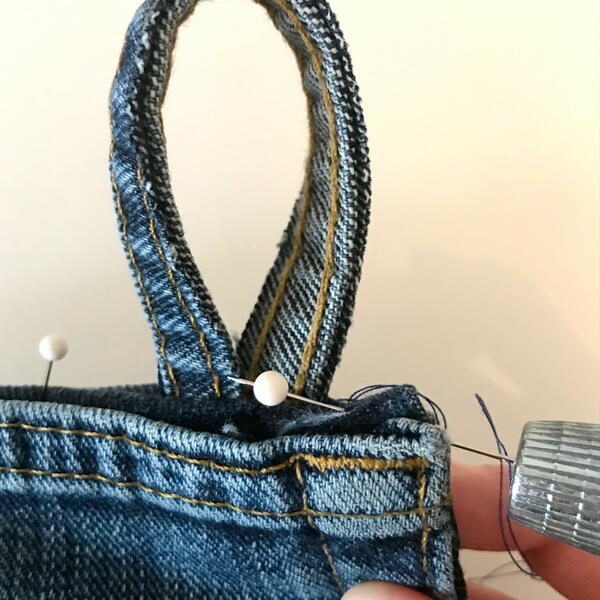
- Double the seam edging piece (about 5” long) over and connect both ends together with a stay stitch. This will create a loop.
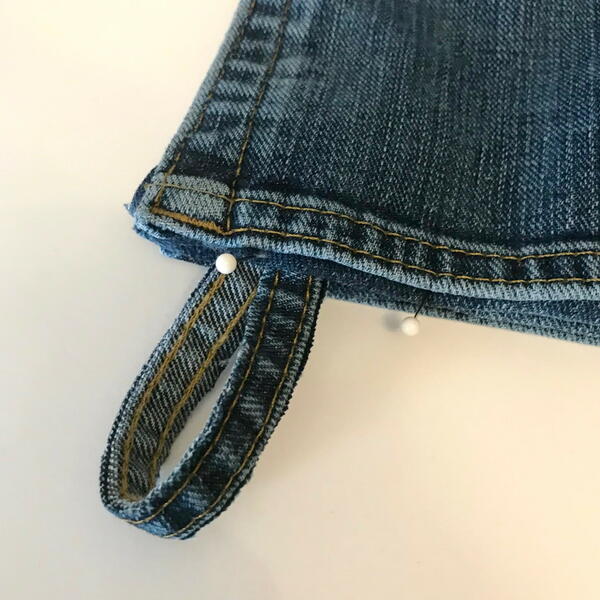
- Insert the loop inside one open corner of the fabric pocket. It should be placed about 3/4” down to keep it from falling out. I staggered the loop slightly so it sits flatter and looks a little more fun. Place a pin to hold it.
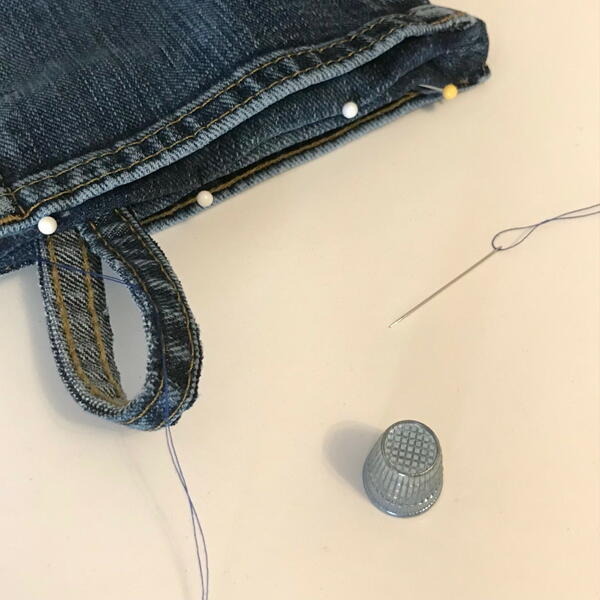
- Use a hand-sewing needle and thread to secure the loop and to close the open edge. This can be done with a matching blue thread to blend in.
- Check for loose threads or holes.
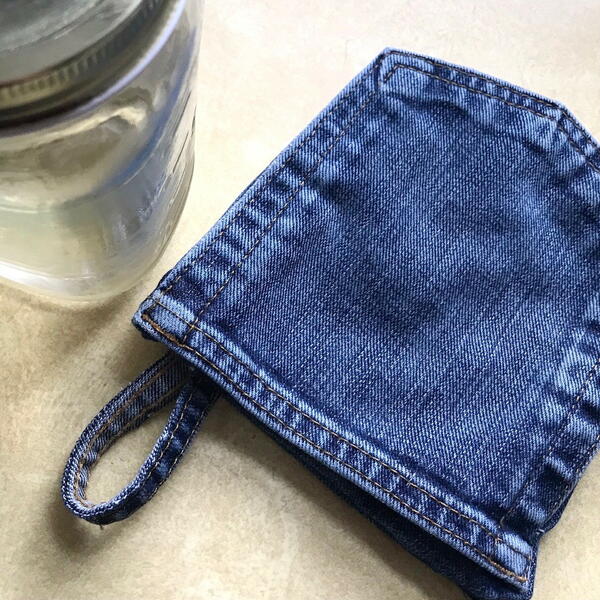
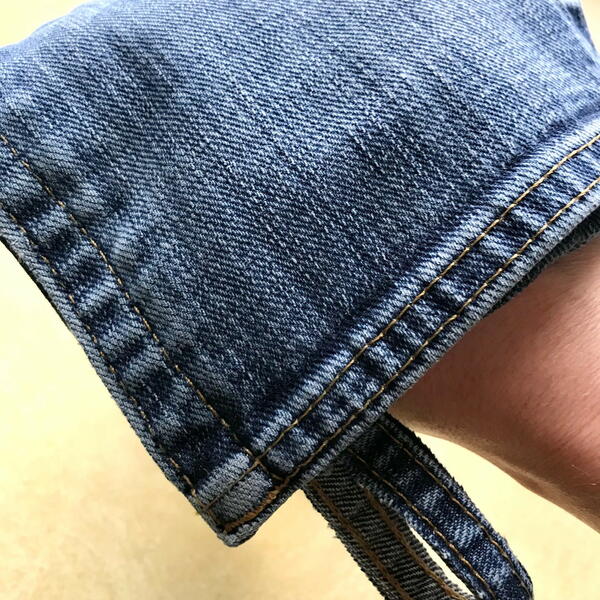
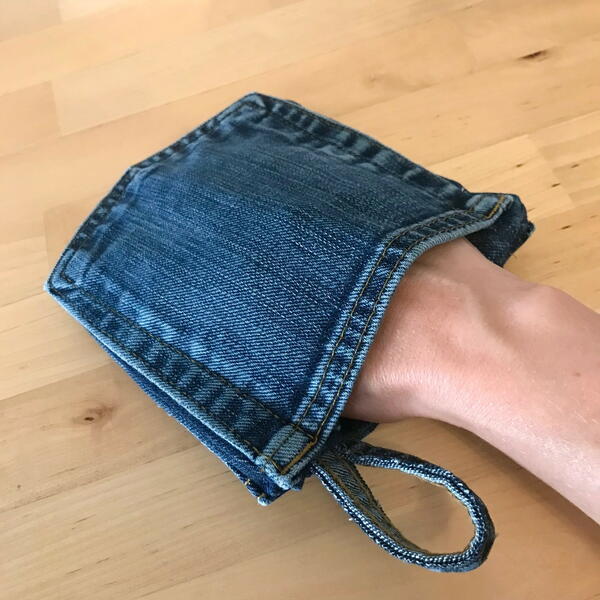
Then, simply place your hand inside to use your new fabric jar opener! Store it in a cool, dry place.
Up Next:
Read NextHomemade Jar Opener From Jeans