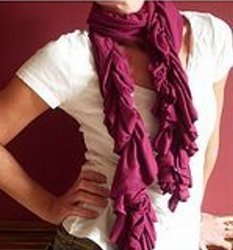
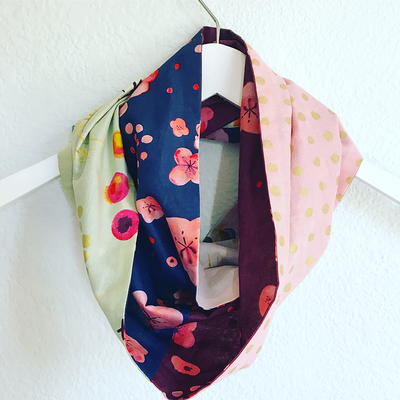
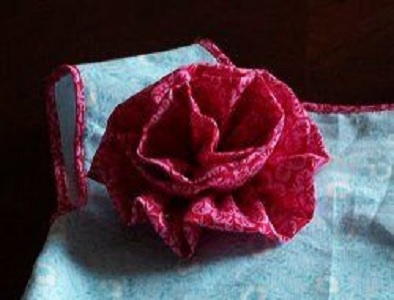
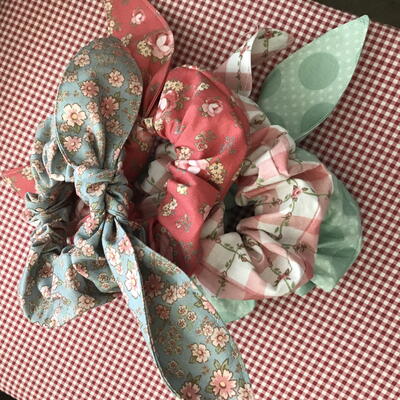
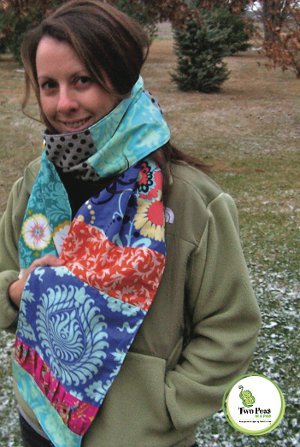
Patchwork Scarf and Scarflette
Use up scraps of pretty fabrics in these sewing patterns for scarves that you can give as gifts or keep for yourself. The Patchwork Scarf and Scarflette from Trish Preston each feature stripes of fabric interspersed with stripes of ruffled fabric for a feminine touch.

Scarf:

Materials:
- Loads of scraps. I used a combination of cottons and flannel, cut 10″ wide and totaling 80″ (includes seam allowance) in length (the finished length is roughly 66″). On my scarf, I cut the two end pieces from the same fabric and the same size to match them up. I cut those pieces to be 10″ x 3 1/2″. And I added a ruffle above each end piece, cut 20″ x 3 1/2″.
- Lining fabric. The lazy girl method: just use your finished top as your pattern and cut your lining to size.
Instructions:
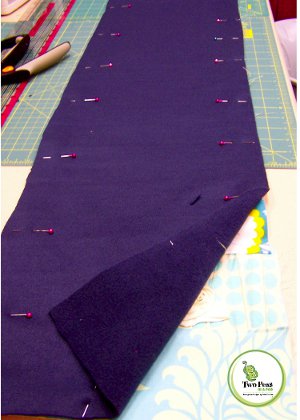
- Lay out all of your scraps to plan the order in which you are going to piece them. Then, using 1/4″ seams, laying right sides together, piece your 10″ wide scraps to create your scarf top. On each end of my scarf, I created a ruffle and then added the final piece on each end which was identical print and size.


- To create the ruffle, I used the piece cut 20″ x 3 1/2″. Run a gathering stitch down the center of that strip. Pin the ruffle to your fabric strip just allowing the ruffle to tuck and fold however it falls. Stitch. Then add on your last piece which on mine was sized 10″ x 3 1/2″ and identical on the two ends.
- Press ALL of your seams to one side and then topstitch. (see below). Remove your gathering stitch from your ruffles.

- Add the lining. I suggest you use your finished scarf top as your pattern and cut your lining fabric to size. With right sides facing, pin your lining fabric (fleece, flannel or cotton – your preference) to your scarf top. Using 1/2″ seams, stitch all the way around your scarf, beginning in the center on one of your long sides and leaving a 6″ opening for turning. Trim away excess and clip corners.

- Turn your scarf right side out. Press all along your edges to give it a crisp finish. Topstitch all along the edge of your scarf. Done!
Scarflette:

Materials:
- Loads of scraps, my finished scarflette totaled 44″ – adjust as needed to fit for a custom fit. For the 44″ length, you’ll need 8 fabric strips cut 6 1/2″ wide x 3 1/2″. Cut another 8 fabric strips 18″ x 3 1/2″.
- Use your finished scarflette top as a pattern to cut your lining fabric.
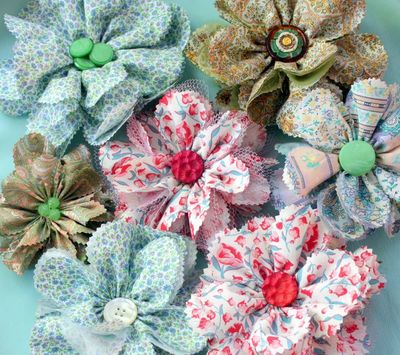
- Various buttons for decorative details.
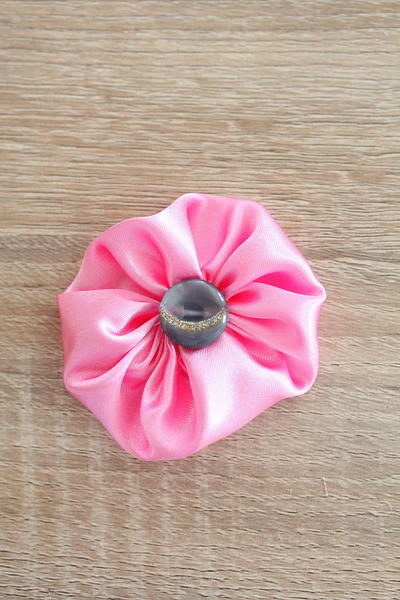
- Fabric scraps for making yo-yo’s.
Instructions:
- Lay out all of your fabrics to plan how you would like to piece them together. Then gather each one of your long strips to create the ruffles.

- To create the ruffle, run a gathering stitch down the center of each of your long strips. Pin the ruffle to your fabric strip just allowing the ruffle to tuck and fold however it falls. Stitch. Continue stitching together in the order of ruffle, flat piece, ruffle, flat piece and so on until your top is complete. (Refer to the ruffle photos above in the SCARF directions). Press all of your seams to one side and topstitch. Remove your gathering stitch from your ruffles.

- Add the lining. I suggest, you use your finished scarflette top as your pattern and cut your lining fabric to size. With right sides facing, pin your lining fabric (fleece, flannel or cotton – your preference) to your scarf top. Using 1/2″ seams, stitch all the way around your scarf, beginning in the center on one of your long sides and leaving a 6″ opening for turning. Trim away excess and clip corners.

- Turn your scarf right side out. Press all along your edges to give it a crisp finish. Topstitch all along the edge of your scarflette. On mine, I did my edge stitch using a zig zag stitch.
- Add the button(s). On our scarflette, we placed a button hole centered and up 11″ from the one end. (You should try on your scarflette and determine where you would like a button. This 11″ up fit both me AND my 2 year old so we could share!). Then I sewed a button on the opposite end to match the buttonhole. I layered several buttons for more color. I also made a couple of yo-yos and placed a button to the center. You could also opt to do two buttonholes – placed 1-1/2″ from each edge for a bit more security if you’d like.

Read NextHomemade Jar Opener From Jeans
Your Recently Viewed Projects
Thanks for your comment. Don't forget to share!
mariansmenageries 0836748
Jul 11, 2014
I have not made this YET but planning on making this for a few Christmas presents this year. I absolutely love this idea.
Melissa Ryan
Jul 14, 2014
We're so glad! Don't forget to share some photos of your finished project! We'd love to see how it turned out! --FaveCrafts Editors
mom2347 0741801
Jun 25, 2012
It appears a bit stiff. Eliminating the top-stitching would go a long way toward making the hand softer.
Report Inappropriate Comment
Are you sure you would like to report this comment? It will be flagged for our moderators to take action.
Thank you for taking the time to improve the content on our site.