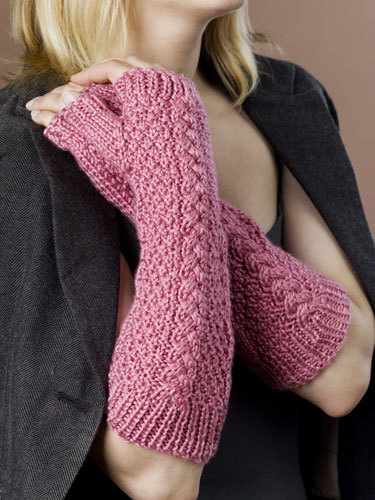
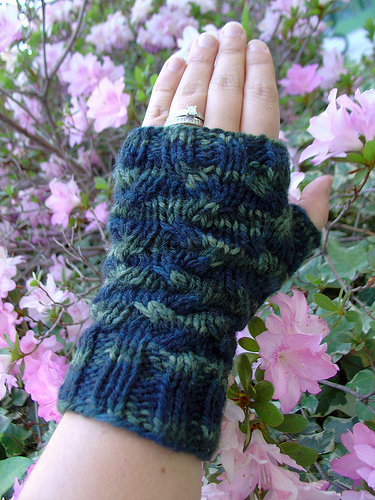
Roman Holiday Fingerless Mittens
I lost the tag for the yarn that I made these from, but I remember the color way was called Audrey Hepburn, which inspired the name for these.
These fingerless mitts are a good beginner project with an easy to remember pattern stitch. They work up quickly so they are a lovely idea for a last minute gift. As the pattern stitch is worked all the way around, there is no difference between the left and right hand mitts. The cables can easily be done without a cable needle, or using a spare double pointed needle, if you don't want to use a cable needle. I designed these on double pointed needles, but this can easily be adapted for any other method that you prefer.

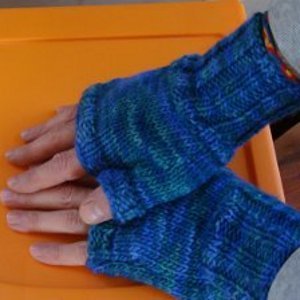
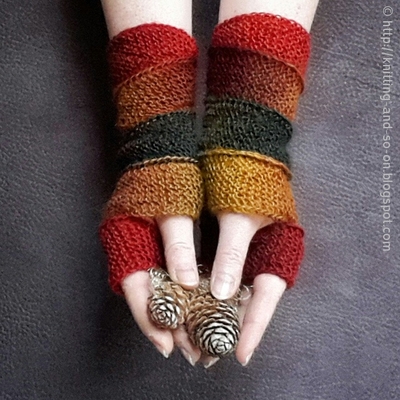
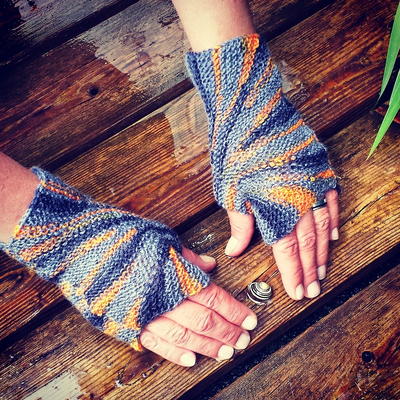
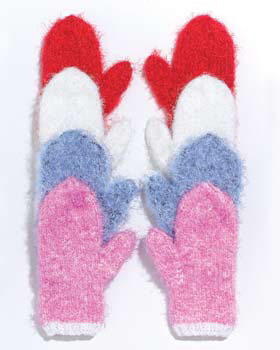
Learn how to make a variety of gloves and mittens projects in our roundup of 16 Free Knitting Patterns for Mittens.
Materials:
- Yarn: Approx 100 yards of worsted weight
- Gauge: 12 stitches and 12 rows = 2" in pattern stitch
- Needles: 5mm (Size 8 US) double pointed needles
- Notions: Stitch marker, small amount of waste yarn in contrast color
(Note: The mitt will seem narrow, but stretches once put on. The gauge is based on the size of the mitt before it is stretched.)
Abbreviations:
C4B: Slip next two stitches onto cable needle and hold at back of work. K2 from left needle, then 2 from the cable needle.
C4F: Slip next two stitches onto cable needle and hold at front of work. K2 from left needle, then 2 from the cable needle.
Instructions:
Make two mitts as follows:
CO 36 stitches. Place marker and join in the round being careful not to twist.
Work K2, P2 ribbing for 10 rows.
Begin pattern stitch:
Row 1-2: Knit
Row 3: C4B, K2 repeat around
Row 4-6: Knit
Row 7: K2, C4F repeat around
Row 8: Knit
Repeat rows 1-8 of pattern stitch three times. (Do 2 repeats for shorter mitt, or additional repeats for longer mitt).
Create space for thumb:
At beginning of next row, knit first 6 stitches onto waste yarn.
(Note: I recommend using a yarn that is a very different color from your main yarn so that it is easily visible.)
Put the 6 stitches just knit onto the waste yarn back on left needle, as if starting the beginning of the row.
Using main yarn, knit rows 1-8 of the pattern stitch once more.
Work K2, P2 ribbing for 4 rows and bind off loosely.
Work thumb:
Carefully pull out the waste yarn and place the 12 live stitches back on your needles.
Pick up one additional stitch in each corner (14 stitches total) and arrange evenly on the needles.
Join main yarn and knit around for 6 rows.
Bind off loosely and weave in all ends.
Read NextChunky Mittens Knitting Pattern
Your Recently Viewed Projects

Thanks for your comment. Don't forget to share!
Member 5314805
Mar 17, 2011
Can you please write instructions for these gloves so that they can be knitted with only two needles? I can't buy any double-pointed or circular needles anytime soon. Thank you sooo much!!
fatcow3 1887557
Dec 24, 2010
For anyone confused about how the 6 stitches knit onto the waste yarn become 12: after knitting the 6 stitches onto the waste yarn, they are put pack onto the left needle and knit again. When the waste yarn is removed, there are 12 live stitches remaining (6 on top for one needle and 6 on bottom for another) to be knit into the thumb piece.
The Editor of Fave Craftscom and AllF reeCrochetcom
Jan 25, 2010
You cannot sell these patterns as it came to us from Natalie Jacobs of Organic Stills. Please feel free to make as many patterns as you wish though. Thanks! -The FaveCrafts Team
Organic Stills
Nov 02, 2009
If anybody is unfamiliar with the waste yarn thumb method in these instructions, here's a couple of tutorials that may be helpful. httpyarnmafia.blogspot.com200809stick-people-shouldnt-poke-each-other.html httpfunkyorangeneedles.blogspot.com200801part-1-of-waste-yarn-trick-basic.html Thanks for checking out my pattern!
PattyP
Nov 01, 2009
There is something wrong with these instructions. Please review thumb hole instructions and make proper changes. It's impossible to remove 6 stitches for thumb and then put 12 back on needles for thumb hole.
sully4
Oct 25, 2009
wish you had a crochet pattern for these! Is it possible to get one? Thank You
Report Inappropriate Comment
Are you sure you would like to report this comment? It will be flagged for our moderators to take action.
Thank you for taking the time to improve the content on our site.