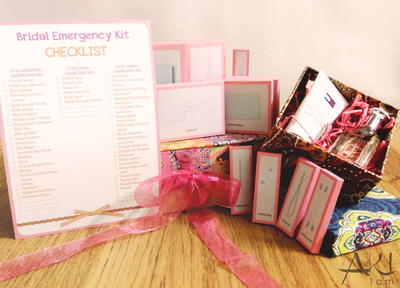
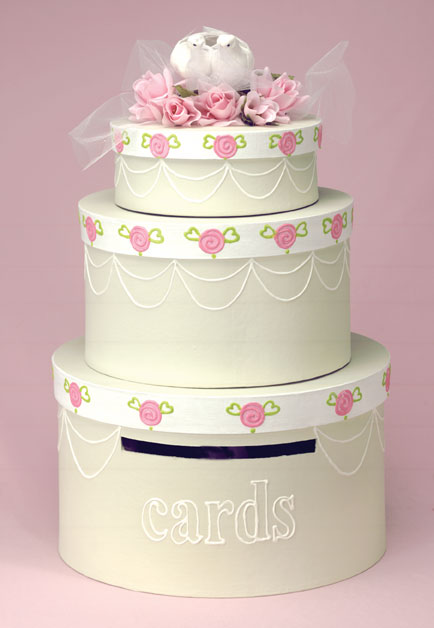
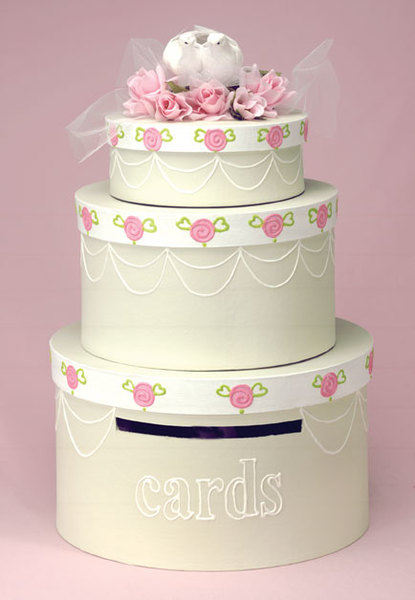
Wedding Cake Card Box
Keeping track of cards at a bridal event is a piece of cake with this clever box done up like a wedding cake.
Materials:
DecoArt Products Required
Americana Acrylics
- DAO1 - Snow (Titanium) White
- DAO31 - Baby Pink
- DA257 - Bleached Sand
Americana Writers
- DAW01 - White
- DAW235 - Citron Green
- DAW250 - Bubblegum Pink
Supplies
- Swag Pattern
- "Cards" Pattern
- Foam brushes
- 3/4" foam round pouncer brush
- Foam plate
- Tape measure
- Scissors
- Pencil
- Craft knife
- Lo-temp glue gun
- 1 yard of 6" wide white tulle net
- Wedding dove/lovebird set
- Pink silk roses
- Small circular papier mache box, 3" high x 7-1/2" diameter
- Medium circular papier mache box, 6" high x 10-1/2" diameter
- Large papier circular mache box, 7-1/2" high x 13" diameter
Instructions:
- Refer to photo for placement of card slot; use craft knife to cut 1/2" high x 7-1/2" long horizontal slot on side of large box 1-3/4" from top edge.
- Basecoat outer edges of boxes and lids Bleached Sand, allowing to dry after each coat.
- Use Snow White to paint outer rims of box lids; allow to dry after each coat.
- Measure around outer rim of large box lid; use pencil to mark dots every 3-3/4" at center of rim. Repeat with medium box, marking every 2-3/4"; repeat with small box, marking every 2-1/2". (Note: If measurements do not come out evenly, odd measurement will be placed at back side.) Use pouncer brush and Baby Pink to paint large dots over marks around lid rims and allow to dry.
- Use Bubblegum Pink Writer to outline Baby Pink dots and draw spiral inward over each dot to form roses. Allow to dry.
- Refer to photo and use Citron Green Writer to paint dot below each rose at edge of lid rim and heart-shaped leaves on roses. Allow to dry thoroughly.
- Place lids on boxes. Use pencil to make small dots below Citron Green dots just below edge of lids; remove lids. Lightly trace swag patterns for each box between dots.
- Center and trace word "cards" below card slot, 2" from bottom of box.
- Use White Writer to trace over lines of swags and letters; allow paint to dry.
- Stack boxes as shown; glue in position if desired.
- Glue roses to center of top lid in circle; tie net into bow and glue over center of roses. Glue birds over center of bow.
Your Recently Viewed Projects
Thanks for your comment. Don't forget to share!
Lex Erin
Jun 08, 2015
My sister made one of these with navy blue and silver ribbon! Just make sure the opening is big enough for cards of all sizes to fit.
snuggles61268
Apr 07, 2011
This is beautiful, I never thought of making a 3-tiered cake for a card box. It is very unique and it will definately have resale value after the wedding is over. I made my own card box and I sold it after my wedding and got more for it than what it cost to make, it was nothing this unique though. Great idea!!!!
harleylee20042000
Dec 17, 2009
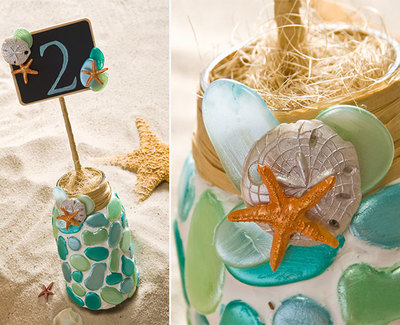
THIS IS VERY PRETTY BUT MY GRANDDAUGHTER IS GETING MARRIED IN FLORIDA NEXT SUMMER AND THEY R DOING THE WEDDING IN SEA SHELLS AND TAKING THERE VOWS AT THE OCEAN IS THERE SOMTHING WITH SEASHELLS U COULD RECOMEND THANK U
Report Inappropriate Comment
Are you sure you would like to report this comment? It will be flagged for our moderators to take action.
Thank you for taking the time to improve the content on our site.