This project was submitted by one of our readers, just like you.
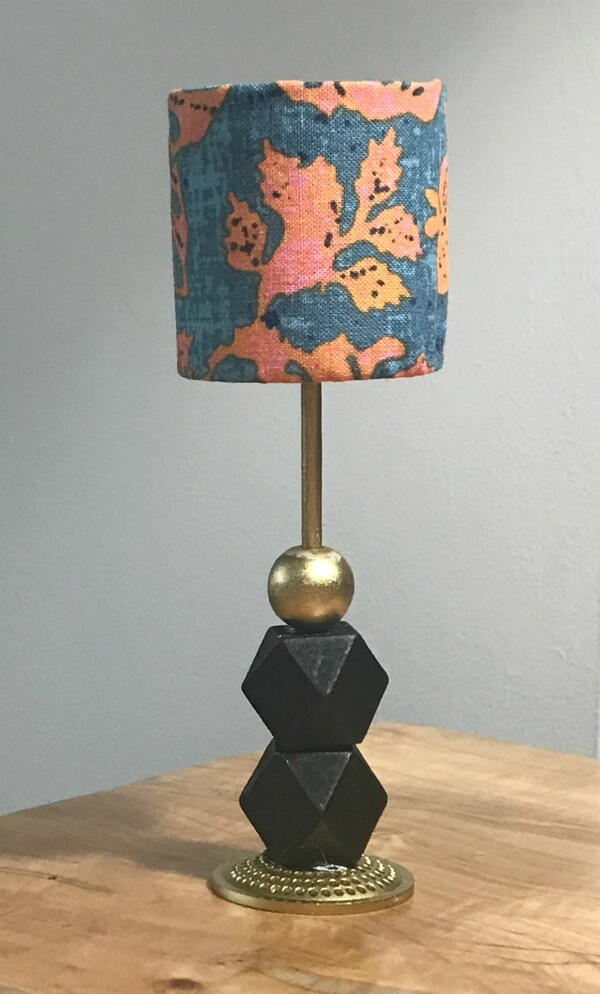
DIY Barbie Lamp

DIY Barbie Lamp
From the blogger: "That’s right. A tutorial on how to make a kickass Barbie lamp that any designer would envy. I’m still in the planning stages of my custom Barbie house, but tons of ideas keep popping into my head. So I couldn’t be patient any longer. I made some miniature lamps today, and I’m loving them. This would work for any dollhouse, although I'm using it in a Barbie house. But be careful... making miniatures can become addictive!"
Estimated Cost$11-$20
Time to CompleteIn an evening
Primary TechniqueGeneral Crafts

Materials List
- Thin wooden dowel
- Used Keurig coffee pod
- Fabric remnant
- Wooden beads
- Craft paint
- Hot glue gun
- Cardstock paper - 1 piece
Instructions
-
First, have a cup of coffee. Seriously, make yourself a cup of Joe, because you’ll need that used Keurig coffee pod! Remove the coffee grounds and filter, but save the little round disk in the bottom for later. Next, trim the rim from the pod.
-
Below is a photo of the small disc from the coffee pod. It will be used for the lamp base later, but you can go ahead and spray paint the disc and wooden dowel (about 5 inches long) metallic gold. Then put aside to dry.
-
Back to the shade… cut a small circular piece of fabric and hot glue to the bottom of the pod. Then glue the sides down as well, as shown below.
-
From a piece of study paper or cardstock, cut a strip that is approximately 2 x 6.5 inches. Form a cylinder with about a 3/4 inch overlap and glue in place.
-
Cut another piece of fabric large enough to cover the cylinder and lightly glue in place, as shown in the first photo below. Then fold the top and bottom edges inside and glue in place.
-
Lastly, glue a small round wooden bead inside the empty Keurig pod, centering it in the bottom. (Make sure the hole in the wooden bead is large enough for the wooden dowel to fit inside.) Gently slide the pod into the fabric covered cylinder. The pod gives shape and support to the paper cylinder and creates a way to “hang” the shade onto the lamp base.
-
Assembling the lamp base couldn’t be easier. Spray paint the small disc from the Keurig pod metallic gold, and paint a few wooden beads your color of preference. Let dry. Then insert the gold painted dowel into a wooden bead and secure with a tiny bit of hot glue. Next glue the bottom bead to the plastic disc. Start adding beads to the dowel in any arrangement you like. When finished, top with the shade. And have as much fun deciding where to place your Barbie lamp as you did making it.
NotesMore photos can be found on the blog post.

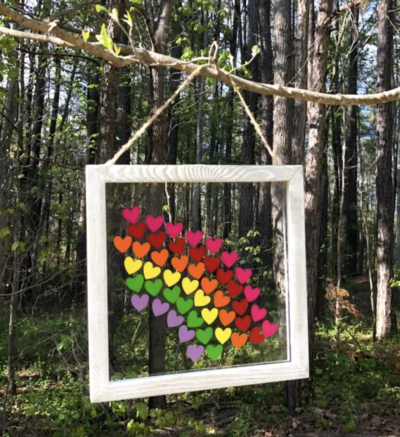
Read NextRainbow Window Hearts