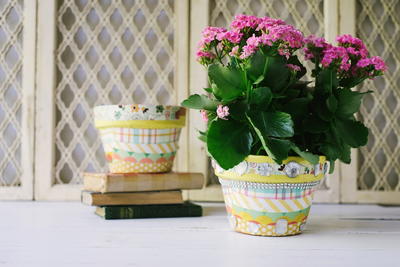
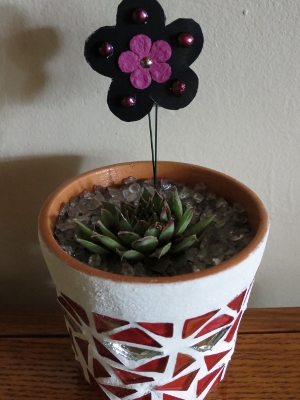
Terra Cotta Flower Pot
Use mosaic tiles to turn an ordinary terra cotta flower pot into this unique Terra Cotta Flower Pot. Fill it with a cute handmade flower or you could even fill these little pots with candies and hand them out as party favors. This is a great project for those who are interested in experimenting and learning about the art of mosaic. NOTE: If you are using these mosaic flower pots to plant real flowers, make sure that there is a drainage hole in the pot you use.
Materials:
- Unglazed terra cotta flower pot, 3 inches high and with a diameter of 3 inches at the top
- Red carpet iridescent mosaic tiles
- Regular mirror mosaic tiles
- Safety glasses
- Super white grout
- Clear-drying craft glue (for this project, Qualigrip wood glue was used)
- Double-wheel mosaic tile cutter
- Small sponge
- A few sheets of old newspapers to protect the working area
- Small plastic container and spoon
- Suitable pot plant and potting soil
- Electric drill (optional)
- Grey decorative glass sand (optional)
Instructions:
- If the ceramic pot does not have a hole in the bottom, which is crucial for drainage, drill a hole in the bottom of the pot with the electric drill. For instructions on how to drill the hole without damaging the pot.
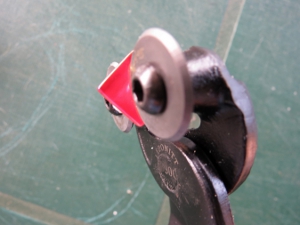
- Use the tile cutter to cut the mosaic tiles into small triangular shapes. When doing mosaic, the tiles should all be cut to more or less the same size.
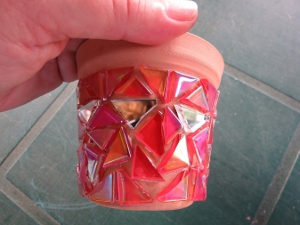
- Glue the tiles to the side of the pot one at a time. You only need enough glue to hold the tile in place, so use a small drop of glue to secure each tile. First glue a row of cut tiles to the top of the pot, then to the bottom, leaving a space of 0.1” from the bottom of the pot when gluing the tiles in place. Then, fill in the rest of the pot’s side with the tiles.
- Allow the glue to dry thoroughly before proceeding with the next step in hot weather, it is usually best to wait approximately an hour to allow the glue to dry thoroughly. When the glue is completely dry, you will not be able to move the tiles any more.
- Now it is time to grout for small projects, it is advisable not to prepare all the grout at once. Add a few heaped spoonfuls to an old, small plastic container and then add a few drops of cold water until the grout is the right consistency the grout should not be runny.
- Use your finger to spread the grout over the side of the pot. Gently press the grout in between all the tiles, carefully ensuring not to leave any air pockets below the grout. Do not add grout to the bottom of the pot.
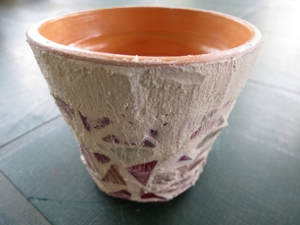
- Use your finger to gently wipe away any grout from the tiles and then allow the pot to stand for 10 – 15 minutes, so that the grout can dry.
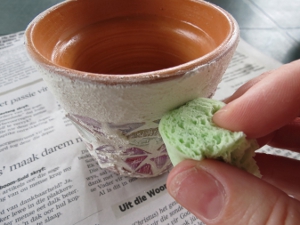
- Use a damp sponge to gently wipe away any excess grout from your surface, rinsing the sponge constantly. The sponge must only be damp, not wet.
- Fill the pot with potting soil and plant the plant. As an optional, add decorative glass sand or small decorative pebbles to the pot once the plant has been added.
Check out more tips and tricks for painting with this handy tutorial: How to Paint Terra Cotta Pots
Read NextHow to Paint Terra Cotta Pots
Your Recently Viewed Projects

Thanks for your comment. Don't forget to share!
foziek92 8903703
May 23, 2013
Hi I think its a great idea. I need a few of these terracotta pots to make as gifts where can I purchase them at a good price.
Report Inappropriate Comment
Are you sure you would like to report this comment? It will be flagged for our moderators to take action.
Thank you for taking the time to improve the content on our site.