Quilted Pin Cushion DIY Craft

If you are an avid quilter there is a good chance you have a bunch of pin cushions scattered around every time you start a project. This Quilted Pin Cushion DIY Craft is the perfect project for you to create an adorable holder for all your pins. Plus, this how-to video breaks down how easy it is to make this DIY pin cushion so you can make tons of them in all different patterns. The best part is, you can use some of your old pieces of fabric from your other DIY quilt projects to put this pin cushion together and it will turn out adorable!
Estimated CostUnder $10
Time to CompleteIn an evening
Primary TechniqueQuilting

Project TypeMake a Project
Materials List
- 7 strips of fabric
- Polyfill
- Fusable fleece
- Ruler
- Rotary cutter
- Spoon / funnel
- Crushed walnut shells
How to Sew a DIY Pin Cushion
DIY Quilted Pin Cushion Instructions
-
Pick one fabric for your background and set that piece aside.
-
From your remaining strips, cut 1.5" pieces.
-
Once all your pieces are cut out, you can sew them together using a quarter inch seam in whatever order you would like.
-
Once you have two sewn together, add your third face down, and continue sewing until you've sewn them all together.
-
Next, cut a 2.5" X 5.5" piece of your fusible fleece.
-
Using an iron, press all your seams by sliding your iron over the seems facing up, flip your fabric and go over the seams again.
-
Place the fusible (not the smooth) side of your fusible fleece on the back of your sewn pieces and press in place.
-
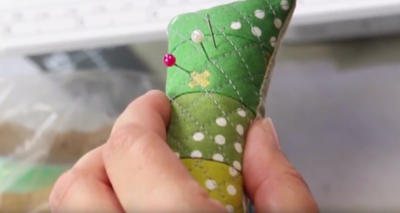
Use whatever design you like to quilt your pin cushion.
-
Cut your back the same size as your front and place it face down on your other piece.
-
Sew the pieces together. When you reach a corner put your need down, presser foot up, rotate 90 degrees, and continue to stitch.
-
Clip about 2-3 threads from the corner.
-
Turn your pin cushion right side out and use a spoon to push out your corners.
-
Fill your pin cushion with you crushed walnut shells. Grab a little bit of polyfill and cover the whole to keep the shells inside. Then, stitch your pin cushion shut!
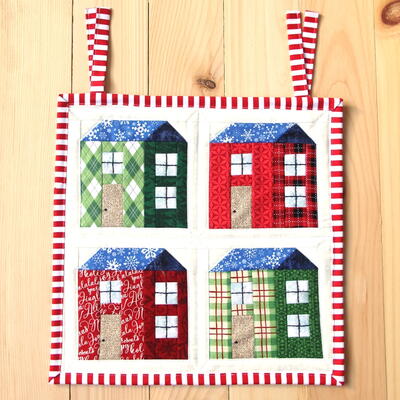
Read NextHomes For The Holidays Mini Quilt