
This project was submitted by one of our readers, just like you.
Sewing Caddy

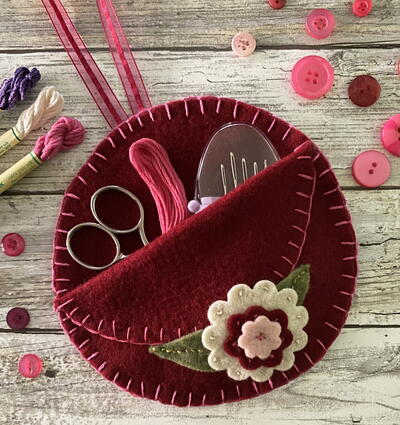
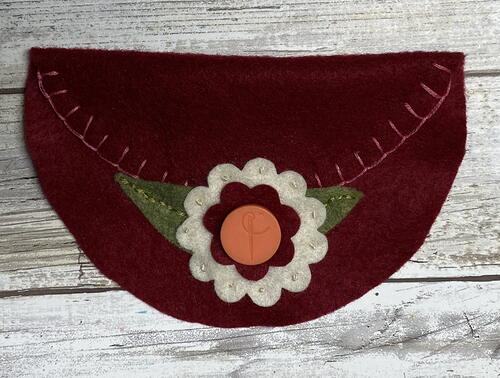
Sewing Caddy
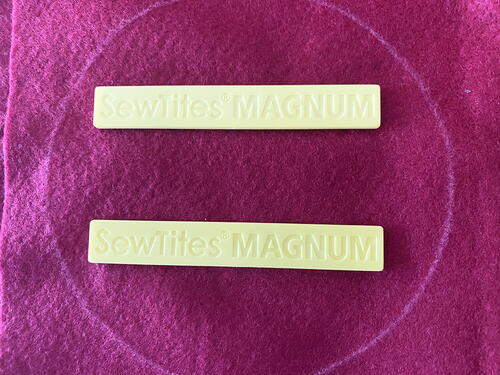
From the Designer: "This adorable Sewing Caddy is perfect to hang in your sewing room or to tuck away in a travel bag for sewing on the go. It can be created in an afternoon and would also make a great gift for all the sewers you know. You can personalize these easily to everyone’s favorite colors. This is a great way to use up scraps of felt. It is created with a blanket stitch, backstitch, and simple French knots but can be used as a sampler for stitches you are learning. Change up the front flower to a butterfly, leaves or simple geometric shapes…the choice is yours, make it your own! SewTites were used instead of pins for this project, and they worked beautifully. They are magnetic pins that securely hold layers together and make sewing a breeze. They come in a variety of sizes making it easy to find the right size for every step of the project."
Primary TechniqueNeedlework

Materials List
- SewTites: Hand Mix, Machine Mix
- Felt
- Floss
- Scissors
- Needle
- Scallop Flower Dies
- Die Cutting Machine
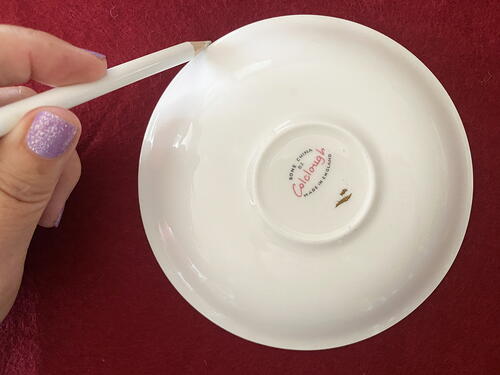
- Plate, 5 1/2"
- Marking Pencil
- Ribbon
- Fabric Glue, optional if needed
Instructions
-
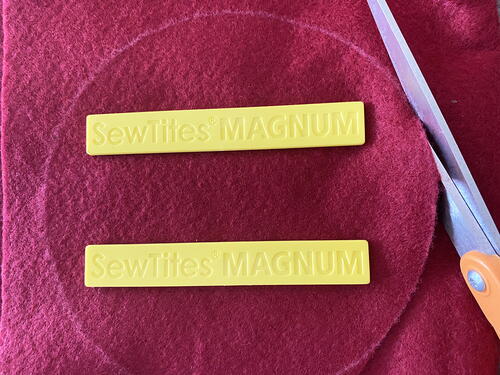
Draw a circle shape using the plate on the main color of felt.
-
Fold your felt over and use SewTites to secure.
-
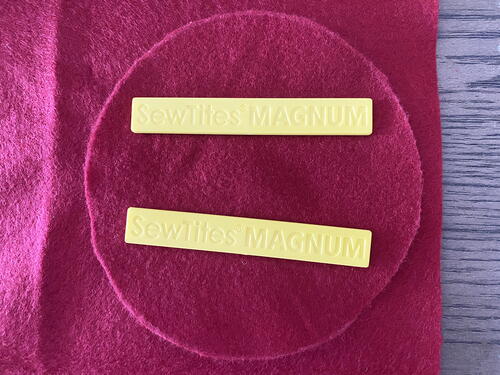
Cut both layers of felt out.
-
Layer one of the felt pieces onto left over felt and secure with SewTites.
-
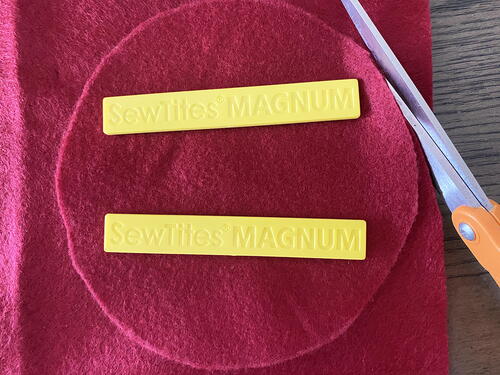
Cut a third layer of felt.
-
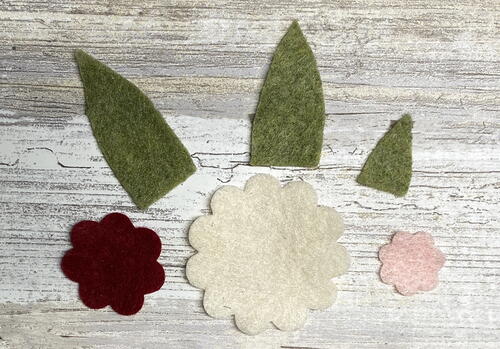
Die cut three scallop flower shapes in assorted colors. Cut two or three curved triangle shapes for leaves. set aside. NOTE: You can also free hand cut the flower shapes.
-
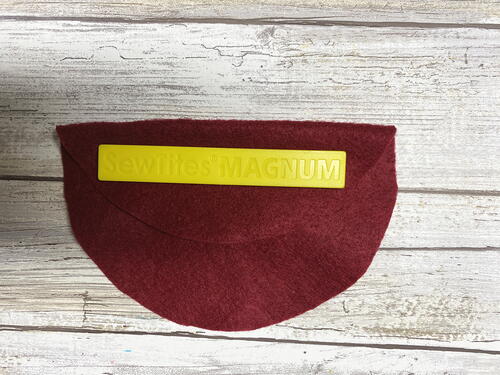
Fold down about two inches on layer of cut felt and place a yellow SewTite in place to hold in place.
-
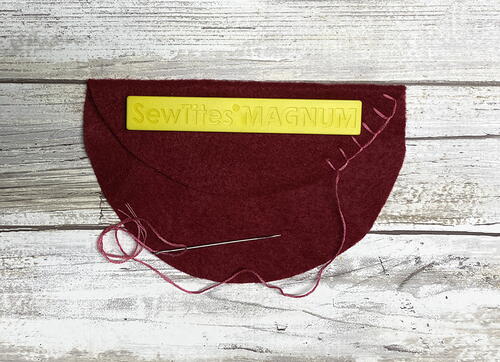
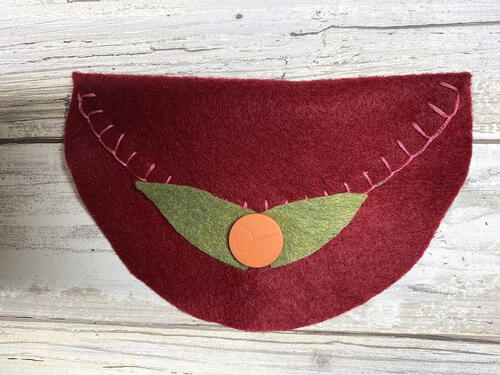
Use a blanket stitch along the curved edge as shown in photo.
-
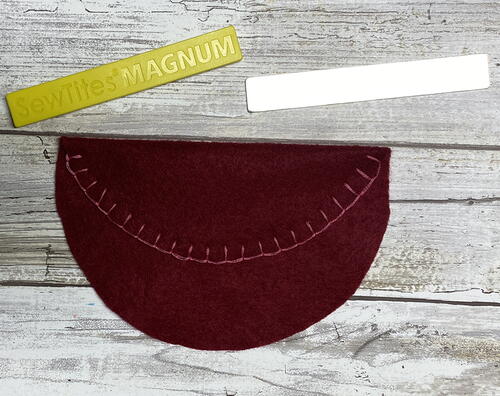
Photo 9 shows the completed blanket stitch.
-
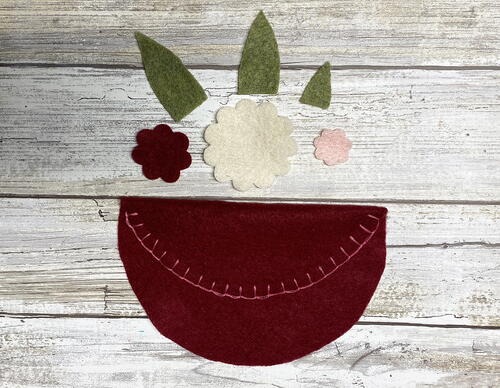
Photo 10 shows flower and leaf shapes.
-
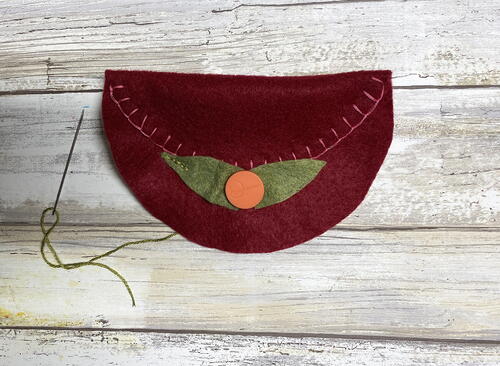
Place two leaves in the center and secure as shown in the photo.
-
Stitch leaves in place with a simple backstitch or running stitch.
-
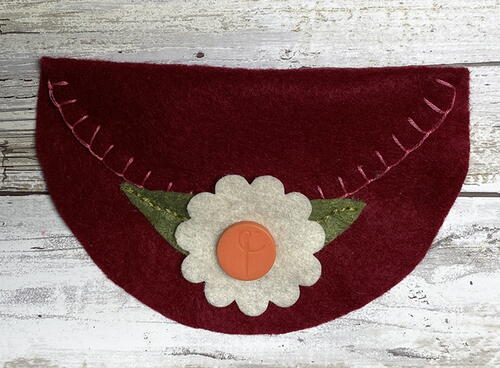
Place largest flower over the sewn leaves and secure with small round SewTite.
-
Add French knots on the scallops of the flower.
-
Place the medium size scallop flower over the large one and secure with small round SewTite.
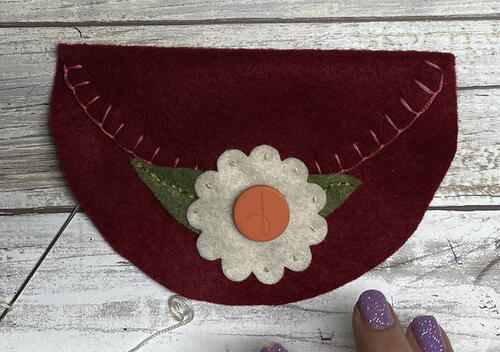
-
Add French knots to the scallops. Then add the smallest flower on top and stitch with a simple X in the center.
-
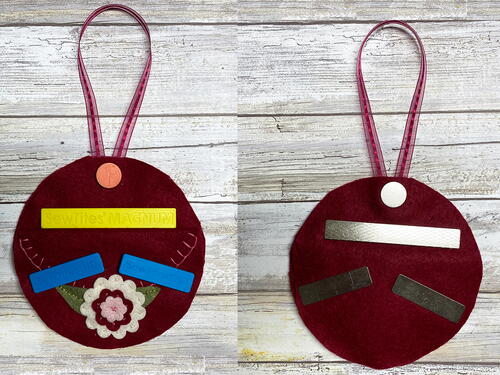
Layer one felt piece, ribbon (for handle), another felt piece, and then the sewn flower felt piece on top of each other. Secure with SewTites as shown in photo.
-
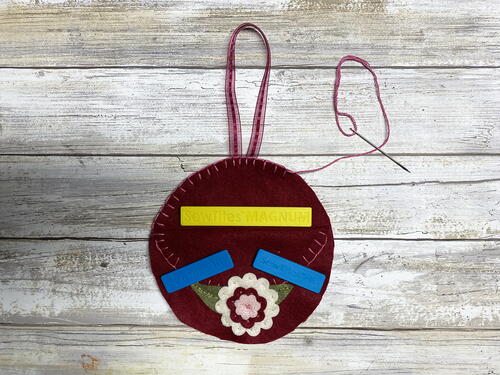
Do a blanket stitch around the entire circle and through all layers. Note: be sure to catch the ribbon to secure in place...if needed add a drop of fabric glue to the ribbon while layering the pieces.
-
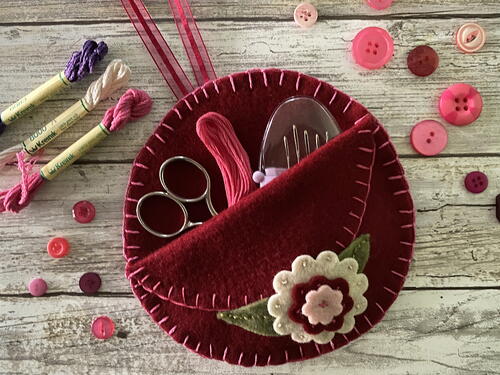
Finished Hero Shots!