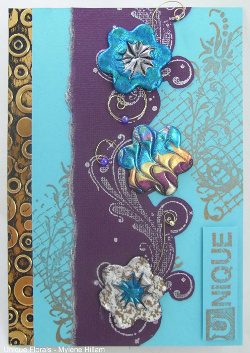
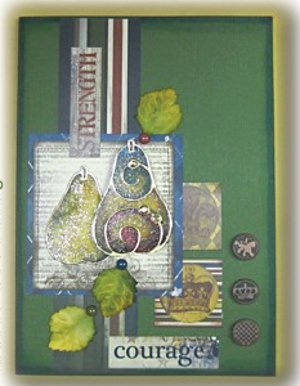
Harvest Pear Card
Wish someone a happy Thanksgiving with this elegant Harvest Pear Card from Tombow. Using a unique dual brush pen, this handmade card sparkles and shines. A collection of these beautiful cards would also make a lovely gift for the holiday season.
Materials:
- Dual Brush Pens - (Matched to decorative paper) 026 Yellow Gold, N57 Warm Gray, 528 Navy Blue, 098 Avocado, 757 Port Red, Blender
- MONO Aqua Liquid Glue
- Mono Adhesive Permanent
- Pear Peel-offs - Elizabeth Craft Designs
- Watercolor Paper - 90 lb.
- Decorative paper and brads - Bo Bunny Cambridge Collection
- Old Gold Ultra Fine Glitter - The Art Institute
- 1” white paper leaves
Instructions:
GLIMMER WASH TECHNIQUE
-
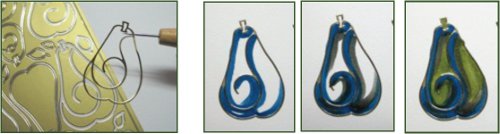
Remove the peel-off (or outline sticker) and place on a piece of watercolor paper.
-
Use the Dual Brush Pens and outline the inside of the motif with color. Use the darker colors closer to the edges. Do not worry about blending, or going over the sticker edge.
-
Pour out a quarter -sized puddle of the Aqua glue. Add a small amount of glitter and mix. The more you add, the more glimmer you get. A 1/10 glitter/glue ratio works well.
-
Use an old paintbrush to cover the image with the glitter wash and let dry.

-
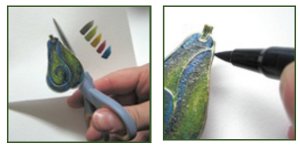
Finish the motifs by cutting them out and coloring the edges with a Dual Brush Pen color use in the wash.
COLORED LEAVES
- Color the leaves with the Dual Brush Pens and mist with water to blend. Let dry.
CARD ASSEMBLY
-
Cut a folded 5” x 7” card from dark green paper. Use the Navy Blue Dual Brush pen and outline the front panel edges. Blend with the blender pen.
-
Cut panels from the decorative paper: 1 1/2” x 6 3/4” from striped paper and a 3” x 3” panel. Attach in place with the permanent adhesive. At this time, you may also want to add stickers from the Cambridge Collection.
-
Mount the finished pears in the panel and attach the leaves with the decorative brads.
- Add a set of three brads to the card front and attach a 4 1/2” x 6 1/2” decorative paper panel to the inside of the card to hide the brad mechanics.
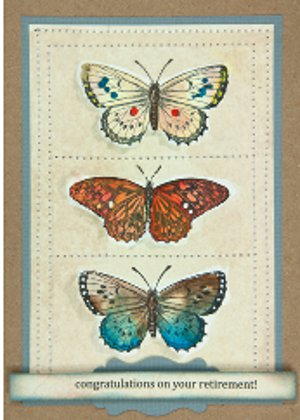
Read NextFoiled Butterfly Notecards
Your Recently Viewed Projects
Thanks for your comment. Don't forget to share!
Report Inappropriate Comment
Are you sure you would like to report this comment? It will be flagged for our moderators to take action.
Thank you for taking the time to improve the content on our site.