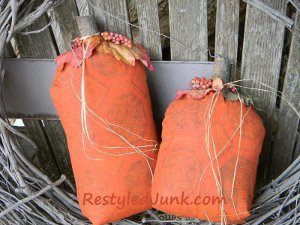
Painted Fabric Pumpkins
If you love the look of Halloween pumpkins but hate when they rot, consider creating Painted Fabric Pumpkins this year. Halloween craft ideas don't have to be juvenile; instead, create a vintage-looking piece that you'll want to display all season long.

Materials:
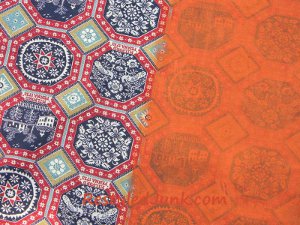
- 1/2-yard fabric (natural fibers, light to medium weight)
- Old vinyl tablecloth
- Orange acrylic paint
- Sponge
- Lightweight cardboard
- Ruler and measuring tape
- Scissors
- Marking pen
- Sewing machine
- Straight pins
- Stuffing
- Tapestry needle
- Crochet thread
- Stick
- Jigsaw
- Hot glue gun
- Silk fall leaves
- Faux pip berries
- Raffia
Instructions:
-
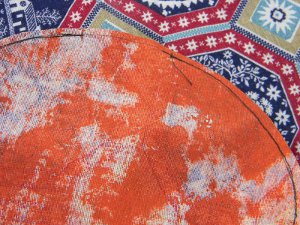
Lay a 1/2-yard of fabric on an old vinyl tablecloth with the right side facing up. The color and design of the fabric do not matter as you will be creating a new fabric surface. Using a sponge and orange acrylic paint, paint the fabric. Allow the paint to dry. Apply an additional coat. Allow the last coat to dry thoroughly.
-
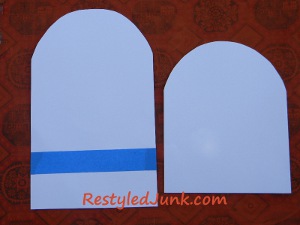
Trace an 8 1/2-wide by 14-inch wide rectangle and an 8 1/2-inch wide by 10 1/2-inch rectangle on lightweight cardboard. Curve one short end of each rectangle to shape the top of the pumpkins. Cut out the pumpkin patterns.
-
Peel the dry fabric from the vinyl tablecloth. Fold the fabric in half with the right sides together. Arrange both pumpkin patterns on the fabric. Allow at least a 1/2 inch between the patterns and a 1/4 inch from the edges. Trace around the pattern using a marking pen.
-
Remove the patterns and pin the fabric layers together. Sew all the way around the pumpkin shapes on the marked lines. Leave a 3-inch opening in the center on the top edge. Cut out the pumpkins leaving a 1/8 to 1/4-inch seam allowance.
-
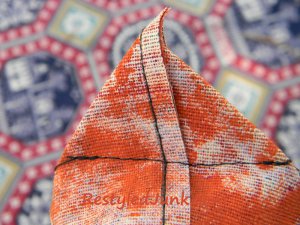
Stitch a boxed bottom. Pull out the point of one bottom corner. Lay the side seam over the bottom seam and pin. Sew across the point 1 inch from the point. Repeat on the other bottom corner. Cut off the points 1/4 inch from the seam.
-
Turn the pumpkins right side out. Note: Thicker fabric may require a larger opening for turning. Stuff the pumpkins.
-
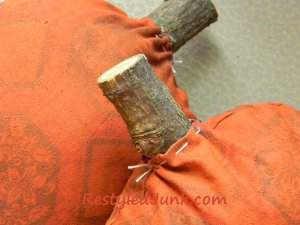
Hunt for sticks in your yard with a 1/2 to 1-inch diameter. Cut two 4-inch long sticks for the stem using a jigsaw.
-
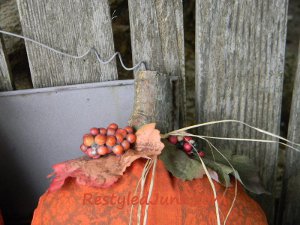
Fold the open edges 1/4 inch to the inside of one pumpkin. Using a tapestry needle and crochet thread, sew a running stitch around the folded edge. Burrow a hole into the stuffing at the opening. Squirt in a little hot glue and insert a stem into the hole. Allow half of the stick to extend above the opening. Pull the thread to gather the opening around the stem. Knot and cut the thread. Repeat on the other pumpkin.
-
Hot glue two fall silk leaves and a few faux pip berries around the stem of each pumpkin. Tie a couple of raffia strands around the stems to complete.