Bunny Gift Bag Sewing Tutorial
Looking for gift bag ideas that will put some spring back into your gift-giving step? This adorable bunny handmade gift bag is just what you've been looking for!

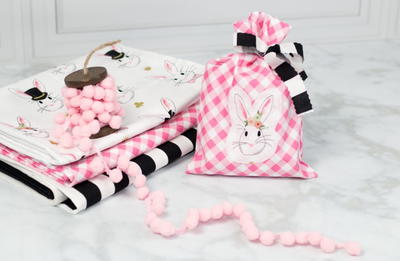
There's no feeling quite like the feeling you get when you see a present from the Easter Bunny tied up in a vibrant spring bag. Put the springtime pep back into your presents with this ultra-simple, five-minute DIY gift bag from Therm O Web. This adorable handmade gift bag is the perfect size to hold all of your giftable treats, from chocolate eggs to stunning jewelry. Even if it's not Easter, this adorable spring-themed gift bag sewing tutorial will be your go-to wrapping solution all season long. With brilliant pink gingham fabric and a sweet bunny applique, this design is guaranteed to have any recipient hopping for joy.
Time to CompleteUnder an hour
MaterialsFabric
Primary TechniqueSewing

SeasonSpring
Project TypeMake a Project
Materials List
- Fabric Fuse Liquid Adhesive
- Cotton fabrics: white/pink gingham, ¼ yd; white bunny print, ¼ yd; black/white stripe, 1/8 yd
- Matching thread
- Rotary cutter with pinking blade
- Cutting mat
- Quilting ruler
- Sewing machine
- Pins
- Iron
Instructions
-
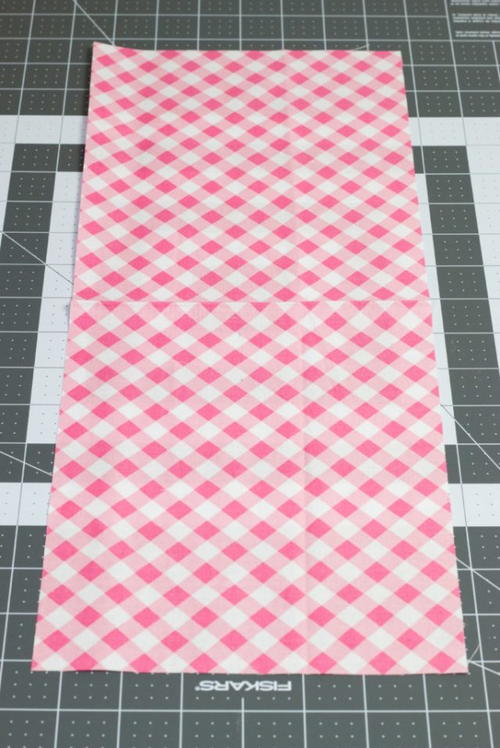
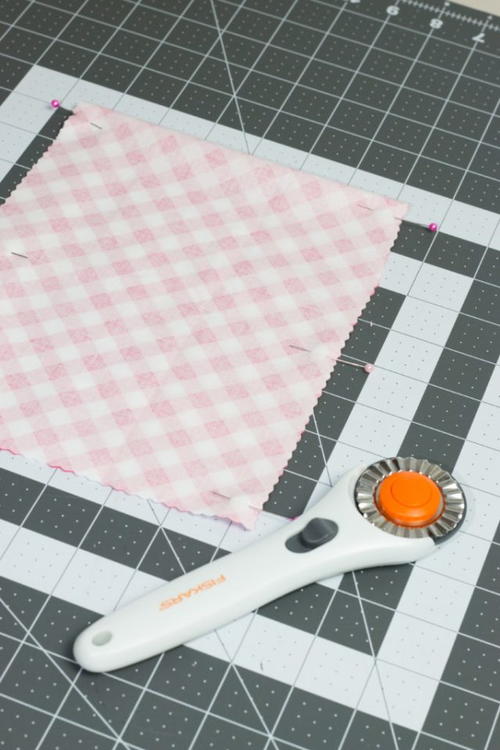
Using a rotary cutter and pinking blade, or pinking shears, to cut 6” x 18” rectangle from gingham fabric.
Note: The pinked edges will help prevent fraying, which means the seams won’t require finishing. -
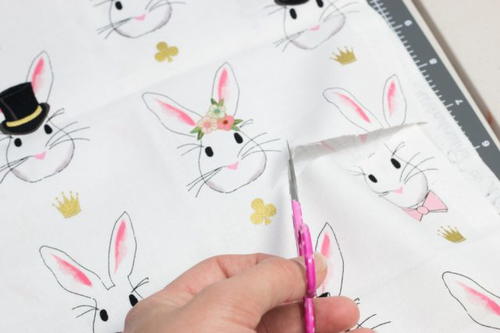
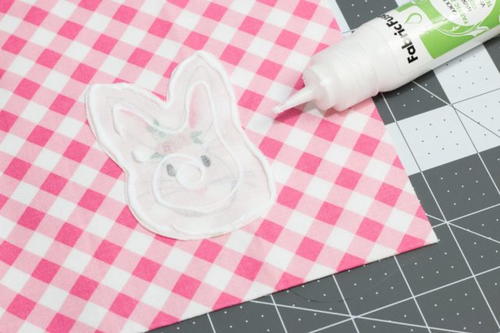
Cut a fun applique from the bunny print fabric for bag front. Place the applique facedown and outline edges and inner area with Fabric Fuse Liquid Adhesive.
-
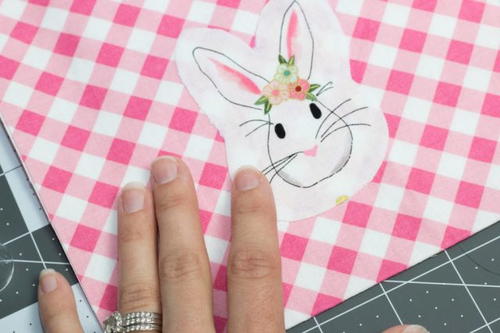
Fold the gingham rectangle in half, wrong sides together, and place the applique face-up on the top of the bag, 1” from the folded edge. Carefully press down on all sides of the applique to ensure it’s securely attached; let it dry flat for a few minutes.
-
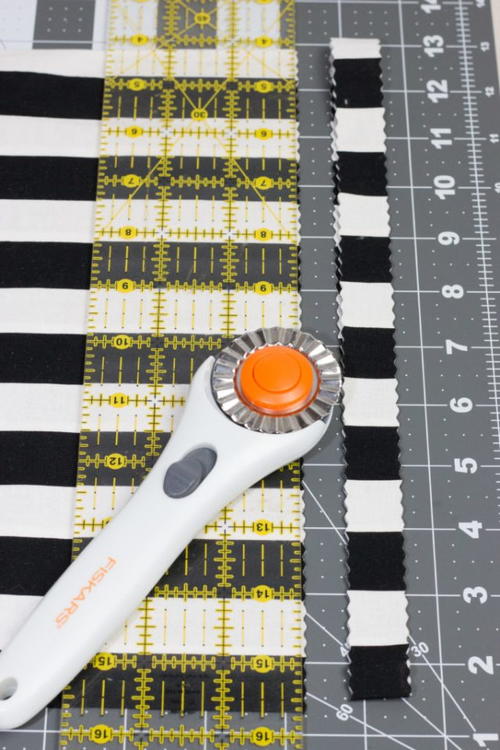
Using a rotary cutter and pinking blade, or pinking shears, cut a ¾” x 20” strip from the striped fabric for the tie.
-
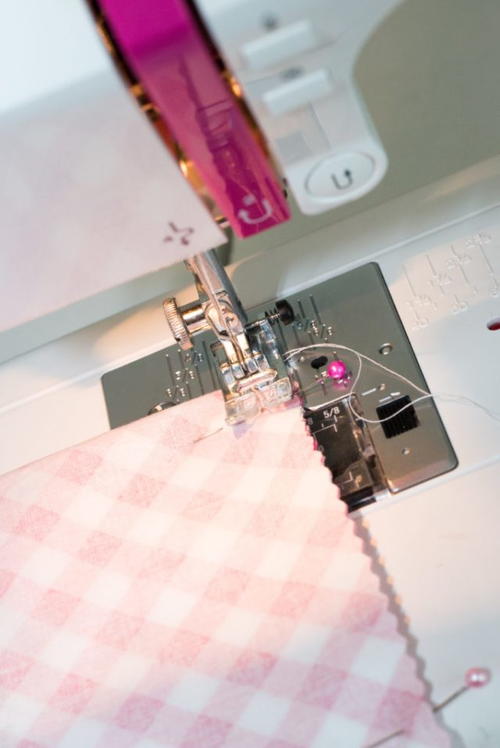
Once the applique is dry, fold the bag in half, right sides together, and pin both sides. Sew together with a 3/8” seam allowance, leaving the top edge open. Backstitch at the beginning and the end on each side to reinforce the stitching. Turn the bag right side out and gently poke out the corners. Press the bag with a hot iron to remove creases. Fill the bag as desired and tie it closed with the striped fabric strip.

What’s your favorite way to craftily wrap Easter gifts? Let us know below in the comments!
Read NextBunny Gift Bag Sewing Tutorial