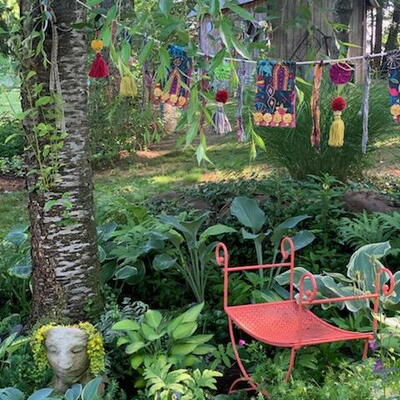
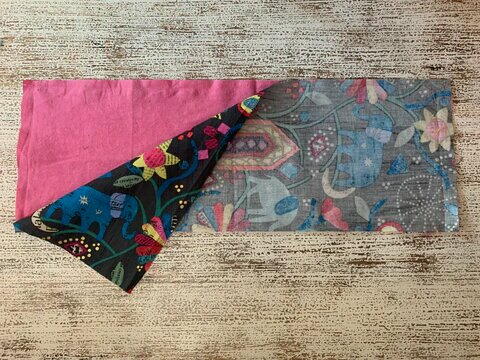
DIY Summer Dreams Banner and Decor

Impress your guests at your next backyard get-together with the DIY Summer Banner and Decor! 6 feet in length, this colorful banner can be hung up both indoors and outdoors. Adorned with pom poms, tassels, bells, and wooden beads, this banner will certainly make a statement! Choose your fabric to be as understated or as vibrant as you like. Plus, this craft includes two additional projects- a Birch Branch Wall Hanging and a Hoop Mobile- that will help amplify the beauty of your summer decor!
Be sure to check out the Oliso Mini Iron and Ironing Board Cover Giveaway as part of our Christmas in July celebration! You'll also want to enter to win the Christmas in July Sleigh of Prizes!
MaterialsBeads, Fabric, Yarn
Primary TechniqueSewing
SeasonSummer
HolidaySummer
Project TypeMake a Project
Materials List
- ½ yard for main flag fabric
- ½ yard for flag lining
- 12 ft cotton cording, clothesline or heavy jute or yarn (longer if going to hang outside)
- Assorted fat quarters or 8” square scarps for yo yo’s
- Assorted yarn for pom poms and tassels (a great way to use up your leftovers and if you don’t knit or crochet, maybe a friend does)!
- Darning needle
- Sewing machine
- Rotary cutter and cutting mat
- Clover pom pom maker and yo yo maker (optional) or a 3” piece of cardboard
- Pattiwack tassel maker (optional) or 4” by 4” piece of cardboard
- Bells and wooden beads for embellishments
Instructions
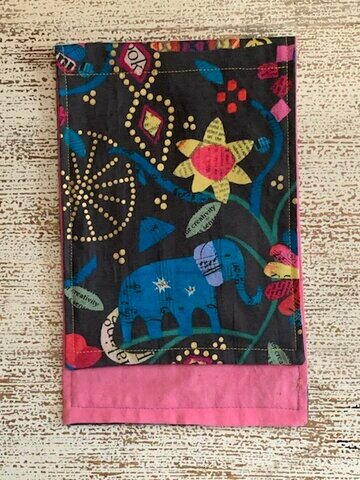
Flag:
-
Cut 4 pieces of the front flag fabric and 4 pieces of the lining fabric 6” width by 18” length.
-
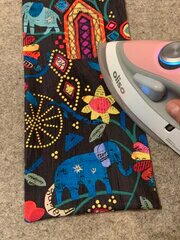
With right sides together sew around 3 sides leaving one of the 6” sides open. Clip corners and turn right side out. Press.
-
Turn open side in ½” and pin.
-
Top stitch around the entire flag ¼” from the edge.
-
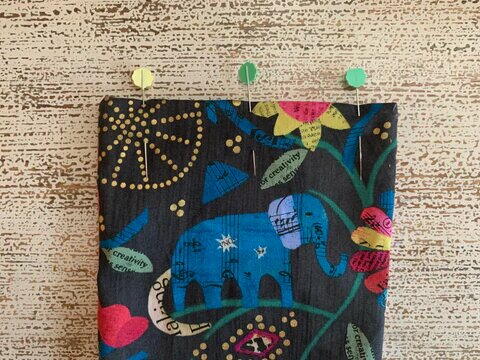
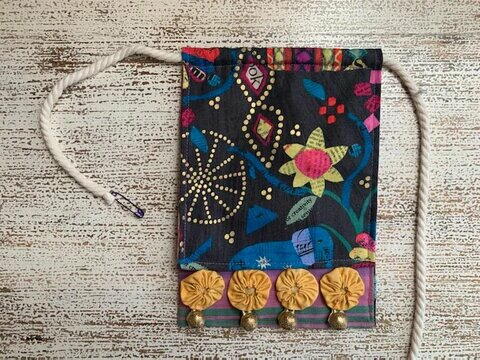
Fold over (lining sides together) leaving 1 ½” of the lining fabric showing. Pin at top and sew ½” from the folded edge to form the casing.
-
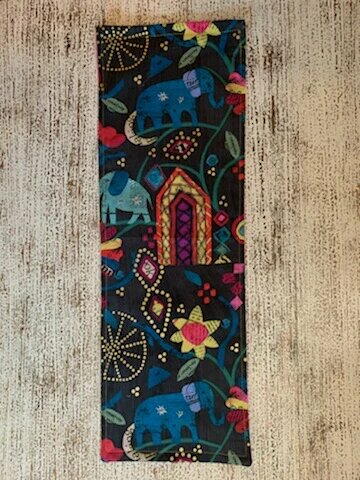
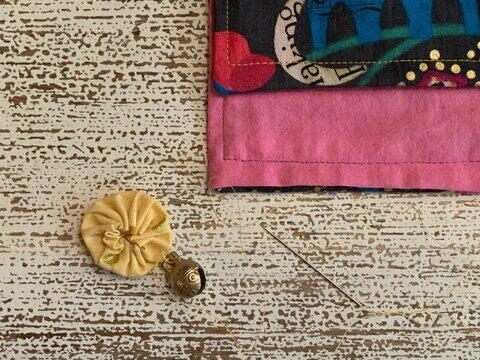
Make 4 small yo-yos with 3” circles and sew a bell onto each (use the same method you use to make the large yo-yos below.
-
Sew the 4 yo-yos with bells onto the bottom of the front of the flag.
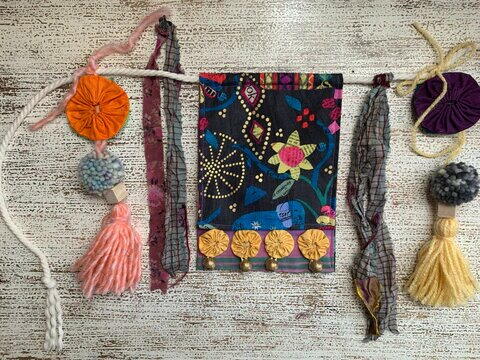
Tassel/yo-yo/pom droplet and fabric strips:
-
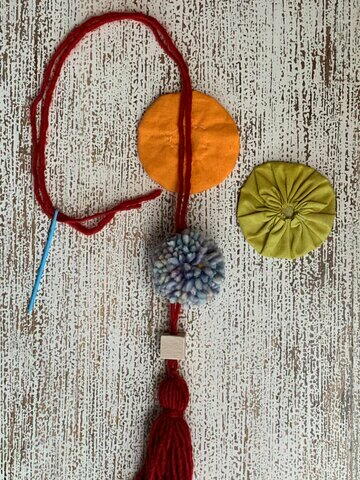
Cut ten, 6” circles of assorted solid fabrics. Fold and press ¼” onto the wrong side of the fabric. With the needle and thread sew a running stitch around the edge. Start to gently pull the thread and gather. Sew in and out of the folds from the front to the back and whip stitch to secure. Clip the thread tails.
-
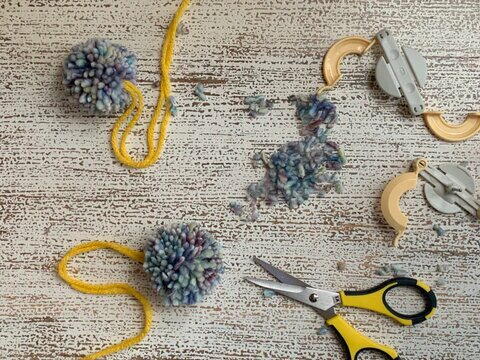
Follow manufacturer’s instructions to make 5 poms with the Clover pom-pom maker (or you can use a 3” piece of stiff cardboard). Fold the cardboard in half and wind yarn around. Slip an 18” piece of yarn inside the cardboard. Pull tight and tie a double knot, slip off cut loops, and trim.
-
For the tassel, wrap the yarn several times around the 4” cardboard, slip an 18” length of yarn through the top, and tie a double knot. Slip off and wrap and tie a 12” piece of yarn and tie in a double knot. Trim off the bottom. Make 5 tassels. You can also use the Pattiwack tassel maker.
-
Thread the tassel tails through the darning needle, thread the bead and pom-pom onto the yarn tails. Lay the yarn tails on the wrong side of one yo-yo about 1” above the pom-pom. and place the 2nd yo-yo on top with the wrong sides together. You can either stitch together or use fabric glue to secure. (A circle of fusible webbing can also work).
-
Slit and tear 8 strips of fabric about 1 to 1 ½” wide and cut into 24” lengths.
Assemble the banner:
-
Wrap one end of the cording with tape and put a safety pin through the end. Feed all 5 flags onto the cording, leaving a 10” space between each flag.
-
Tie a yo-yo tassel droplet in the center space. Fold strips of fabric in half and loop under cording. Slip tails through the loop and pull tight.
-
Knot each end of the cording to prevent it from unwinding.
Click below and scroll to find:
Read NextUnion Jack Yarn Heart Garland