This project was submitted by one of our readers, just like you.
Beaded Cup Cover
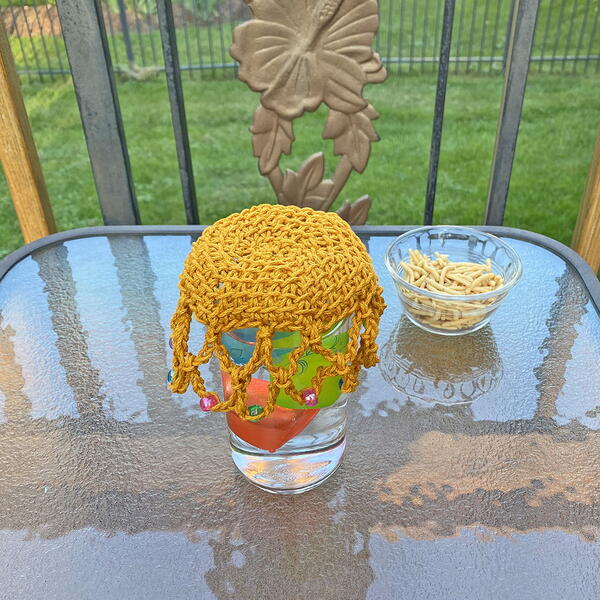
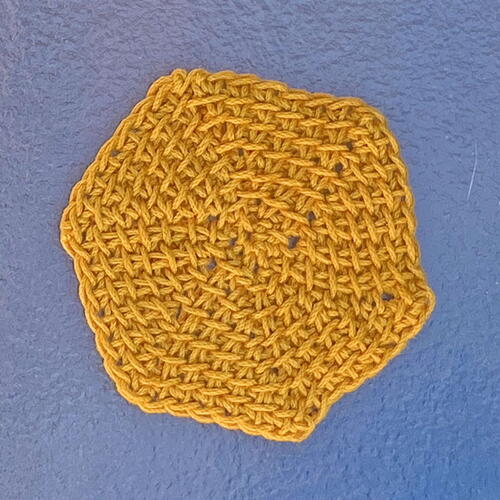
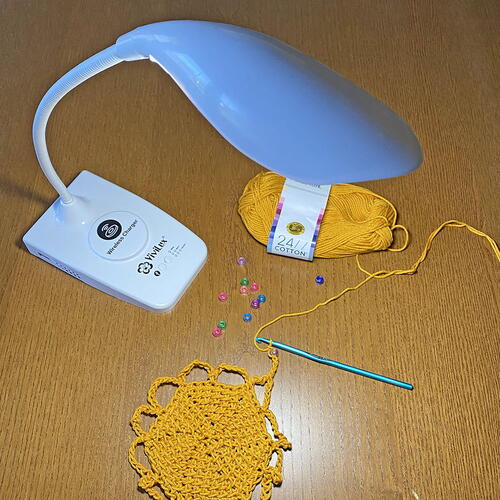
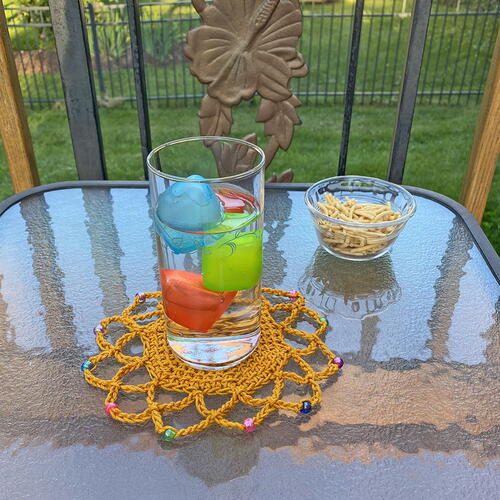
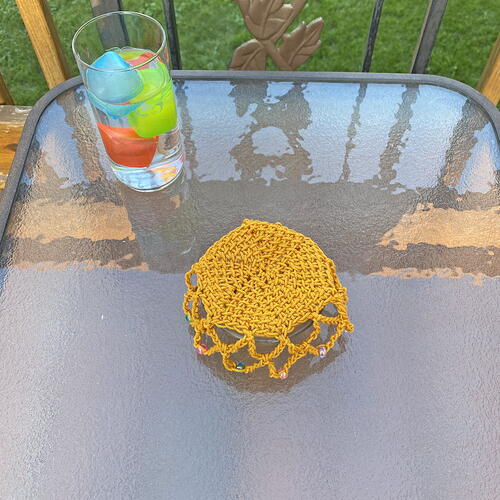
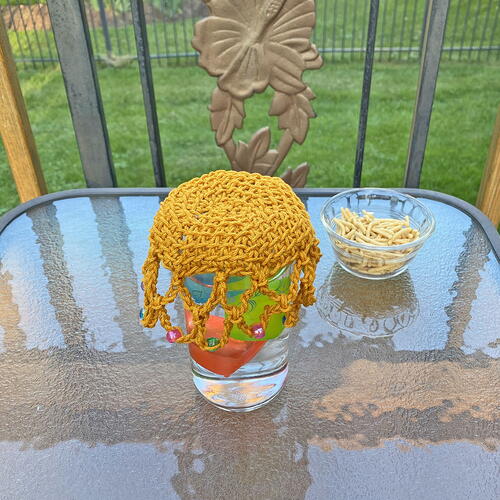
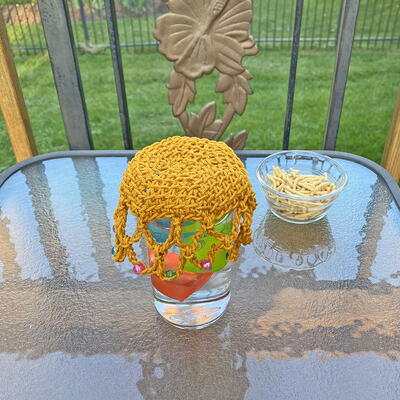
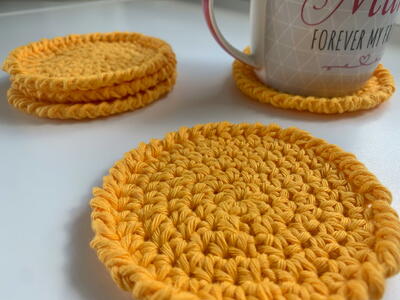
From the Designer: "Drink in the sunshine, while keeping the bugs out! This beaded cup cover protects your drinks and snacks while you enjoy the summer weather. Simply place it over your cup, can, or small bowl, and the weight of the pony beads will hold it in place. It makes a great coaster too! Lion Brand 24/7 Cotton gives this project a lovely, subtle shine. I used the Goldenrod colorway, but it would look great in any of the colors. Make a whole rainbow! Great lighting is essential for adding the beads. I used the Vivilux LED task lamp to light up my space. It's rechargeable and the battery lasts a long time, so it's easy to take with me cordlessly wherever I'm working. It also has a built-in phone charger! The center of this pattern uses Tunisian crochet short rows, which is much easier than it sounds! Each group of short rows creates one wedge, repeating 6 times to make 6 wedges. Then the beginning and end are seamed together to form a circle."
More Fabulous Crochet Ideas for You
We love the idea of adding a touch of elegance to your everyday cup with a beaded cup cover! If you enjoy this project, you might also like trying your hand at crocheting a set of matching coasters. By using the same beads and yarn color, you can create a beautifully coordinated set that will impress your guests and add a touch of style to your coffee table.
For those looking for a more intricate project, we recommend trying your hand at a beaded crochet necklace. By incorporating beads into your crochet stitches, you can create a stunning statement piece that is perfect for dressing up any outfit. Whether you choose to use brightly colored beads for a fun and bold look or opt for more subtle shades for a sophisticated touch, a beaded crochet necklace is sure to turn heads.
If you're looking for a seasonal project to work on, consider crocheting a beaded snowflake ornament. By adding beads to your snowflake design, you can create a sparkling decoration that will look beautiful on your Christmas tree or as a festive accent around your home during the winter months. Plus, these ornaments make great handmade gifts for friends and family!
NotesSpecial Stitches:
Tss: Insert hook through vertical bar of indicated st, yo and pull up a loop.
Return pass: Ch 1, [yo and pull through 2 loops on hook] across.
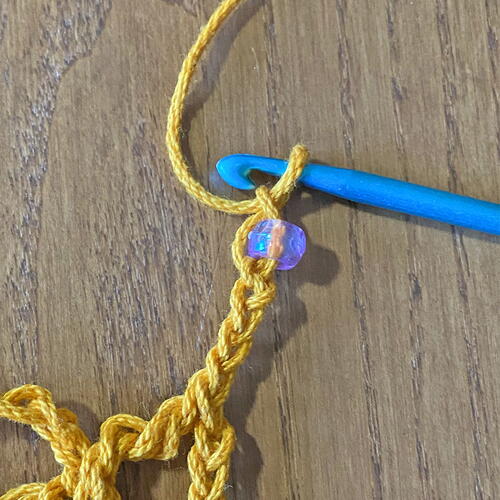
Set Bead (sb): Remove working loop from hook, pull loop through bead, place beaded loop back on hook, ch 1 to secure bead.

Crochet HookI/9 or 5.5 mm hook
Yarn Weight(4) Medium Weight/Worsted Weight and Aran (16-20 stitches to 4 inches)
Crochet GaugeUse pattern as gauge swatch - first wedge (rows 1-7) should measure approximately 2.25" wide and 2.25" tall. Exact gauge is not critical but will affect yarn usage.
Finished Size4.5 inches diameter without edging, approx 7.75" diameter with edging.
Materials List
- 35 yds Lion Brand 24/7 Cotton (shown in #158R Goldenrod)
- Size I (5.5mm) crochet hook or size needed to match gauge
- 12 pony beads
- Tapestry needle
Instructions
-
Row 1 (Foundation): Ch 8, sk first ch (loop already on hook counts as first Tss throughout), [yo and pull up a loop] in each remaining ch across (8 loops on hook), work return pass (8 Tss)
-
Row 2: Sk first st, Tss in each st across to last st, leave last st unworked, work return pass. (7 Tss)
-
Rows 3-7: Repeat row 2. (2 Tss on row 7) (First wedge created)
-
Row 8: Sk first st, Tss in next st, [tss in unworked st from next row below] 6 times (8 loops on hook), work return pass. (8 tss)
-
Repeat rows 2-8 4 times more, then repeat rows 2-7 once more. (6 wedges total)
-
Fasten off, leaving an 18 inch tail for seaming.
Seam
Line up first st of last row with first st of foundation row. Sewing through vertical bars as for tss, sew through first st on foundation row, then through first st on last row, sew through 2nd st on foundation row, then through 2nd st on last row, [sew through next st on foundation row, sew through skipped st from next row below current row] 6 times, do not fasten off.
Close Center
Weave yarn in and out through sts at center of circle and pull tight to close. Weave in all ends.
Edging
The vertical bars of the first st of each row form V-shapes around the outside edge that look like the tops of normal crochet sts. Treating these V-shapes as sts, join with sl st in first st of any wedge.
-
Rnd 1: [Ch 9, sk next 3 sts, sl st in next st, ch 9, sk next 2 sts, sl st in next st] 5 times, ch 9, sk next 3 sts, sl st in next st, ch 5, sk next 2 sts, tr in same st as beg of rnd
-
Rnd 2: [ch 4, sb, ch 4, sl st in next ch-9 sp] around, ch 4, sb, ch 4, sl st in same tr as beginning of rnd.
-
Fasten off. Weave in all ends.
Read NextVintage Tulip Shawl

