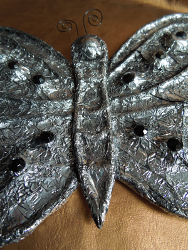
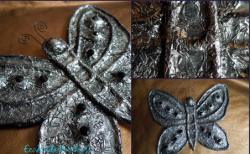
Vintage Faux Metal Butterfly
If you like modern wall art with some old-school flair, then you'll love creating a Vintage Faux Metal Butterfly from Heidi Borchers. Use an old technique from Aleene herself to create this decorative project. Burnished aluminum foil helps create the look of antique metal.
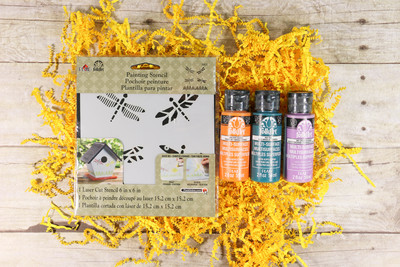
Materials:
- Aleene’s Original Tacky Glue
- Kitchen aluminum foil
- Butterfly cardboard cut-outs (Michaels kids department)
- Candle wick
- Pencil with eraser
- Scissors
- Rhinestones – various sizes for texture – black for embellishments
- Acrylic paint – black
- Brush – 1/2″ shader
- Paper towel
- Optional: upholstery tack
- 16 gauge black jewelry/craft wire
- Round nose pliers
Instructions:
- For each butterfly, you will need two cardboard cut outs.
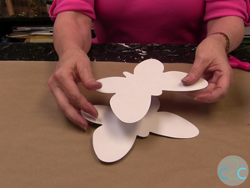
- Cut head and tail off one cut out and then cut body from other cut out. This will give the body more dimension as you will be creating two layers.
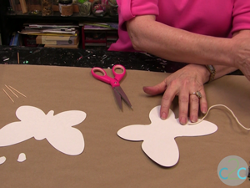
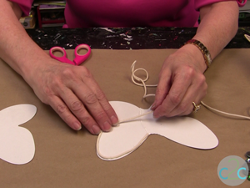
- Apply line of glue along outside edge of butterfly wings.
- Press candle wick into glue. Continue until desired pattern is achieved.
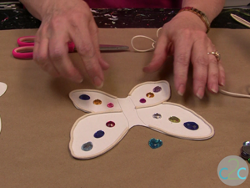
- Glue rhinestones on butterfly. Let dry.
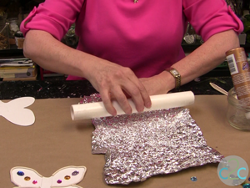
- Cut foil approximately 6″ larger than butterfly.
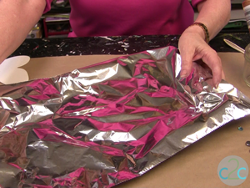
- Crinkle foil to center and re-open. (Do not roll into ball.) Repeat until foil has desired texture.
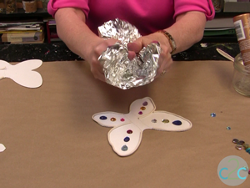
- Lay textured foil on work surface and roll with glue bottle (or rolling pin) to help foil lay flat.
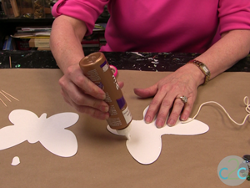
- Apply glue directly from bottle to top of butterfly.
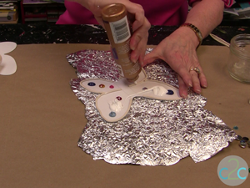
- Spread glue with finger over entire front of butterfly.
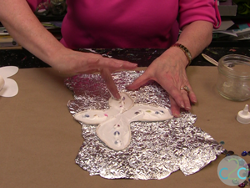
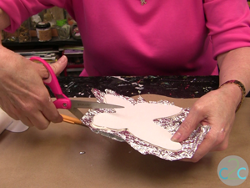
- Press face down onto dull side of foil.
- Press foil into glue with fingers and pencil eraser until foil is flat and you can see the detail of the candle wick and rhinestone.

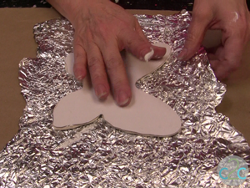
- Cut away excess foil leaving approximately 1/2″ along edges. Clip into foil along edges. Wrap foil around to back and glue in place.
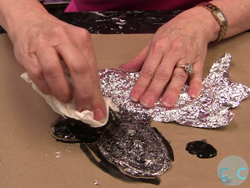
- Paint over foil. Immediately wipe back with paper towel to create an antiqued look.
- Glue candle wick onto butterfly body. If desired, press upholstery pin through head. Foil over body. Glue body in place over wings. Cut and swirl wire to create antenna. Glue in place. Let dry.

For a comprehensive video tutorial of this project, check out How to Create the Look of Metal with Kitchen Foil.
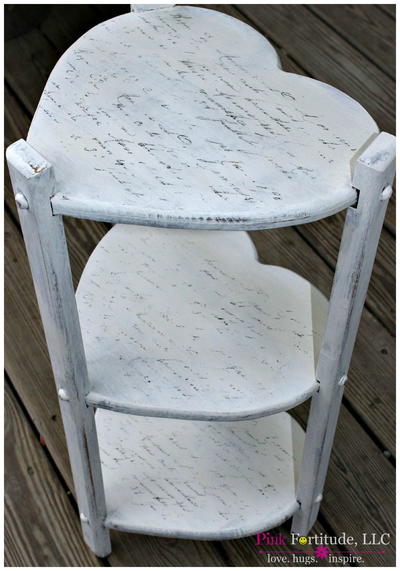
Read NextFrench Country Side Table Makeover