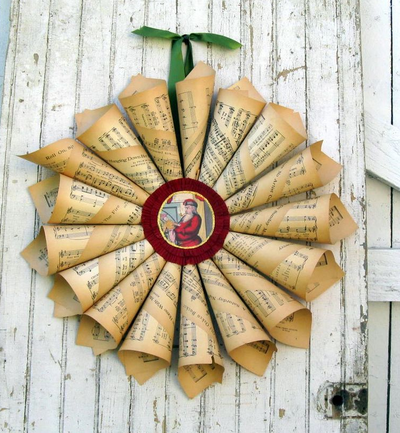
Decorative Vintage Paper Wreath Tutorial

Hang a Decorative Vintage Paper Wreath from Mitzi Curi on your door this season! Try this recycled craft idea if you're looking for a fun project.
Get more great craft projects delivered straight to your inbox when you sign up for any of our free newsletters!
Trash to Treasure from FaveCrafts
Retro Faves from FaveCrafts
FaveCrafts Quick and Crafty
Crafty Christmas Ideas from AllFreeChristmasCrafts
Materials List
- Sheet music or pages from a book
- Glue Stick or masking tape
- Cardboard circle
- Scissors
- Hot glue gun
- Dowel
- Glitter glue
- Crepe paper, fabric or lace
- Ribbon (to hang paper wreath)
How to Make a Paper Wreath with Rolled Paper
Instructions:
-
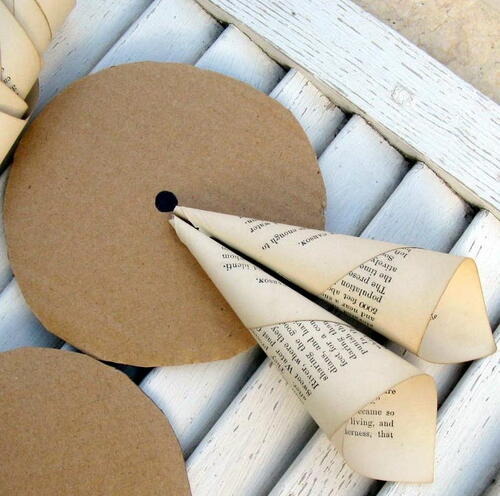
Take your sheet music or book pages, and roll somewhere between 15 and 20 cones in your preferred cone-rolling method. There's more than one way to roll a cone, and my favorite way was discovered through trial and error. Whatever you decide on, try to be consistent. I began by securing mine with a glue stick, but later discovered that using a bit of masking tape was easier.
-
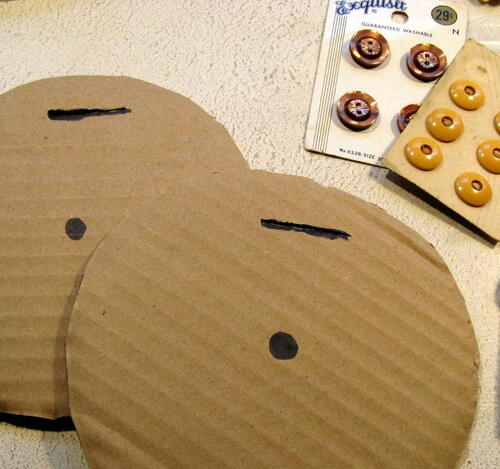
Next you need a cardboard circle that will serve as the base of your wreath. Mine were about 9" in diameter. Draw a belly button in the middle of your circle, and cut a slit for the ribbon hanger.
-
Select some ribbon and thread it through the slit and tie in a knot or bow. You can make a big deal out of the hanger ribbon and bow, or make it small enough so that it can't be seen once the wreath is completed. It's totally up to you.
-
Now you can start hot gluing the cones to the cardboard circle, using the belly button as your center point of reference.
-
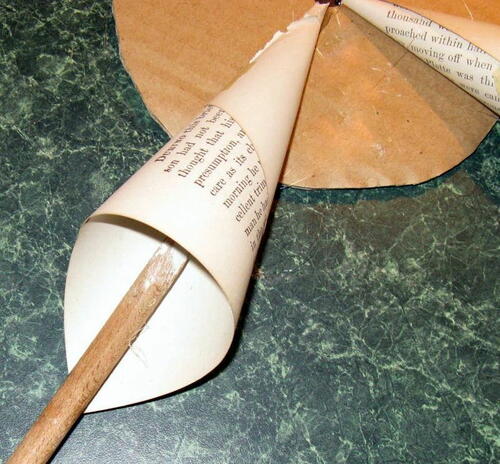
Because I was using hot glue, I found it helpful to use a dowel to press the cone to the cardboard and guide it into the right position:
-
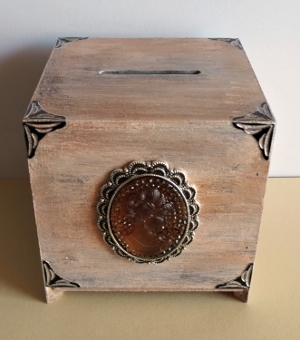
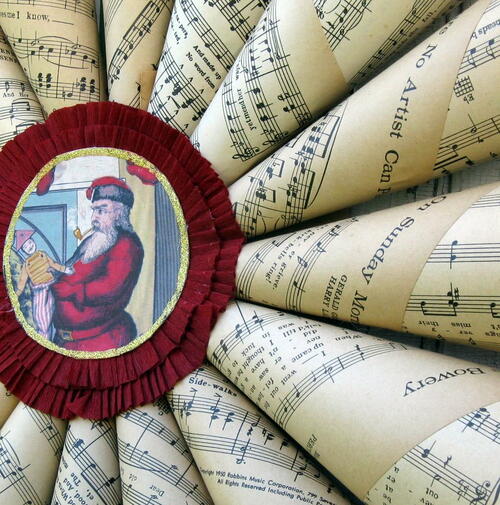
Once you have your cones glued to the base, you need to create a center medallion or decoration. I selected an image of Santa from the Graphics Fairy. I printed it out on cardstock, then glued it to a circle of manila folder to make it a little stiffer. I used glitter glue around the edges to add some sparkle. I also glued a ruffle that was sewn out of crepe paper on the underside. The lovely red ruffle was found in a box of crepe paper, and I just love it. Of course, you could make your own ruffle, or substitute gathered fabric or lace.

Up Next:
Read NextDollar Store DIY Beaded Chandelier
Your Recently Viewed Projects

Thanks for your comment. Don't forget to share!
shilohdana
Feb 11, 2017
I have seen these for a few years, but never made one...I do think it may be time for me to try it and this tutorial is the best one I have ever seen. I love the idea of a vintage image and the ruffled medallion in the center sets the image off in a very nice way. I like the other medallion she made for another wreath too. I may add some vintage style tinsel around the center medallion.
SissieSass
Jan 27, 2017
I love this old style wreaths. The problem I have is keeping my rolls even. Someone had a tutorial up that showed how to use a pencil or a bottle to roll the paper around so that it is the same size, but I never can keep it straight when I glue it. Do you have any tips?
mulberrygalprinces s
Jul 12, 2016
I love it. You can get an antique look by staining it with tea. Use a soft paint brush and wipe the tea across the areas that you want to look aged. Don't get it sopping wet, just wet. Let it dry and it will look aged. I have to make one with sheet music for my daughter in law. She is a music teacher in a middle school
Weberme
Apr 06, 2016
You know I saw one of these with the sheet music at a auction sale in a very old house and thought it was absolutely beautiful and wondered where it came from. And now I see this tutorial on the exact one. I would never image I could make one.And your idea to use a dowel rod to push the cone down and slide it in desired place is a clever idea. Must have one. Do you need to burn to get old antique look?
1938katherine 7806 715
Nov 13, 2014
that wreath is so beautiful, I want to try it for Christmas.
MomLara
Nov 16, 2012
This is awesome, I'm going to look for some music or an old book at a resale store to use.
JennyBee1
Nov 30, 2011
@clovejoy 1973002, Our guess is that it was just simply old paper that had naturally began to turn darker around the edges. To verify, we suggest you contact the pattern designer directly for help. The designer is specified in the byline. --editors of FaveCrafts
clovejoy 1973002
Nov 25, 2011
LOVELY wreath! how did you achieve the antique-look (kind of browned edges) on the sheet music?? it looks SO authentic!
Report Inappropriate Comment
Are you sure you would like to report this comment? It will be flagged for our moderators to take action.
Thank you for taking the time to improve the content on our site.