Vintage Cone Decorations
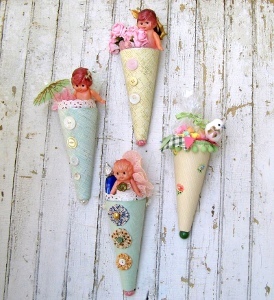
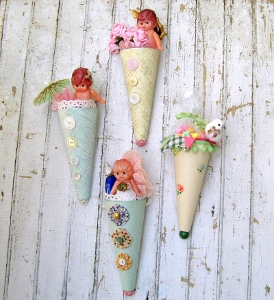
These retro vintage cone decorations from Mitzi Curi are a pretty way to prepare for a party or to hand out gifts and favors. All you need are some scraps from your stash.
Materials:
- Four paper mache cones purchased at a craft store. You could also make your own cones with heavy cardstock or file folder paper
- Vintage wallpaper, scrapbook paper, or wrapping paper. Even hand stamped brown craft paper would look lovely!
- Mod Podge or craft glue
- Vintage buttons
- Fabric yoyos
- Beads
- Various trims
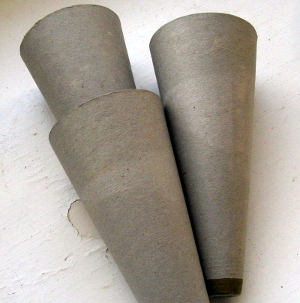
Instructions:
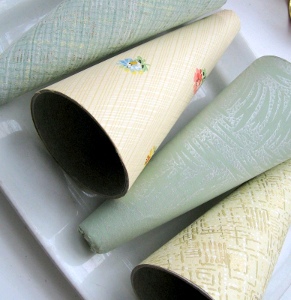
- After tracing around your cone and cutting out your paper, coat the back of the paper with Mod Podge or craft glue, and apply to your cone. You will need to do some smoothing with your fingers to get out the bubbles and lumps, or you could make it easy on yourself by using a brayer.
- Trim the rim of the cones with scissors if needed. Now you have a good backdrop for your embellishments:
- I chose vintage buttons, fabric yoyos, and some trims to embellish my cones. I hot-glued them on, and in the tip of the cone I glued a bead or fabric covered button.
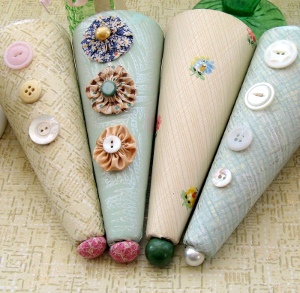
- The trim around the top is important. I selected some lacy pink ribbon and some cotton eyelet trim from my extensive stash, along with some cute green pompom fringe from a craft store. Some trim looks better glued to the inside of the cone, such as the eyelet, and some looks better on the outside, such as the green pompom fringe.
- Once the trim has been glued into place, you need to fashion a hanger. I just made a loop of string and hot-glued it to the back of the cone. If you want to hang the cone on a door knob, fashion one large enough for that purpose.
- Now it's time to fill each cone. I happened to have three vintage celluloid dolls that inspired me to fill the cones with mostly vintage finds. You may substitute newer things to fill your cones, or use the default cone filler which would be candy. Everyone likes candy, and it looks great in the cones!
Read NextState Fair Farmhouse Cupboard

