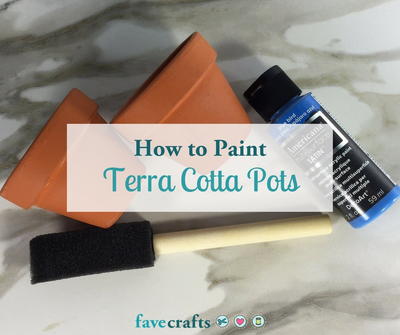
How to Paint Terra Cotta Pots
From priming and sealing to getting inspired with clever planter painting ideas, this how-to has it all!

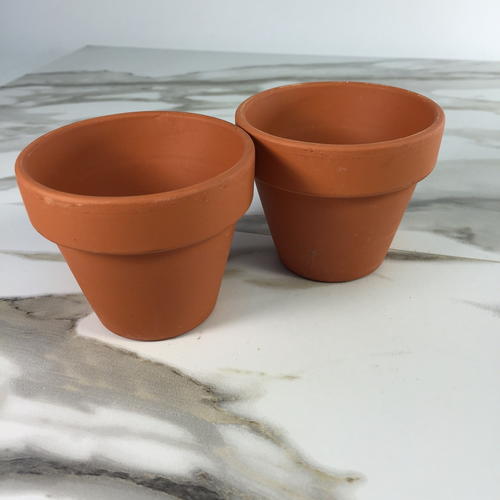
Terra cotta pot crafts are some of the cutest and most practical garden craft ideas out there. These clay pot crafts are created out of the most popular (and one of the cheaper) flower pot types you can find. Terra cotta pots are perfect for planting, which also makes them perfect for creating DIY planters.
The problem with painting terra cotta pots, however, is that if you do not prepare your pot properly, your project will deteriorate quickly. Terra cotta, or earthenware, is a porous surface and clay. It will retain moisture. Retaining moisture is great for plants and outdoor use, but it is horrible for crafting.
If you paint a terra cotta pot or surface without preparing it properly, eventually the moisture from your plant will seep through to the outside of your craft and do some serious damage to your artwork. Plus, paint seeping into your plant could kill more delicate greens, as well. Check out the steps below for preparing your terra cotta pot for painting as well as how to paint terra cotta crafts for all the need-to-knows and some extra tips.
Materials List
- Warm water and a coarse brush or sponge
- Sealant spray
- Painting primer or opaque white paint
- Paint
- Paintbrushes
- Sandpaper (optional)
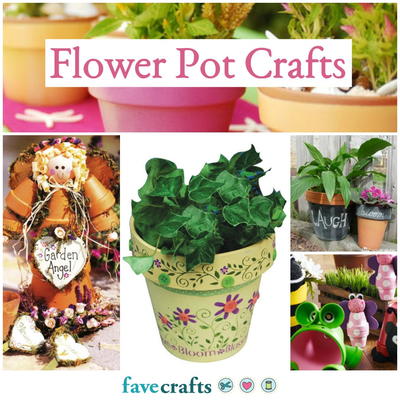
For inspiration and more great projects to brighten up your garden, check out these38 Flower Pot Crafts
How to Wash Terra Cotta Pots
Terra cotta pots you purchase in the craft or garden stores will inevitably be dusty, both from sitting around as well as covered in clay dust and particles that have worn off. It is important to wash terra cotta pots free of this dust in order to give yourself a clean painting surface.
-
Soak your terra cotta pot in warm water (no soap) in order to wash away the dust for half an hour.
Note: If you are washing an old and especially soiled terra cotta pot, soak for much longer. If you have used it to plant before, add a splash of bleach to the water in order to kill mold and mildew. -
Remove your pot from the warm water.
-
Scrub the pot with a coarse brush or sponge in order to wipe away any dirt, dust, or stubborn price tags.
-
If a price tag remains, allow your pot to soak for another half hour before repeating the steps above.
-
Once you have washed your pot, wipe excess water off with a cotton cloth before setting it out to dry. You can expedite this process by putting it out in the sun.
Sealing Terra Cotta Pots
Once your pot is completely dry, you will want to seal it up tight. Since terra cotta is so porous, this is a step you cannot skip. Paint, water, and any other crafting supplies can soak into the pot, ruining your project.
-
Use a sealant spray (easily purchased at any craft store) to seal the inside of your pot. Spray the inside of your pot with a full coat of spray.
-
Apply additional coats as needed. Since terra cotta pots are so porous, you may have to repeat this 3 or 4 times. Make sure you allow each coat to dry before applying another.
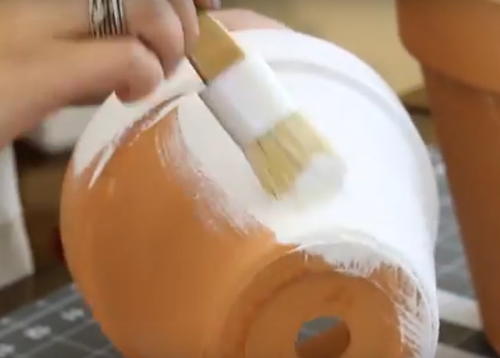
How to Paint Terra Cotta Pots: Primer
Terra cotta pot crafts often require you to paint these cute little clay pots in bright, light, and beautiful colors. Because terra cotta is such a deep shade of orange, it can often be difficult to achieve the hue of your choice. This is why you must prime your pots.
-
Using a painting primer (opaque white paint works, too!) cover the outside of the pot with the open edge facing down completely with primer and allow it to dry.
-
Flip the cup up and paint the top edge of the pot, as well.
-
If you choose to do so, you can apply another coat of sealant to this primer, as well. This can add months to the freshly-painted look to craft projects.
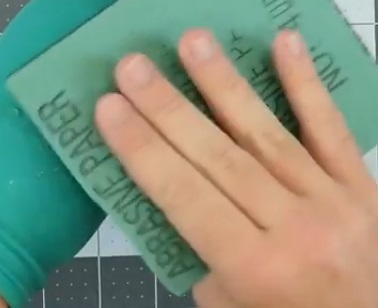
Add a Rustic Touch
If you are looking to add a rustic look to your clay pot crafts, you can do so with sandpaper. This something extra is an excellent way to achieve the lived-in look for your garden craft ideas without waiting for the look of wear and tear to happen naturally.
-
Allow your painted terra cotta pot craft to dry completely.
-
Grab a small piece of sandpaper and apply it to a large or small area to your craft. If you are looking for only a hint of wear, consider sanding the top and bottom edges of the pot. You can also use an older piece of sandpaper to avoid too drastic of a change.
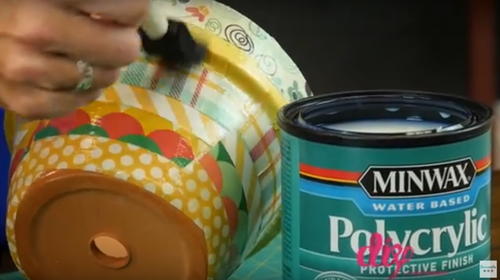
Finishing Off Your Terra Cotta Craft
Once you have complete the steps above, be sure to apply yet another layer (or two) of sealant in order to protect your final product. Pots you will be placing outside are especially vulnerable to wear and tear, so apply several layers to these DIY crafts.
-
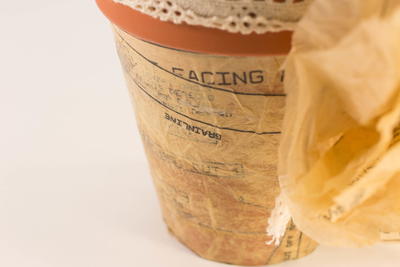
In this example, Jane Monzures from DIY by Jane seals a decoupaged terra cotta pot with polycrylic. Try this method!
In a hurry? Here's a shortcut for painting terra cotta pots:
It's simple: use patio paint! Patio paint is a specially formulated paint that seals, self-levels, and covers well. It is weatherproof, has a satin finish, and will not crack or peel! Learn about outdoor paints and more with our handy guide to Different Types of Craft Paint.
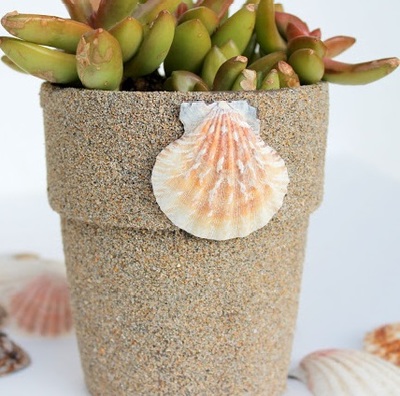
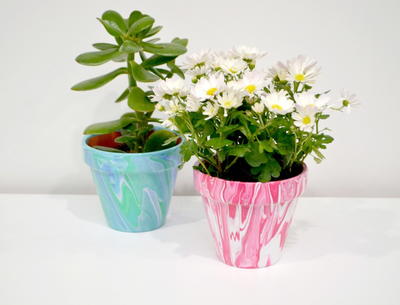
If you are going to paint a terra cotta pot, you will need to decide on a design or a solid color. Check out the tutorials below for painting terra cotta pots and terra cotta pot designs.

This chic flower pot features darling cursive greetings for a fun look!

Learn how to spray paint terra cotta pots, and here you'll find a cute idea for what to put inside them, too.

You can sand your terra cotta pots for a rustic touch, or you can use a comb tool to create pretty stripes that make the pots look a touch handmade.

Stack the saucers from different clay pots to make this adorable turtle. The gingham ribbon is such a darling touch.

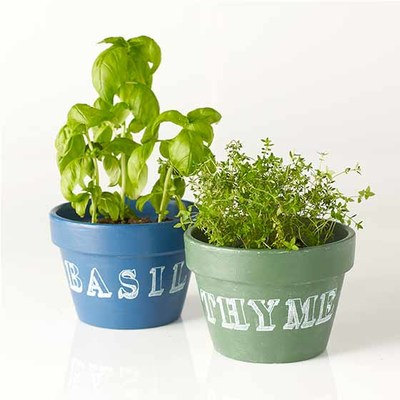
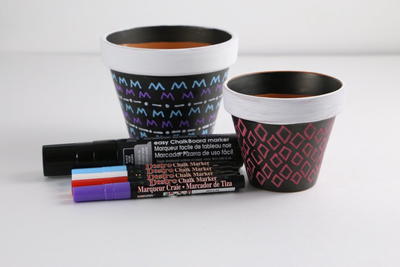
Chalk paint makes an excellent material for painting terra cotta pots. You can add any sentiment you like, and they look so rustic chic when complete.
Read NextHow to Paint Terra Cotta Pots
Your Recently Viewed Projects
Thanks for your comment. Don't forget to share!
aketch
Apr 27, 2016
I've given many green gifts in terra cotta pots over the years usually in the form of spring bulbs that grow into beautiful bouquets in a few weeks. I usually give these for birthdays and I've brought a few to funerals. If you don't want to prep and paint the pot you can dress it up with a beautiful ribbon. You will have a lovely presentation.
Mistress of All Ev il
Mar 18, 2016
I think the problem with all of our painted pots was that we didn't soak them. Just went right to town on painting them after half-wiping them off. Not that they looked bad or anything. These are some very helpful tips. Thanks! I like to use terra cotta pots to liven up my apartment. Definitely makes me happier!
Report Inappropriate Comment
Are you sure you would like to report this comment? It will be flagged for our moderators to take action.
Thank you for taking the time to improve the content on our site.