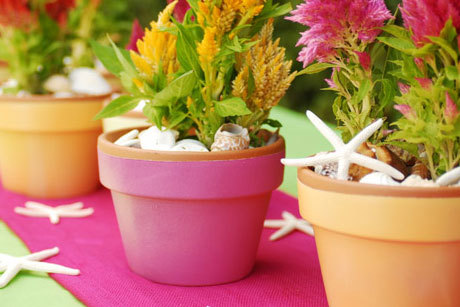
Fun with Terra Cotta Pots
At your next outdoor gathering, place these colorful terra cotta pots from Krylon along the table as a centerpiece or in front of each guest as gifts to take home.

Materials:
- Krylon Indoor/Outdoor Primer - White (#51315)
- Krylon Outdoor Spaces Satin Finish - Lime (#2920)
- Krylon Outdoor Spaces Satin Finish - Mango (#2921)
- Krylon Outdoor Spaces Satin Finish - Watermelon (#2922)
- Krylon Outdoor Spaces Satin Finish - Lemon (#2923)
- Krylon Crystal Clear Acrylic - Clear (#1303)
- Krylon Make It Pearl! Pearlescent Paint - Sheer Pearl (#1207)
- 4 – 5 1/2 “ terra cotta flower pots
- Celosia plants (or your choice of plant) in variety of bright colors
- Potting soil
- Sea shells
- Painters masking tape
- Newspaper
Instructions:
- Tape off 1/4” of the rim of each terra cotta pot so that the natural terra cotta will be exposed along the top at the end of your project.
- Place each pot upside down on top of its own sheet of newspaper.
- Spray each pot with two coats of Krylon Primer. Allow for drying time between each coat. This will provide a neutral clean base for the colors.
- After the primer dries, spray two coats of Lime on one pot, letting it dry in between coats just a few minutes. Then proceed with the next pot and the next color until you have finished all of the pots. We used Mango, Watermelon, and Lemon for the other 3 pots. Let dry completely.
- Once the paint dries completely, you are going to be adding just a spray of another color to add some dimension. We used only Mango and Lemon. Mango on the Lemon pot. Lemon on the Mango pot. Mango on the Lime pot and Lemon on the Watermelon pot. To accomplish this you hold the can at a farther distance from the pot, lightly spraying them with the alternate color. Concentrate on adding this color mostly to the bottom area of the pot and then let it feather upwards. You do not need to cover the entire pot. This creates a variation of color and tone and will add interest and dimension to your design.
- After the paint dries, spray the pots with Krylon Crystal Clear spray to add a nice glossy effect.
- To amplify the shine of the pots, spray them with Krylon Make it Pearl! Pearlescent Paint. This will add a shimmery, sheer pearlescent quality.
- Once the pots are completely dry, remove the tape from the rim.
- Fill pots with Celosia plants and soil.
- Cover soil with sea shells.
- Arrange pots along the center of your table or runner.
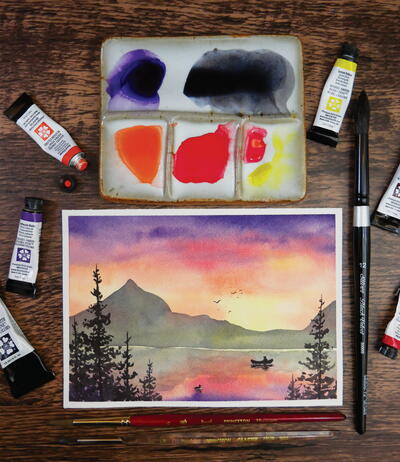
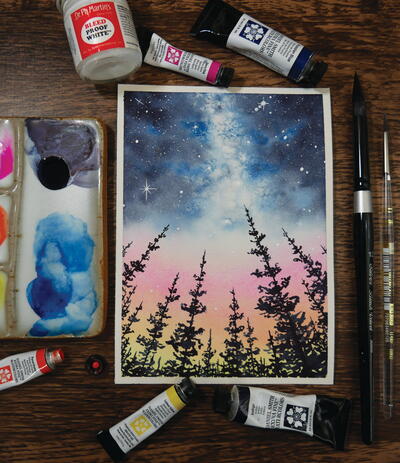
Read NextCanoe Lake Sunset
Your Recently Viewed Projects
Thanks for your comment. Don't forget to share!
elizabethrboatrigh t
Nov 01, 2017
Home decorating ideas are really beautiful and attractive. I like to read your blog and follow these fashions in my home. They are very pretty. Thank you so much for your posts. Keep sharing such cute ideas for home. I love to refer your ideas for the decorating.
princess6860504
Jun 05, 2017
This is the kind of craft that just about anyone can do, and feel accomplished at that! For me, I would have the most fun picking out my paint colors. However, I totally am on the same wavelength with this DIY . These colors are on point. Another thing I thought of, using the pots at each place setting and filling them with your cutlery and a napkin. You could use a nice cloth napkin rolled up inside and your nicest picnic cutlery- not just cheapo plastic stuff. So cute!
Taylor R
Jun 05, 2015
Painting flower pots is a cute way to dress up any outdoor space for the summer!
Report Inappropriate Comment
Are you sure you would like to report this comment? It will be flagged for our moderators to take action.
Thank you for taking the time to improve the content on our site.