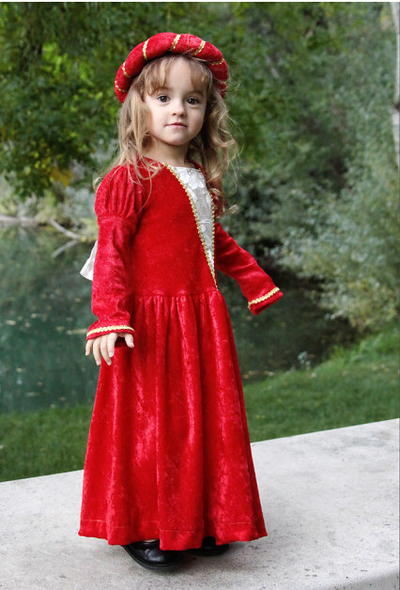
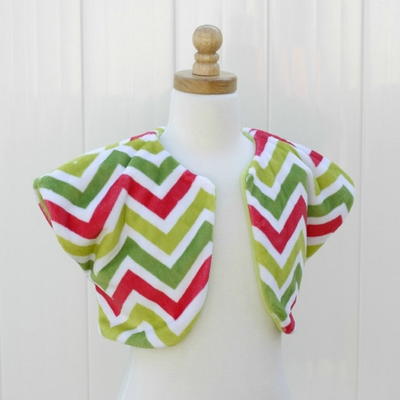
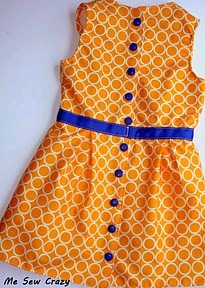
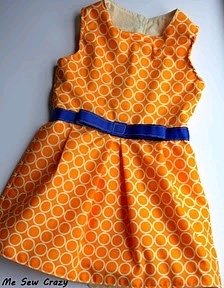
The Jackie O Dress
These kids sewing patterns are so elegant and chic! Make the Jackie O Dress from Jessica Gerblick for your mini fashionista in no time at all.

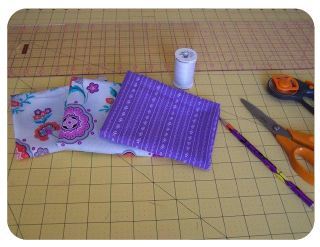
Materials:
- 3/4 yd. (maybe less)Fabric
- 3/4 yd. (maybe less) Lining
- Interfacing
- Grosgrain Ribbon
- Pattern
Instructions:
Cutting:
Cut out pattern pieces for appropriate size.
For bottom of skirt cut the following:
Size 2 -
- Cut (1) 8L” x 20W” rectangle of exterior fabric & lining
- Cut (2) 8L” x 10W” rectangles of exterior fabric & lining
Size 3 -
- Cut (1) 10L” x 20W” rectangle of exterior fabric & lining
- Cut (2) 10L” x 10W” rectangles of exterior fabric & lining
Size 4 -
- Cut (1) 12L” x 20W” rectangle of exterior fabric & lining
- Cut (2) 12L” x 10W” rectangles of exterior fabric & lining
Size 5 -
- Cut (1) 13L” x 20W” rectangle of exterior fabric & lining
- Cut (2) 13L” x 10W” rectangles of exterior fabric & lining
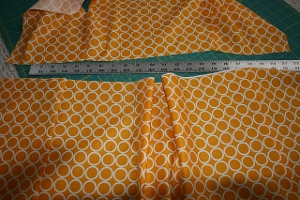
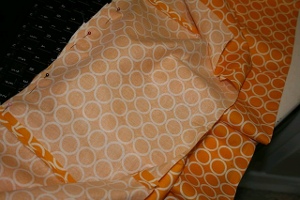
We are going to cut 2 separate pieces of interfacing.
- One piece of 1” x the length of your skirt
- Another piece of 1” x the length of the back of your bodice. See Photo:
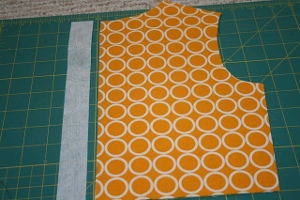
Interfacing:
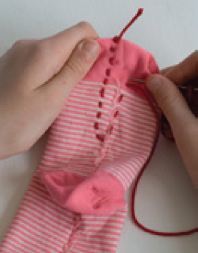
On the wrong side of the fabric, we are going to iron on the interfacing ¼” from the edge of one of the back skirt lining lengthwise & on one of the back bodice lining.
Sewing:
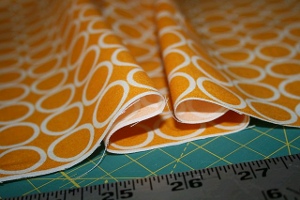
- With right sides together, Sew the front of the bodice to the back of the bodice at side seams and shoulder seams - DO NOT sew the back of the bodice together. Press open seams. Repeat for lining. See Photo:
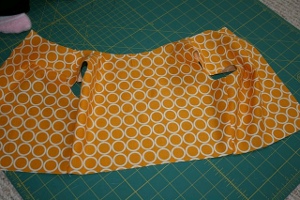
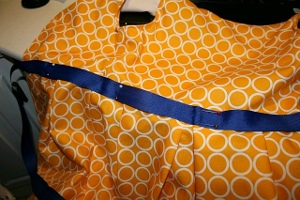
- With right sides together, Sew front of skirt to back of skirt at side seams. DO NOT sew the back of the skirt together. Press Open Seams. Repeat for lining. Be sure the interfacing is on the outside seam (not being sewn to the front), AS WELL AS, on the same side as the interfacing on the bodice. (I forgot to do this on mine - argh - woops!) See Photo:
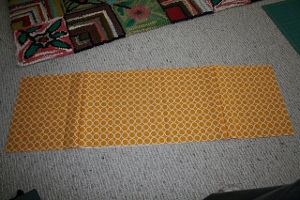
- Picking up the skirt piece again. Mark the center of the front of the skirt. Lay the bodice down so that the side seams are clear for measurement, and lay the skirt down below it so that the center of the front of the skirt sits under the center of the bodice. We are now going to pleat the bottom of the skirt.
- Taking the skirt approximately 3” from the left of the center, fold in towards the center. Repeat for other side. This is a box pleat. Pin in place. See Photo:
- Now, moving the skirt seam so that it is matching with the bodice side seam above, pleat the skirt towards the left seam and right seam accordingly on each side of the skirt, this is a knife pleat. Pin in place. See Photo:
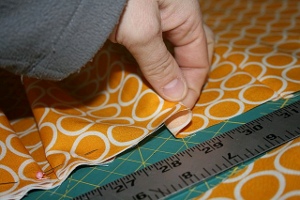
- Now onto the back of the skirt. We will be repeating the center box pleat for the back of each side of the skirt. Being sure the side seam and back of bodice matches with the skirt seams. Repeat for other side, and pin in place. See Photo.

- Repeat entire pleating instructions for the lining of the skirt.
- Baste stitch along top edge of skirt & lining, securing pleats in place.
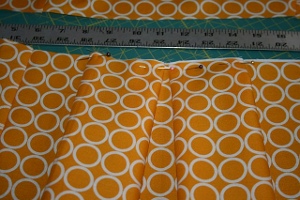
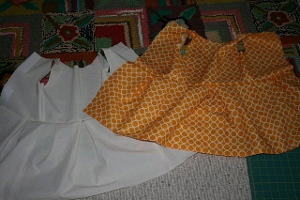
- With right sides together, match raw edges and side seams of bodice and top skirt bottom. Pin in place and sew. Repeat for lining. See Photo:
- You should have this when done:
- Now, with right sides together, place the dresses together, matching all raw edges. Pin around sides, leaving a 5” opening at the bottom. Sew together. (Do NOT sew armholes together, that will be done later).
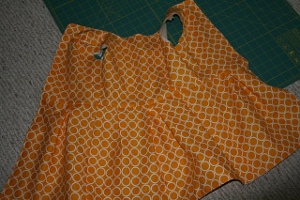
- Turn dress right side out through opening, and slip stitch opening closed. Press dress, and edge stitch around entire dress. (Again, not including the armholes.
- You should now have this:
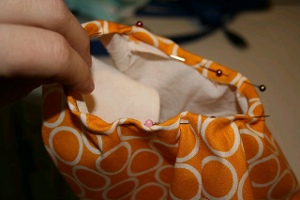
- We are now going to turn and press the raw edges of the armholes ¼” towards the wrong side of fabric for the exterior, this will enclose the raw edge of the lining armhole. Turn once again another ¼” and pin. (It helps to sometimes roll the fabric and pin as you are going. Pin and Sew. See Photo:
- Measure the length of your grosgrain ribbon around the middle dress seam, adding 1”, and center on the front of the dress’. Pin in place on top and bottom. Sew ribbon around entire dress, stopping at back bodice sides, and wrapping the ribbon ½” onto the inside of the dress. Sew in place. Be sure to fray check ends of ribbon. See Photo:
- Make bowtie ribbon and place in desired location on front, sew in place. For a stronger ribbon that doesn’t flop around, I put a piece of interfacing in between 2 pieces of ribbon and sewed closed.
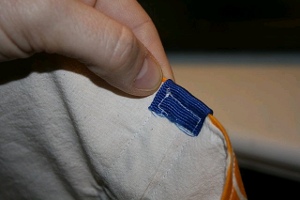
- Sew buttonholes along back seam with interfacing. Evenly spaced, approximately 2 - 3” apart. And then sew on buttons accordingly.
Read NextTwenty Minute Baby Blanket
Your Recently Viewed Projects
Thanks for your comment. Don't forget to share!
brytat
Apr 13, 2020
What are the measurements for each of the sizes? I have a kid that is 24m in somethings and 3t in others and I would like to know if i should adjust before cutting as I can go smaller but not bigger
Editor Dana
Apr 13, 2020
Hi there! Unfortunately we don't have the measurements for each size. What I'd recommend doing is printing the pattern pieces and measuring so you know what size to cut to. I hope that helps!
purpleheartAW2mom
Jul 10, 2011
Problems with no pictures in this article either after I transferred this over to Word. I used to get the picture just fine on transfer, but no longer. Anyone have an idea what may have happened here??
Kbdavis
Jun 29, 2011
Oh my gawsh...my mom would love this...She make little girl's dresses for a charity she started in her church to help lost souls go to a life changing retreat called New Life Weekend. She's always searching for new patterns. :)
Report Inappropriate Comment
Are you sure you would like to report this comment? It will be flagged for our moderators to take action.
Thank you for taking the time to improve the content on our site.