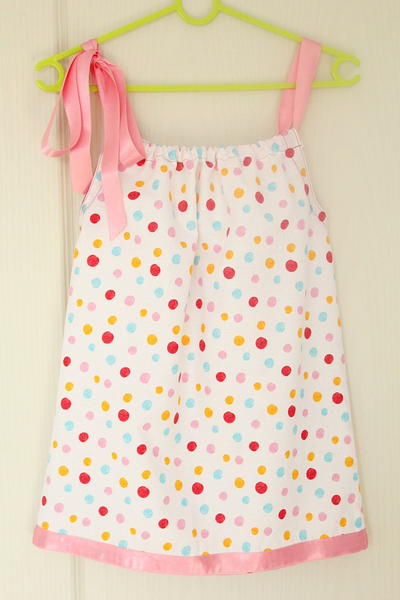
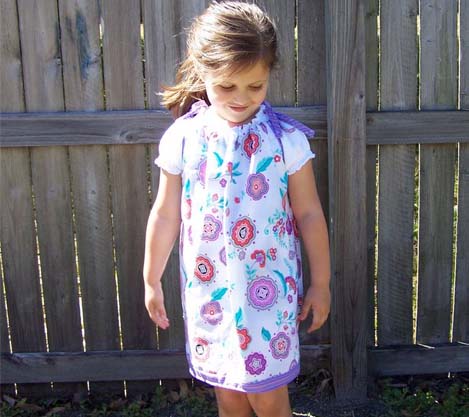
Pillowcase Dress from 3 Fat Quarters
There are a ton of pillowcase dress patterns on the web (even some that cost money) but I, Caroline Critchfield, wanted to use up some coordinating fat quarters I had left over from a quilting project. They worked perfectly because the shape is almost like a pillowcase already! One fat quarter makes the front, one makes the back, and a third is turned into bias trim (for the arm holes and ties) and a little coordinating band at the bottom. There are almost no scraps left over at all! Of course, if you want to use more fabric, you could add a ruffle or make the dress longer.
Since the top of a pillowcase dress is adjustable, this dress will fit little girls from size 2T through 6. The finished dress is 21” long and 17 ½” wide. A size 8 child on the slender side could easily wear this as a top. If you are unsure about sizing, just measure your little girl or one of her dresses. Includes a template for cutting out armholes.
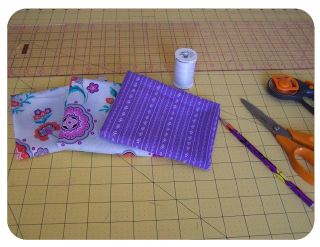
Materials:
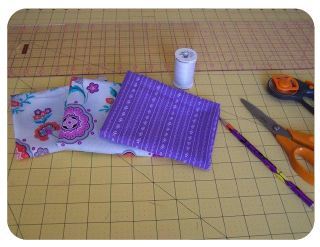
- 2 fat quarters of fabric in your main color
- 1 fat quarter in a coordinating color
- Coordinating thread
- Scissors and/or rotary cutter
- Ruler and cutting mat
Instructions:
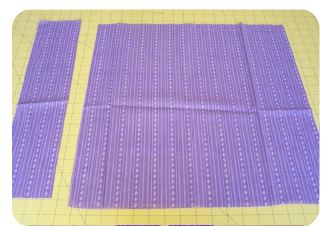
- First cut 4” off your coordinating color of fabric to make a 18” square. You will use my How To Make 4 Yards of Bias Tape From a Fat Quarter method to make bias tape out of this 18” square.
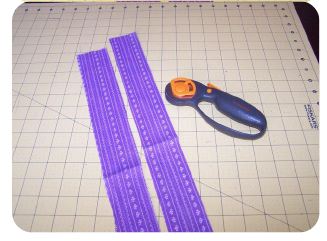
- Cut the 4” x 18” strip of fabric that you just made into 2 strips that are 2” x 18” each.
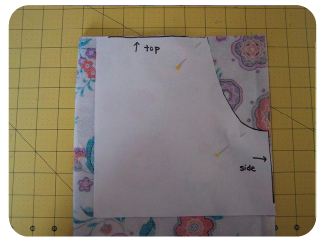
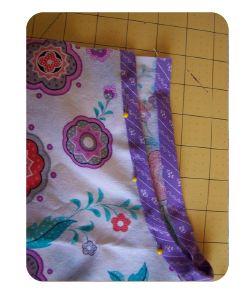
- Lay out your 2 matching fat quarters one on top of the other. Then fold them in half lengthwise.
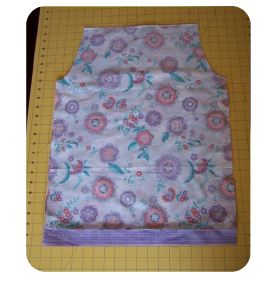
- Print up the armhole template. This template will work for all sizes since the dress adjusts. Cut the template out along the solid lines. Lay it against the top and right (cut) edges, not the fold. Cut out the armhole through all four layers at once.
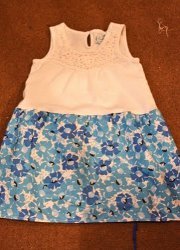
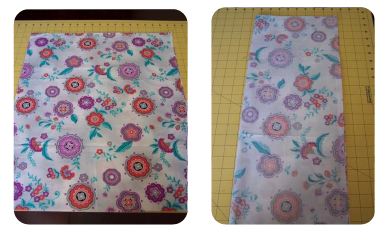
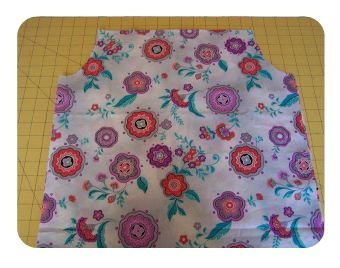
This is what you’ll get:
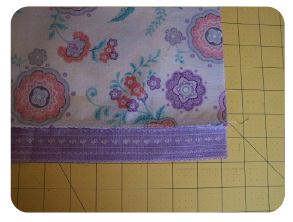
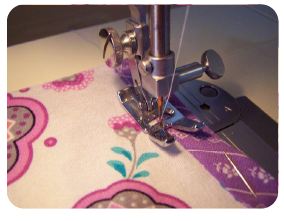
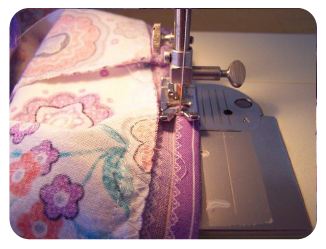
- Pin your two 2” x 18” pieces to the bottom of the dress pieces, right sides together.
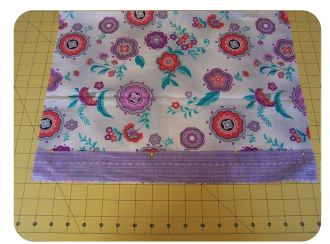
- Stitch with a ¼” seam. Finish your seam with a zig-zag stitch.
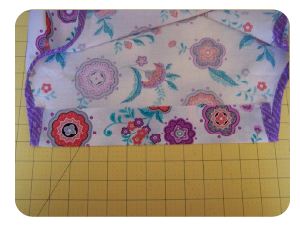
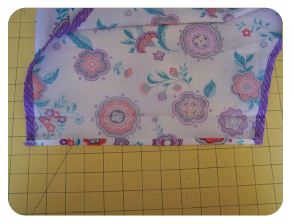
- Press the seam toward the darker fabric.
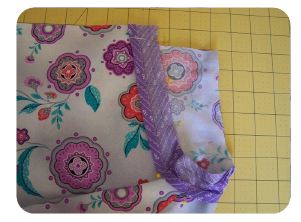
- Pin the dress pieces right sides together along the side seams. Stitch from the bottom of the armhole to the hem. Finish your seam with a zig-zag stitch.
- Now go ahead and make your bias tape using the 18” square and the How To Make 4 Yards of Bias Tape From a Fat Quarter tutorial.
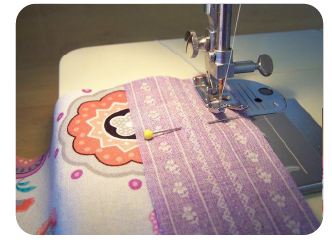
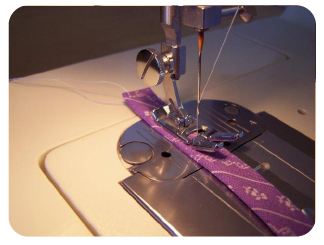
- Pin bias tape to the right side of each armhole.
- Stitch in the crease, about 3/8” from the edge.
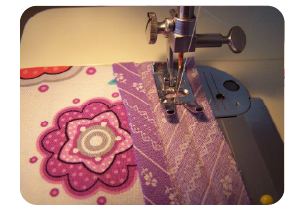
- Turn the binding around to the other side and pin. Put all your pins on the right side of the dress. Be sure that your trim is wrapped tightly enough around so that your stitching will catch it on the back.
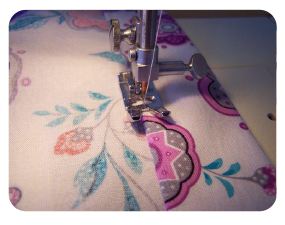
- Top-stitch along the edge of the trim, sewing it down on the back at the same time.
- Making the casing. Fold the top (neckline) down 2” toward the inside of the dress. Press.
- Open up the fold that you just made, and press the edge down about ¼”. Then fold it back along the 2” line and press it again.
- Stitch the casing down on the inside, close to the edge.
- Making the ties. Cut two pieces of bias trim that are 35” long.

- Open up the ends of the trim, and fold the edge to the inside. Refold and pin.
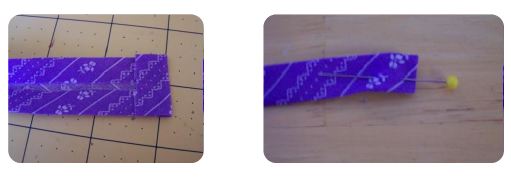
- Stitch close to the edges.
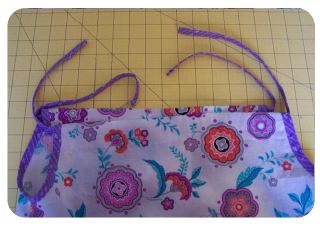
- Insert the ties through the casings using a safety pin.
- Hemming. Press the bottom edge to the inside ¼”, and then again ¼”. Stitch a narrow hem.
Ta-dah!!!!
Read NextDarling DIY Pillowcase Dress
Your Recently Viewed Projects


Thanks for your comment. Don't forget to share!
Marshame
Jun 03, 2012
A quarter-yard would be 9 inches of fabric by the width of the bolt, usually 40-44". A fat quarter is a half-yard of fabric (18") that has been cut in half, so that it measures 18"x 20" and you would get two of them out of a half-yard cut. Quilt stores and many fabric and hobby stores sell fat quarters.
CreativityGoddess
Jun 27, 2011
Hi reelmemories 2735358 - Have you tried this link? http://www.carolinafairdesigns.com/tutorials/apillowcasedressfrom3fatquarters.pdf It gives you the whole pattern and the armhole template in one pdf file. Hope this helps! -The editors of FaveCrafts
hybridbeing 766437 9
May 13, 2012
This was a very helpful file. I am still either very dull or something! I don't have a clue as to what a "fat quarter" is?? Can someone explain? I have tried numerous searches and come up blank. Thank you:)
reelmemories 27353 58
Jun 27, 2011
Lovely pattern except I can't get the armhole template to print out either. I tried the suggestions but it doesn't work. Can you please give me the measurements of the pattern (from left edge of paper to top edge of armhole and from bottom edge of paper to bottom edge of armhole. Then I can transfer that to a sheet of 8 1/2" x 11" paper. I want to make this for my 2-year old granddaughter. Thank you:)
tifanieann 5560791
May 12, 2013
It looks to be 7 inches by 2 inches based on the picture and when you fold down for the casing it will be 5 inches... hope that helps the people of 2013 looking :)
JessiCAN
May 09, 2011
@ixstitch: We would suggest copying and pasting the armhole pattern into a Paint file. Then you can resize the image and print it. Hope this helps! -- Editors of FaveCrafts
ixstitch
May 07, 2011
When I try and get the armhole template,all I get is a huge line in one area and then if I move it there's blank space. Is there any way to download this template and then we can enlagge it ourselves? Thanks Yvonne
toniabartley
Mar 30, 2011
I love this! The directions are so well described! Thank-you for sharing!
carolinafair
Mar 25, 2011
Hey, I just noticed how much this pattern has been viewed and I want to say thanks to everybody! I'm bummed that finding the armhole template has been puzzling for some, so here's a link to get the whole pattern and armhole template in one pdf file: http://www.carolinafairdesigns.com/tutorials/apillowcasedressfrom3fatquarters.pdf Have fun! Caroline
auntsusu
Mar 03, 2011
To get the armhole template, click on the green words that say armhole template. This will open another window. Then when you see the armhole template click on the word File at the top of your screen. Then click Print. This is how I got mine to print. You could also try Ctrl plus the P button on your keyboard. I am making matching dresses with this pattern today for my niece and great niece, ages 2 and 6.
Prince
Feb 26, 2011
A FAT QUARTER is 1/4 yard cut of fabric 18" X 22" vs. typical 9" X 42". I like the dress and print. ALT: a strip of coordinating fabric for a "tie/belt"; sleeves; split front or back with snaps for an "apron" - for cooking, play, or craft-time...
madabirish 6790191
Feb 26, 2011
In the instructions you looked at on number 4 it says print template for the armhole. Hope y'all find it.
Crafter 17499
Feb 26, 2011
I've got twin granddaughters and I would love to make this for them. But can't get the armhole template. Am I doing something wrong?
debfromhouston
Aug 12, 2010
I was wondering what size the neck and armhole pattern was suppose to print out to? Mine printed 5 x 5 1/2. Is this correct? debfromhouston@gmail.com
Member 5720677
Jul 25, 2010
Love this little dress. I sewed for all three of my girls when they were growing up. very fancy dresses with pinafores, etc. now i'm just not up to that but I want to make dresses for my little grandaughters so this is just up my alley. Also love your bias tape method. By the way, what is a fat quarter? I assumed it was a quilting term.
Report Inappropriate Comment
Are you sure you would like to report this comment? It will be flagged for our moderators to take action.
Thank you for taking the time to improve the content on our site.