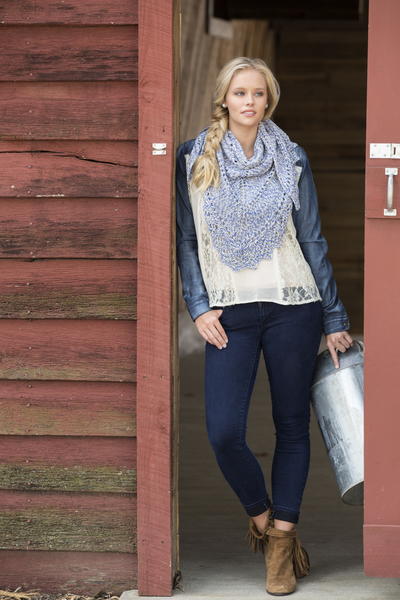
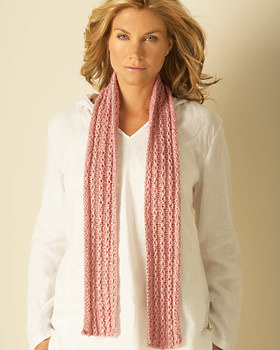
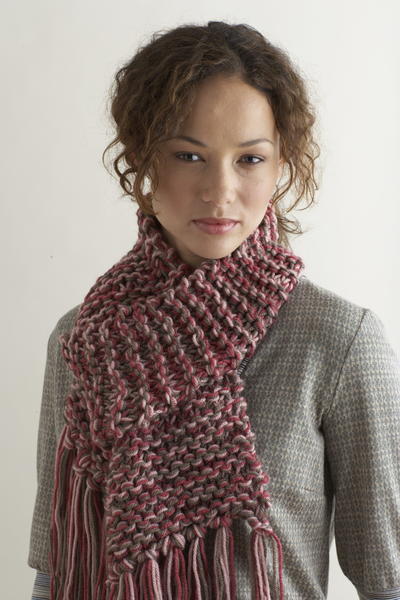
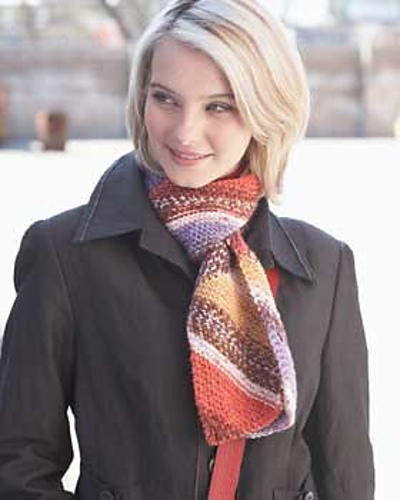
Chic Diagonal Stripe Scarf
This scarf from Bernat Yarns has angled stripes that give it sophisticated appeal. It's a project for the everyday knitter, try this free pattern!


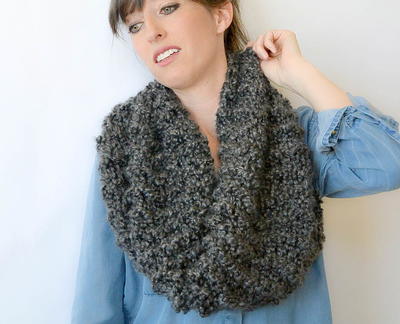
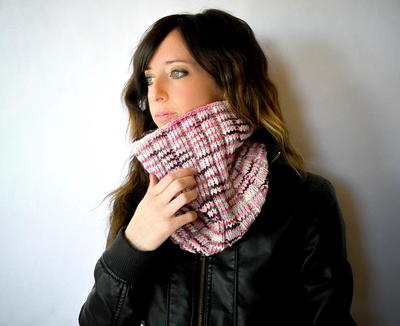
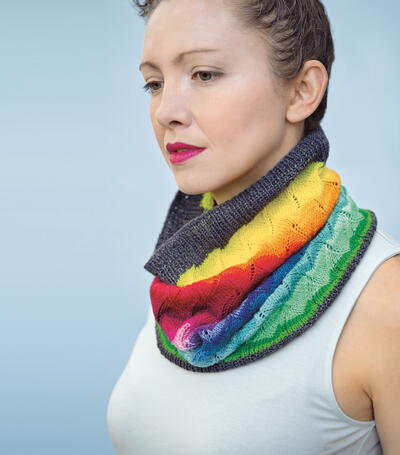
You can find this project, and many more just like it, in our new free eBook, 12 Knitted Scarf Patterns: Fabulous Free Knitting Patterns for Beginners!
MATERIALS
- Bernat® Jacquards
- (100 g/3.5 oz; 184 m/201 yds)
- 1 ball of #13530 (Gemstone Jacquard)
- Knitting Needles: size 5 mm (U.S. 8) or size needed to obtain gauge.
MEASUREMENTS
- Approx 6 ins [15 cm] x 59 ins [150 cm].
GAUGE
- 16 sts and 32 rows = 4 ins [10 cm] in garter st.
INSTRUCTIONS
- Cast on 2 sts.
- 1st row: (WS). K2.
- 2nd row: Inc 1 st in first st. K1. 3 sts.
- 3rd row: Knit.
- 4th row: Inc 1 st in first 2 sts. K1. 5 sts.
- 5th row: Knit.
- 6th row: Inc 1 st in first st. Knit to last 2 sts. Inc 1 st in next st. K1. Rep last 2 rows 12 times more. 31 sts.
- Next row: (WS). Knit.
- Next row: Inc 1 st in first st. Knit to last 3 sts. Sl1. K1. psso. K1. 31 sts. Rep last 2 rows until straight edge measures 6½ ins [16.5 cm], ending with a RS row.
- **Next row: (WS). Knit to last st. yf. Slip last st onto right-hand needle. yb. Slip st back onto left- hand needle. Turn – wrapped st made.
- Next row: Knit to last 3 sts. Sl1. K1. psso. K1. Next row: Knit to st before last ‘wrapped’ st. Wrap next st. Turn. Rep last 2 rows 14 times more. ***
- Next row: Sl1. K1. psso. 16 sts rem.
- Place marker on last st.
- Next row: K1. Turn.
- Next row: Inc 1 st in st. 2 sts.
- Next row: K3. Turn.
- Next row: K1. Inc 1 st in next st. K1. 4 sts.
- Next row: K5. Turn.
- Next row: Knit to last 2 sts. Inc 1 st in next st. K1. 6 sts.
- Next row: K7. Turn.
- Cont in this manner, inc 1 st at end of each RS row and taking 1 more‘wrapped’ st into end of every alt row until all sts are worked. 31 sts.
- Next row: (RS). K1. K2tog. Knit to last 2 sts. Inc 1 st in next st. K1. 31 sts.
- Next row: Knit.
- Rep last 2 rows until work from last marker along straight edge measures 6½ ins [16.5 cm], ending with a WS row.
- Next row: (RS). K1. K2tog. Knit to last st. Wrap next st. Turn. Next row: Knit.
- Next row: K1. K2tog. Knit to st before last ‘wrapped’ st. Wrap next st. Turn.
- Rep last 2 rows 13 times more.
- Next row: (RS). K2tog. Wrap next st. Turn. Next row: K1. 16 sts rem.
- Place marker on last st.
- Next row: Inc 1 st in st. 2 sts. Next row: K2. Next row: Inc 1 st in first st. K2. Next row: K4. Next row: Inc 1 st in first st. K4. Next row: K6.
- Cont in this manner, inc 1 st at beg of each RS row and taking 1 more‘wrapped’ st into end of same row until all sts are worked. 31 sts.
- Next row: (WS). Knit.
- Next row: Inc 1 st in first st. Knit to last 3 sts. Sl1. K1. psso. K1. 31 sts.
- Rep last 2 rows until work from last marker along straight edge measures 6½ ins [16.5 cm] ending with a RS row.**
- Rep from ** to ** 3 times more, then from ** to *** once.
- Next row: Sl1. K1. psso. Cast off rem 16 sts.

Find even more free knit scarf patterns to love in our extensive collection of gorgeous knitting patterns, 59 Free Scarf Knitting Patterns.This gorgeous collection contains cowls, simple scarves, and more intricate, intermediate patterns.
Read NextHigh Style Knit Cowl Pattern
Thanks for your comment. Don't forget to share!
Bellalinda
Mar 18, 2014
I have not done it yet, but by reading this pattern, the straight edge is the decreased edge and the other side should look slanted. ( going diagonal ) This is before the wrap stitch comes into play, around the first part of the pattern. You are right both sides are straight but the pattern is not. The pattern is changing direction so you have one edge that is straight and the other side is the increase edge. ( slanted) Now, if you have holes in between, if it is in the middle somewhere in your scarf, you might have dropped a stitch or so, ( missed stitch ) if you have holes on the edge it is because your wrap stitch is incorrect. Hope it helps. I also want to make this scarf. Can't wait.
christinamikus 963 8930
Feb 10, 2015
Great comments. I too have holes where the wrapped stitches are. I don't understand how I am doing them incorrectly. Any advice is welcomed!
Lisa
May 25, 2016
The straight edge in this pattern is the edge without an increase, the increase side will be angled because the increase is only on 1 side. As far as holes on the wt this is a common problem with this stitch, just tug on the yarn when you make this, in other words change your gauge, make this stitch tighter than the others on the needle. Hope this helps someone. Happy Knitting
gingercatzak
Sep 16, 2013
Which edge is the straight edge? I have two edges that are straight??
pdpictureshurst 13 75264
Apr 18, 2013
I am knitting the diagonal striped scarf. Two needs of help: 1. which edge is the 'straight edge'? 2. does 'yf' and 'yb' mean 'yarn front and back'? Thanks, Suzy H.
esteward 9463538
Feb 03, 2013
i've knit 3 sections of this scarf and end up with holes between the sections - can anyone help? i really want to make this scarf! thanks!
The Cat Lady
Mar 02, 2013
I can't see your reply to this problem and I would like to know because I want to knit this scarf, Thanks!
Report Inappropriate Comment
Are you sure you would like to report this comment? It will be flagged for our moderators to take action.
Thank you for taking the time to improve the content on our site.