Beginner Hat Knitting Pattern
Learn how to knit a hat for beginners with this fan-favorite pattern!

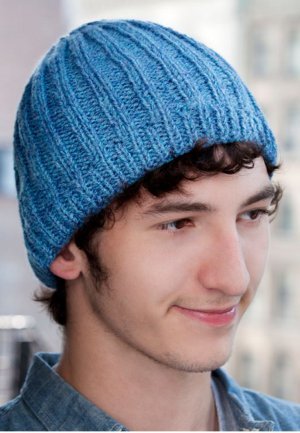
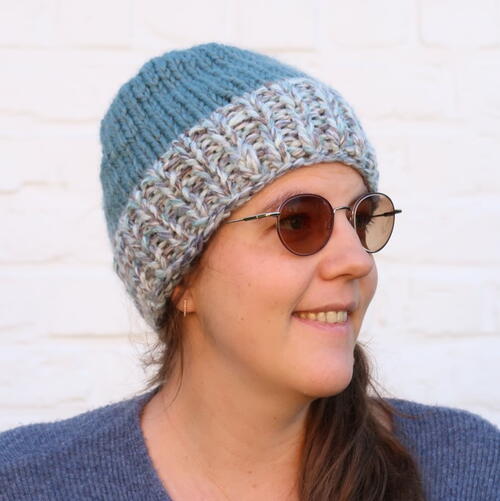
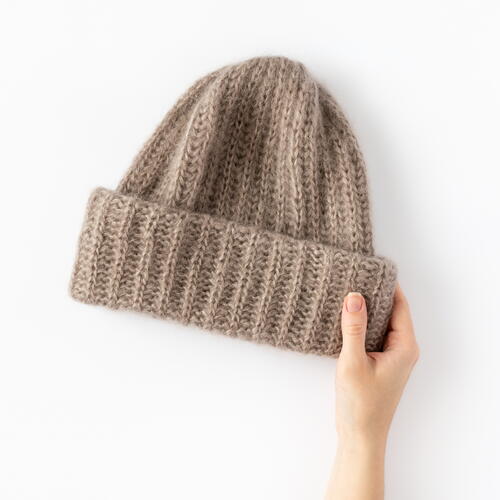
If you're new to knitting or have never knitted a hat before, this Beginner Hat Knitting Pattern is perfect for you! Cute knitted hats like this make great gifts for everyone and are easy and fun to make.
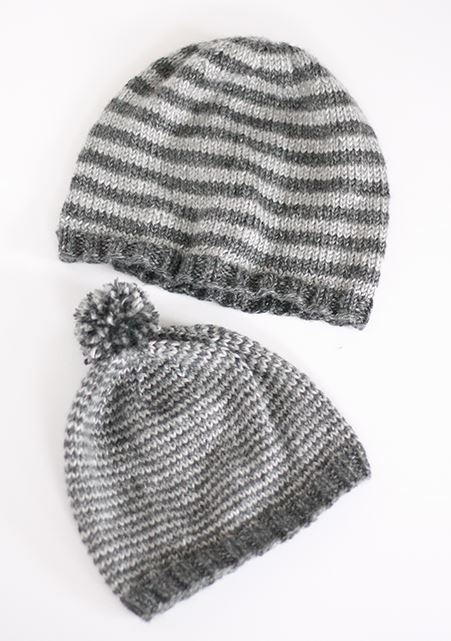
This hat is worked flat, making it a great project for beginners! You'll work knits, purls, and decreases. The result is a beautiful ribbed hat with nice shaping. Ribbing in itself is a great pattern for practicing and understanding the different between knit and purled stitches.
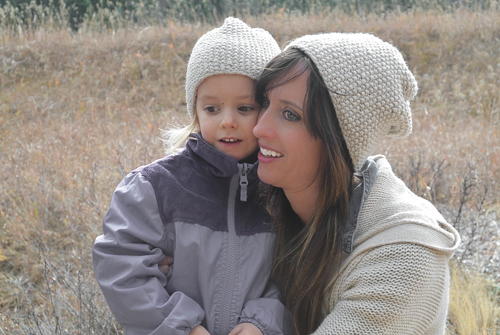
Embellish your hat with a flower or pom pom for extra flair. Cozy and comfy, free hat knitting patterns are a winter weather essential. The warm design is sure to keep the cold from nipping at your ears all fall and winter long.
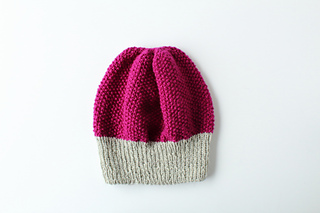
Knit this cutie up in your favorite color yarn or create a neutral hat in browns or blacks for your man. Learn how to knit a hat for beginners with this easy pattern.
Get free knitting patterns delivered straight to your inbox!
Sign up for FaveCrafts

Knitting Needle Size10 or 6 mm
Yarn Weight(4) Medium Weight/Worsted Weight and Aran (16-20 stitches to 4 inches)
Gauge16 sts = 4 in.; 20 rows = 4 in. in ribbing, slightly stretched.
Finished Size18 in. around (slightly stretched)
Materials List
- 1 skein Red Heart With Love Yarn in Mango
- 6 mm (US 10) knitting needles
- Yarn needle
Instructions:
Hat:
Cast on 70 sts.
-
Row 1 (Wrong Side): *Purl 2, knit 2; repeat from * to last 2 stitches, purl 2.
-
Row 2 (Right Side): *Knit 2, purl 2; repeat from * to last 2 stitches, knit 2.
-
Repeat Rows 1 and 2 until work measures 10 inches from beginning, ending with a wrong side row.
Shape Crown:
-
Row 1 (Right Side): *Knit 2, purl 2 together (decrease 1 stitch); repeat from * to last 2 stitches, knit 2 – 53 stitches.
-
Row 2 (Wrong Side): *Purl 2, knit 1; repeat from * to last 2 stitches, purl 2.
-
Row 3: *Knit 2, purl 1; repeat from * to last 2 stitches, knit 2.
-
Row 4: Repeat Row 2.
-
Next Row: *Knit 2 together, purl 1; repeat from * to last 2 stitches, knit 2 – 36 stitches.
-
Next Row: Purl 2, *knit 1, purl 1; repeat from * to end.
-
Next Row: *Knit 2 together; repeat from * to end – 18 stitches.
-
Next Row: Purl.
-
Last Row: *Knit 2 together; repeat from * to end – 9 sts.
-
Cut yarn leaving a long end for seaming.
-
Weave yarn through remaining stitches; gather stitches up firmly and secure. Sew the back seam. Starting about 3 inches from the bottom, sew the seam on the reverse side, as it will be turned up for the brim.
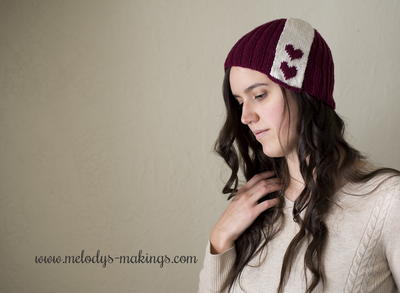
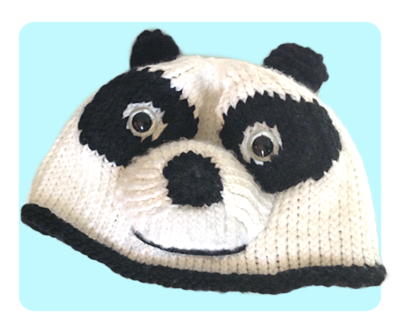
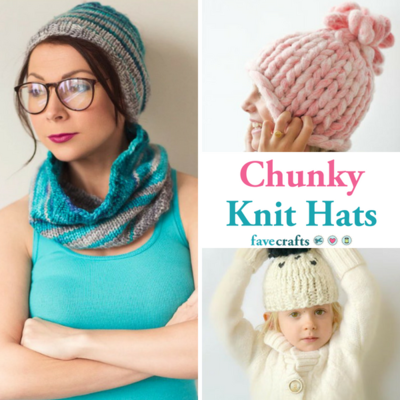
More Knit Hat Patterns for Beginners
Looking for more knit hat patterns? Check out this list of more free patterns below!


BONUS: Get the PDF!
Up Next:
Read NextSnowtracks Cap
Your Recently Viewed Projects


Thanks for your comment. Don't forget to share!
SuziSu
Dec 05, 2019
I just finished knitting it, but am not completely clear about steps 10 11. It says to cut enough yarn for seaming (about how much is that?), then it says weave the yarn in, then it says to sew it together. How do I sew it if I've already woven the yarn in? And do I stitch it along the seam? Or just inside such that there is a small ridge? I would really appreciate more details -- a video or pictures of the process would be super wonderful!! Thanks!!!
KLC
Dec 09, 2019
Hello SuziSu - This is Krista from FaveCrafts. Thank you for reaching out. Because this is a pattern from Red Heart, it's best to visit their site to ask for pattern details and explanations. Here's the link to the pattern (and you can search for their customer service info from there if desired): https://www.yarnspirations.com/red-heart-easy-fit-ribbed-hat/RHK0116-021765M.html
charlotteam2000 11 70330
Aug 04, 2016
Hi is this wool super chunky or chunky wool.dont understand the worsted weight expression thank you
Kaylee
Aug 05, 2016
@charlotteam2000 11 70330 worsted weight is a type of yarn weight that is just below chunky wools in terms of thickness. Thanks! -Kaylee, Editor of FaveCrafts.com
Report Inappropriate Comment
Are you sure you would like to report this comment? It will be flagged for our moderators to take action.
Thank you for taking the time to improve the content on our site.