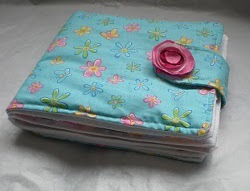
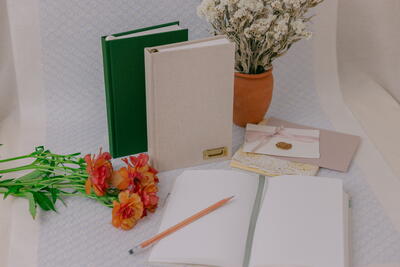
Blast From the Past Sketchbook
Record your thoughts, hopes and dreams in your own handmade Blast From the Past Sketchbook. Scrap fabric crafts help you save money and get creative. Turn an old scrapbook into a cool journal - it's so much easier than you think.
Materials:
- 12" X 12" postbound scrapbook album with paper inserts
- Screwdriver
- White acrylic paint
- Paintbrush
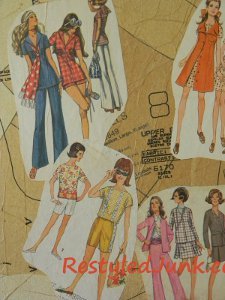
- Old tissue paper patterns
- Decoupage medium
- Sponge brush
- Scissors
Instructions:
-
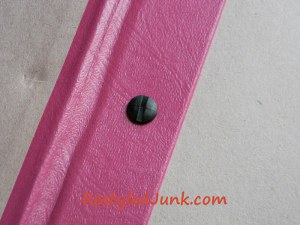
Remove the posts holding the covers and pages of the album together using a screwdriver. Set the pages and the posts aside.
-
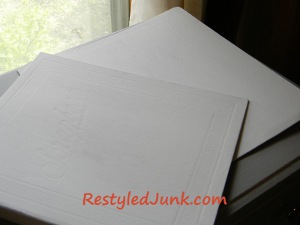
Paint the outside of the covers using white acrylic paint. Allow the paint to dry. If the original cover is bold or has a busy design, more coats may be needed for complete coverage. Turn the covers over with the insides facing up. Paint the inside lip of the cover where the outside color has wrapped around from the front. Leave the remainder of the inside cover unpainted.
-
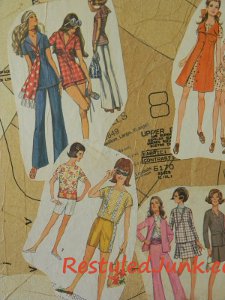
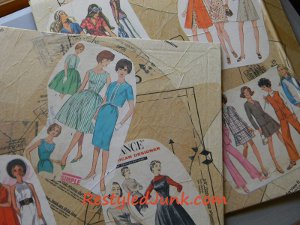
Unfold the pieces of an old tissue paper pattern. I liked the pieces that had lots of lines and printing on them. It does not matter if they have been cut out or are still in one big sheet.
-
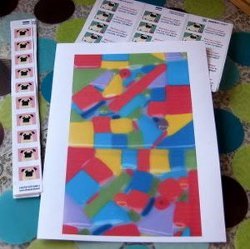
Apply decoupage medium to the outside of the covers using a sponge brush. One by one, layer pattern pieces over the medium. Apply decoupage medium over the tissue to adhere. Don't worry about wrinkles. I think they add to the vintage look. Allow the pattern pieces to extend past the edges of the covers. Do not trim at this time.
-
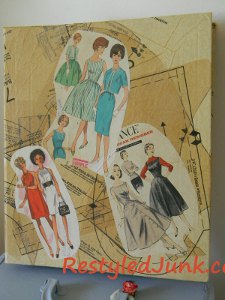
Rough cut the front images from the envelopes of 6 or 7 vintage paper patterns. Randomly decoupage them over the tissue paper on both the front and back covers. Allow the medium to dry.
-
Fold the tissue paper to the inside of the covers. Trim the paper to cover just the painted edge. Apply decoupage medium to the cover's edge and press the paper over it. Finish with decoupage medium over the top of the paper. Allow the medium to dry.
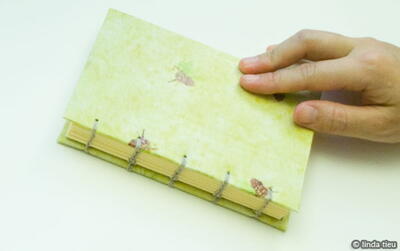
- Use a wooden skewer to reopen the holes in the covers. Reassemble the book.
Read NextHardcover Minimal Journal
Your Recently Viewed Projects
Thanks for your comment. Don't forget to share!
witchstorm1 395044 8
Aug 08, 2013
All those beautiful patterns. I have many of them. And, I would never destroy them. I care to much for my patterns.
Linberg
May 26, 2013
To comment to the lady who did not want to use the old patterns...she can photocopy them and use the copies. I do agree that the 12x12 is a bit large for this..depends on how much room one has for storage...
disco dotty
May 21, 2013
it frightens me that i own some of those patterns...yikes.
JMitchell
May 22, 2013
I have a collection of vintage patterns; none of the ones shown here. I could do this with some of them... but 12x12 is a bit big for a journal, IMO. Even if the book were left to it's original purpose, the patterns would make the cover more interesting.
lissar
May 23, 2013
I have some of these patterns too, and some even older. Ones my mom made for my older siblings, before I was even born. Some are the older siblings baby clothes. I don't think I want to do this with them. I have made one of the baby dresses several times tho.
Report Inappropriate Comment
Are you sure you would like to report this comment? It will be flagged for our moderators to take action.
Thank you for taking the time to improve the content on our site.