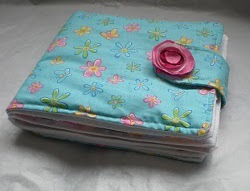
Personalized Handmade Book
Capture a special moment with a Personalized Handmade Book from Candace Jedrowicz. This handmade book idea is a great paper craft that goes beyond the world of scrapbooking. Make up a story, use decorative paper and simple techniques.

Materials:
- About a yard of fabric – all one color or complementary colors
- Several cereal boxes
- Spray adhesive – I used Aleene’s Spray Adhesive
- Fabric glue – Aleene’s, of course
- Plenty of decorative papers
- Aluminum foil
- Printed words
- Photos
- Decoupage medium – I used Aleene’s Collage Pauge
- Sponge brush
- Lots of newspaper
- Embellishments for the cover
Directions:
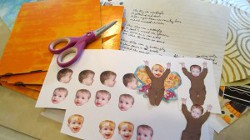
- I started with a poem and several photos of my grandson in pajamas. Then I printed three different faces from more recent photos. I made them slightly larger for a cartoon effect.
- I cut out each of the bodies, some I cut arms off to reposition them on some of the pages. Faces were cut out and glued on bodies.
- I cut all the sets of butterfly wings from the decorative papers, but didn’t glue them on until I decided how he would be oriented on the page.
- I assemble the pages without glue, before I put the book together.
- There were sixteen lines in the poem, each set of pages had two lines.
- I cut my card board to 6″ x 6 3/4″ and measured out squares of fabric for each side of of the boards.
- I cut one large piece of fabric to cover both pieces of card board for the outside covers.
- I took everything into my garage, laid out lots of newspaper and started spraying one piece of cloth and cardboard at a time. Then I stick the board to the fabric and spray again to attach the fabric for the other side of the page.
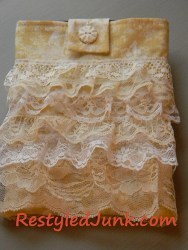
- The outside of the front and back cover was sprayed (on the wrong side) and both boards were placed with about a finger width between them. After the whole thing was sprayed again I placed the fabric for the inside.
- I trimmed three edges of the pages and all four edges of the cover.

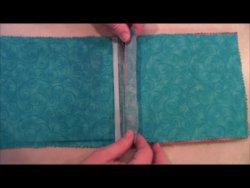
- The fourth edge of the pages were cut to about 1″ from the edge of the card board creating a flap to attach the pages. I separated the fabric on the flap right up to the card board.
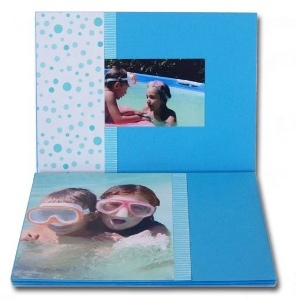
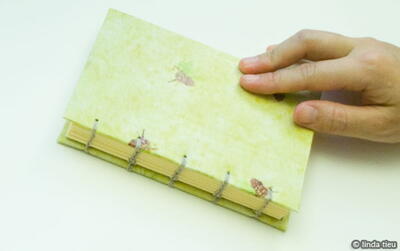
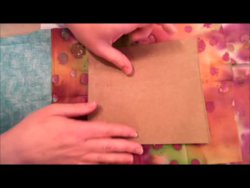
- This photo shows the first page laying next to the inside of the front cover with one side of the flap turned up.
- I applied fabric glue to the inside of the flap.
- Then overlapped the inside of the front cover with the glued flap and secured it by burnishing.

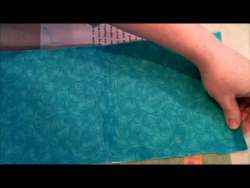
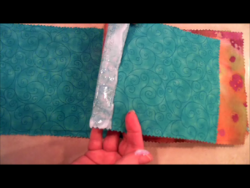
- This is the other side of the page above. Here I’m showing the other side of the flap folded back AND pointing out that I cut the flap off of the next page, just short of the card board.
- Every other page was attached by half of its flap to the pages before it and after it. I also pressed the joined pages into the spine with extra glue.

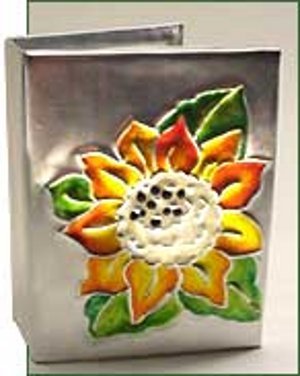
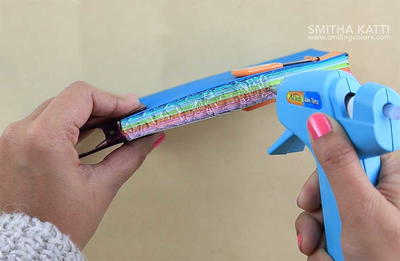
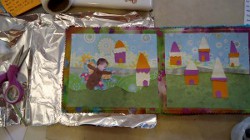
- As I began gluing the pages, I put sheets of foil between to keep them from sticking together.
- I used Collage Pauge to put the pages together.
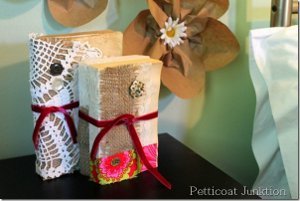
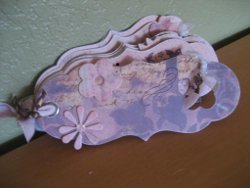
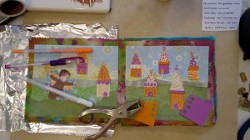
- I added glitter pens elements and dots of punched out paper to embellish some of the pages.
ForHow to Make a Custom Book. a comprehensive video tutorial, check out How to Make a Custom Book.
Read NextCoptic Stitch Bookbinding Tutorial