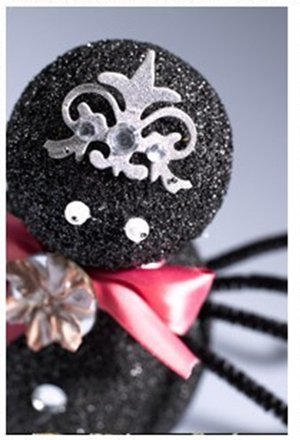
Fancy Spider
With Krylon® Glitter Blast™ Glitter Paint and a craft foam ball, you can easily make beautiful Halloween decorations. Using Krylon® paint is simple and fun! With elegant Halloween decorations like this Fancy Spider, you're party will sparkle!
See this project and more glittery crafts in our free eBook, How to Create 14 Sparkly Craft Projects Using Krylon Glitter Blast.

Materials:
- Craft foam: 2” ball, 3” egg
- 1 can Krylon® Short Cuts® Paint, Black
- 1 can Krylon® Glitter Blast™ Glitter Paint, Starry Night
- 8 black chenille stems
- 11–10mm round acrylic flat backed stones
- 2–6mm pearl beads
- Glittered cardboard stickers: silver swirl by Recollections®
- 1” round craft mirror
- Silk flower
- 12”-length of 7/8" pink satin ribbon
- Aleenes® Original Tacky Glue
- Scissors
- Toothpick
- Skewer
- Scrap of craft foam
- Straight pins
Instructions:
- Insert toothpick into one end of egg. Remove and place glue on end of toothpick. Insert the glue side of the toothpick back into the hole created in the egg. Using the opposite side of the toothpick, repeat the same steps for the ball, to join shapes together to form spider head and body. Place skewer in bottom end of egg.
- Spray shapes with black Krylon® Short Cuts® Paint spray paint, using several light coats for complete coverage. When paint is dry, spray shapes with several light coats of Glitter Blast Starry Night until desired glittery look is achieved. Place end of skewer into scrap of foam to dry.
- Cut chenille stems to 8” pieces. Insert stem into side of body for leg. Remove stem and place glue on end of stem, reinsert. Repeat steps for remaining legs.
- Place glue on one end of straight pin. Thread through bead and insert into head for eye. Repeat steps for second eye. Place sticker on head for crown. Glue one flat backed stone to end of each leg with tacky glue. Glue remaining stones for buttons on front of egg shape.
- Tie ribbon around “neck” in a bow. Glue craft mirror and silk flower to bow as shown.
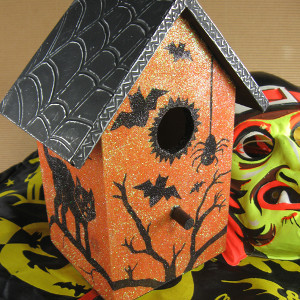
Read NextHalloween Haunted Birdhouse