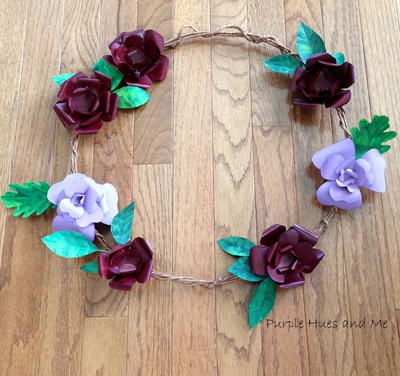
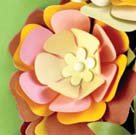
Vibrant Paper Wreath
Handmade paper crafts leave you with a feeling of accomplishment and leave your home looking great. This fantastic project from Craftwell will make a nice addition to your fall and autumn decorations.

Materials:
- 12” Wire Wreath Frame
- Various Stringing Beads
- Various Cutting Materials
- (shades of green, yellow,
- cream, red, and pink):
- Glitter Paper
- Matte Cardstock
- Shiny Cardstock
- 22 Gauge Floral Wire
- 1/16” Brad Hole Punch
- ECraft Machine
- SD Card- Fundamentals 1
Instructions:
Cut flowers from Category 3:
Image 1- Skinny flower
Image 2- thick Flower
Image 3- Medium Flower
Image 4- Flower Background
Image 7- Flower 3
Image 9- Flower 5
Image 14- Flower 8
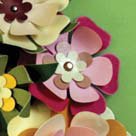
Flower clusters are layered,smallest size on top to thelargest size which is thebackground
Cluster 1
- Image 2 ‘Thick Flower’
- Background: 4”
- Second Layer: 3.5”
- Third Layer: 3”
- Fourth Layer: 2.5”
- Image 14 ‘Flower 8’
- Top Layer: 1”
Cluster 2

- Image 7 ‘Flower 3’
- Background: 4.5”
- Second Layer: 3.5”
- Image 9 ‘Flower 5’
- Third Layer: 1.5”
- image 2 ‘Thick Flower’
- top layer: ‘1”
Cluster 3

- Image 7 ‘Flower 3’
- Background: 4”
- image 2 ‘Thick Flower’
- Second Layer: 3“
- Third Layer: 2.5”
- Fourth Layer: 2”
- Top Layer: 1”
- Image 2 ‘Thick Flower’
- Background: 3.5”
- image 7 ‘Flower 3’
- Second Layer: 3“
- Image 9 ‘Flower 5’
- Third Layer: 1.5”
- Image 2 ‘Thick Flower’
- Top Layer: 1”
- All clusters can be adjusted in size to add contrast and depth to the wreath.
- Once all images have been cut, punch a hole in the center of each flower.
- Slide bead onto floral wire, creating a ‘U’ shape & resting the bead in the curve of the ‘U’.
- Take the two open ends of the wire & thread them both through the top of the flower cluster, heading downward through the background, and out the underside of the cut background layer.
- Twist the two open ends of the wire around the frame of the wreath, securing the flower cluster in place.
- Repeat above steps until wreath is filled & complete
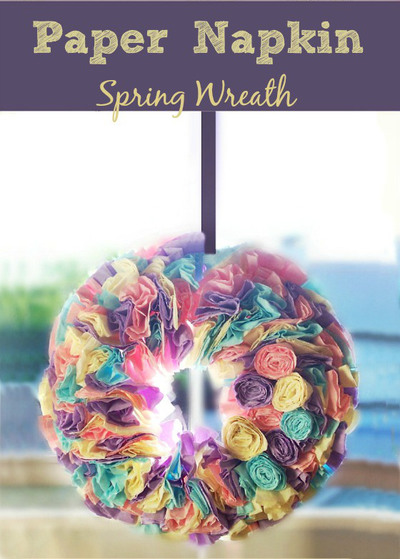
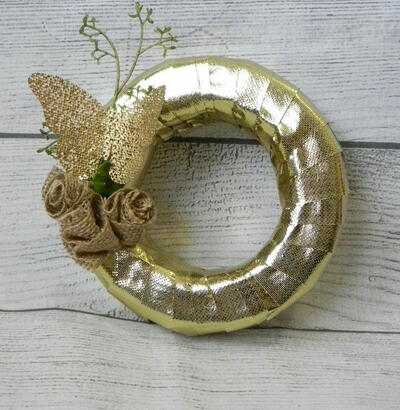
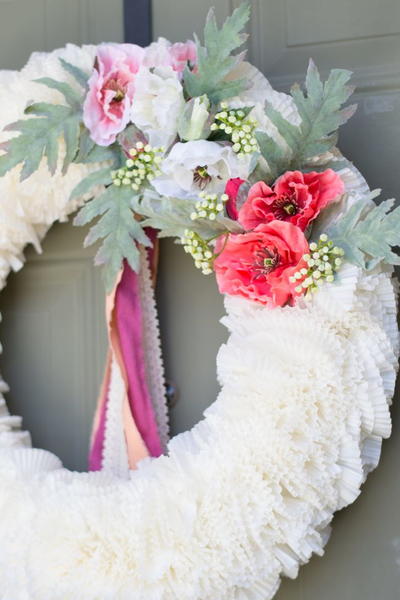
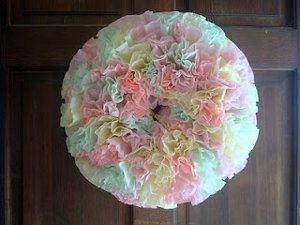
Read NextFaux Flower Cupcake Liner Wreath


Thanks for your comment. Don't forget to share!
ladydi926 9443617
Aug 28, 2013
This is very pretty and I would like to try it. Where can I get the patterns for the flowers?
BeckySue
Sep 04, 2016
I just googled fall flower images and got some nice patterns, leaves, too. I'm going to use some fall scrapbooking paper I got on sale.
Daughter of Light
May 30, 2018
I agree ladydi926 9443617 this is a very pretty wreath with so much depth and texture. Unfortunately I think this is originally set up for cutting the flowers with a die cutting system and unless you have it it's going to be quite a bit of "fussy" cutting!!! I love the colors the artist chose too! The texture from adding the bead in the center of each flower is a great addition as well.
sewdelite 2626816
Oct 26, 2012
This wreath is an inspiration. I just look at it and my head fills with so many ideas.
Report Inappropriate Comment
Are you sure you would like to report this comment? It will be flagged for our moderators to take action.
Thank you for taking the time to improve the content on our site.