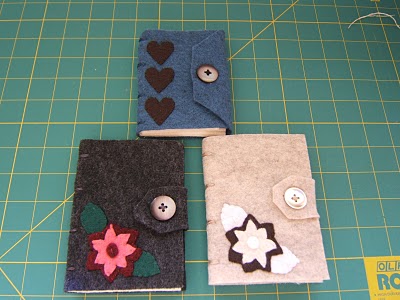
Felt Needlebook
Does your mom sew, quilt, embroider or need an occasional needle? Give your Mom a homemade felt needlebook this Mother's Day to help keep track of needles. You can embellish the book with a variety of appliques. Project designed by Molly Kozera.

Once you have an adorable felt needlebook, make this Felt Donut Pin Cushion!
Materials:
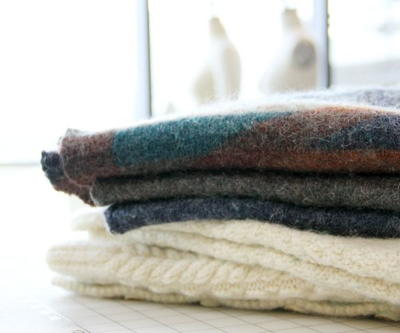
- Eco Felt (1 color for book, 1-3 colors for applique)
- Button
- Felt glue stick
- Needle and thread
- scissors
Instructions:
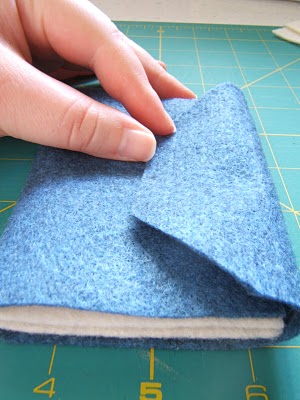
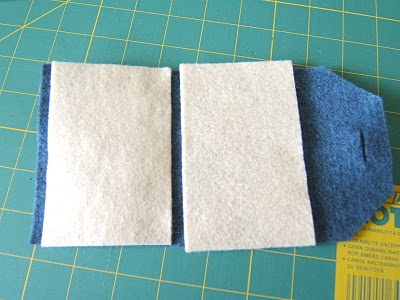
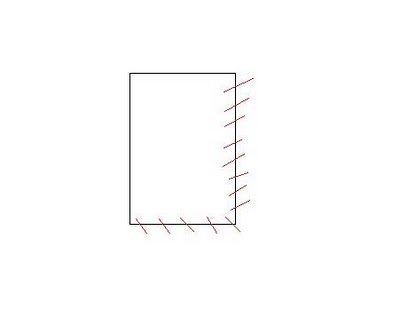
For the first one I started with a rectangle of eco-felt that, when folded up, would fit comfortably in the hand yet not something so small it would get lost in a quilting bag (you can see the measurements on the grid).

And for aesthetics I trimmed the corners off the side that will make the closure.
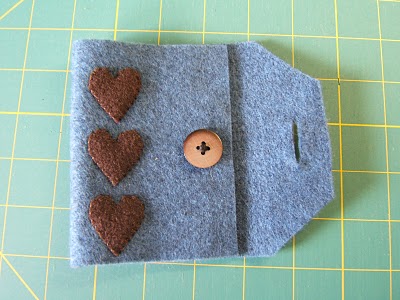
Once you've got your size figured out and how it will close, sew on the button and sew on any appliques. I did hearts for this one and I recommend using a felt glue to stick them on before you stitch around them, just so they stay in place evenly and don't end up crooked like mine. :)
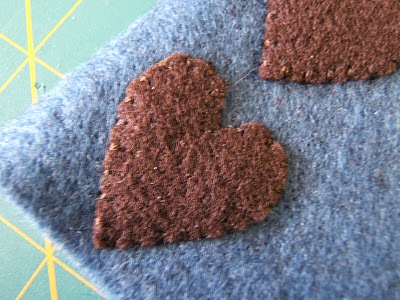
I stitched around each heart all the way to give them a "poufy" sort of look and to make sure they were securely attached.
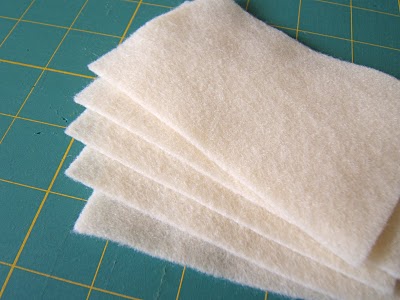
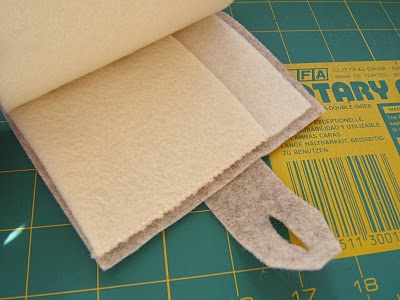
Now that you know how big your book is, cut the rectangles that will make the "pages" of the book. I recommend five pages - two to line the covers and three that will be loose.
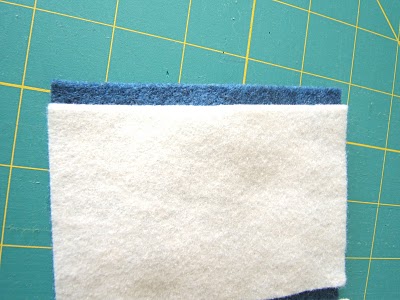
Using a felt-glue I adhere a piece to the inside of each cover - this will add some thickness and help stiffen it while it also covers the stitches from your button and applique.
And don't forget to cut your button hole! :)
You can also cut your cover support as one chunk it just so happened I forgot to do that with this one. Each book I make ends up completely different, but they all work.
I like leaving just a bit of space between my interior cover and the outside edge.
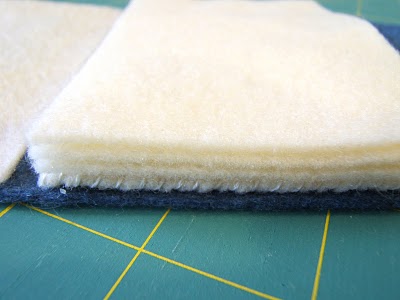
Carefully line up the three interior pages and close the cover - now you're ready to stitch the whole thing together!
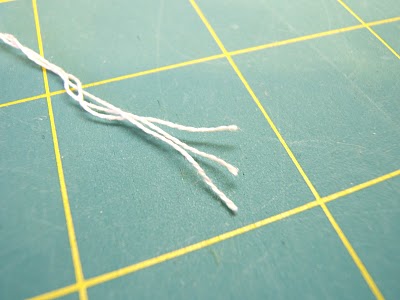
For all my stitching I use embroidery floss that I've divided in half. The regular size is a combination of six indivual threads...
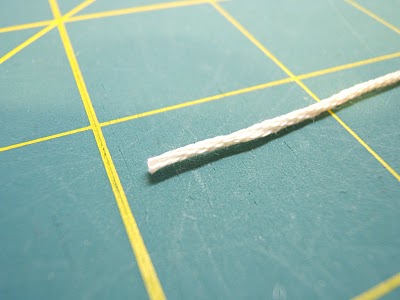
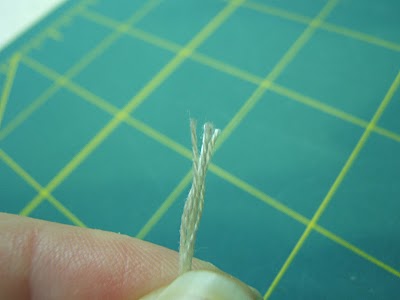
and dividing it will give you three - still strong but easier to work with and doesn't look so bulky.
The first needlebook I made I hid my knots inside the last page and the back cover, but I found it made my binding really uneven, so if you are more expert in this area than myself (and that wouldn't take much!) it keeps your cover nice and clean. This time around I put my needle through back to front and made a series of six stitches like so...
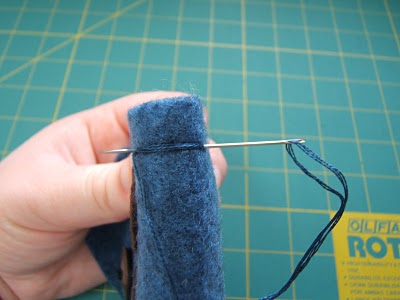
My subsequent stitches placed so as to cover my knot. I think it was easier! My finished needlebooks made using only supplies on hand (woohoo destash-along!):
Some variations I made:
Instead of making the front cover have a huge flap I used an extra scrap to make this which I adhered using felt glue and then stitched to secure.
I put my stitches on an angle. And don't worry they weren't this big or horribly spaced that's just as well as I can draw using MSPaint.
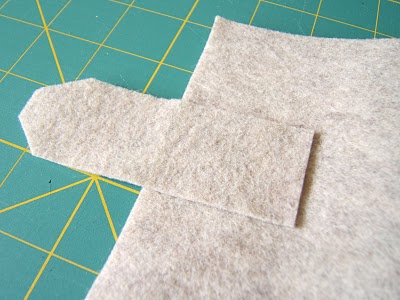
Another variation was to make a pocket in the back for storing those long needle things (you can tell I know what I'm doing when I use terms like that) or maybe a small pair of scissors. I simply cut my piece extra long, then folded it up and stitched the sides together.
This piece is glued to the back as the back cover support.
There you have it! No more losing a needle in the carpet and finding it with your foot! Or going to a quilting group and digging around your bag thinking don't I have needles in here somewhere? Ow, ow, ow. Found them.
Happy stitching!
Read Next5 Types of Felt: Felt 101
Your Recently Viewed Projects

Thanks for your comment. Don't forget to share!
BettyVedder
Jun 25, 2017
I'm searching for teacher gifts, and this might be perfect. I need to make several, and I think this will be quick enough. Thanks!
helencdavies 18438 56
Dec 10, 2012
it might be an idea to print instructions along side the picture and it would cut down on paper usage and also inks, you have some lovely crafts
Annie and my artif acts
Sep 02, 2010
Molly, This is a fantastic idea! I'm so glad you're sharing it. I have tons of scrap felt from toys I made for my family-ful of kids, halloween costumes, etc. This is a great way to destash those things and give my mom, mother-in-law and my many sewing/crochet/knit/spinning/you name it we all do it, crafting friends too! Blessings to you! This is a totally easy and cool idea! Cannot wait to make some of my own. Anne pas3@verizon.net
kcarskc
May 08, 2010
I like it better than Martha's! (Stewart that is) I'm going to have to go see what eco felt and felt glue are but I have to make me one. Thanks for the pictorial. I have to 'see' what I'm about to make or I can't do it. Cute!
krafdee
Apr 26, 2010
Wow this is cool...nice n simple but looks lovely .) Thank U for taking the time to show us all ...take care crafting hugs De
Report Inappropriate Comment
Are you sure you would like to report this comment? It will be flagged for our moderators to take action.
Thank you for taking the time to improve the content on our site.