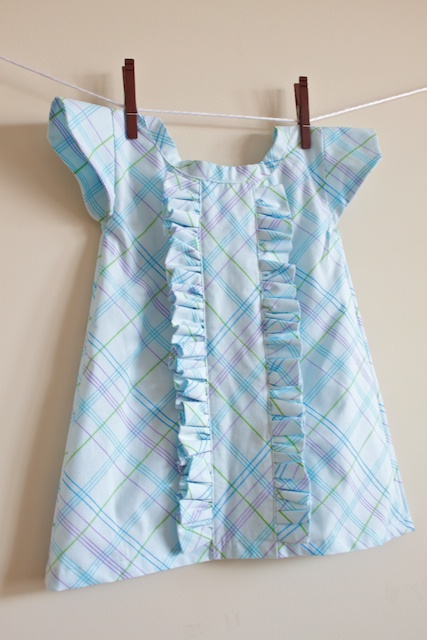
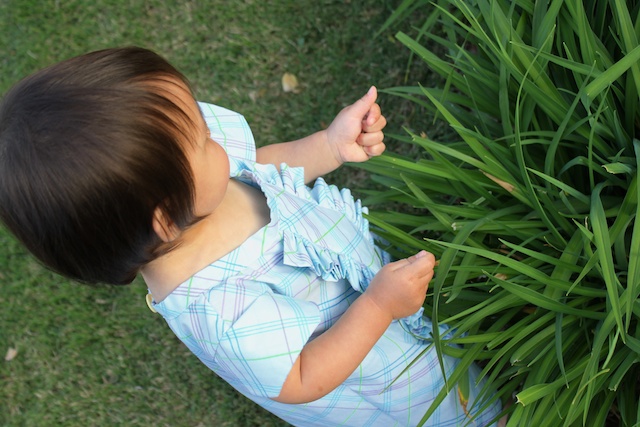
Girl's Ruffle Dress from Pillowcase
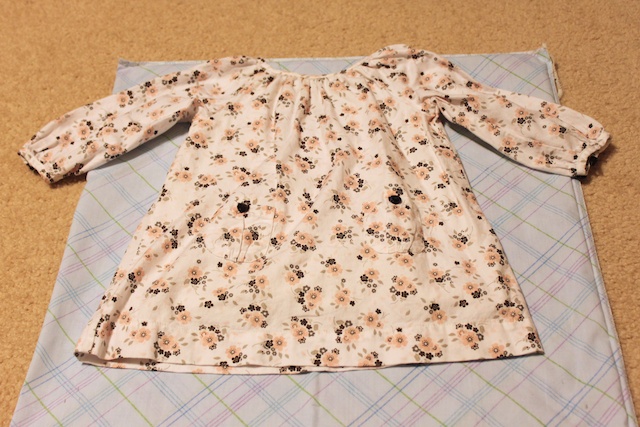
Use a pillowcase to make a cute, ruffle dress for a young girl, up to 18 months. Pick up a pillowcase at a thrift store or use a spare. The ruffle disguises the origins of this cute and clever toddler dress, designed by Tiffany Bird.
Materials:
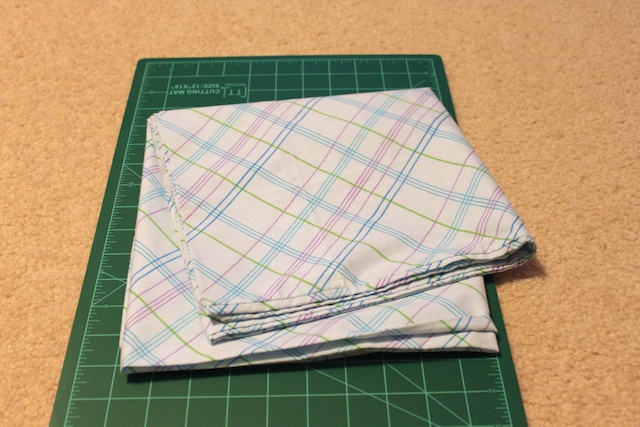
- a large pillowcase (40 x 20 inches) or same amount of fabric (40 x 40 inches)
- matching thread
- 2 inch matching ribbon
- a button
Instructions:
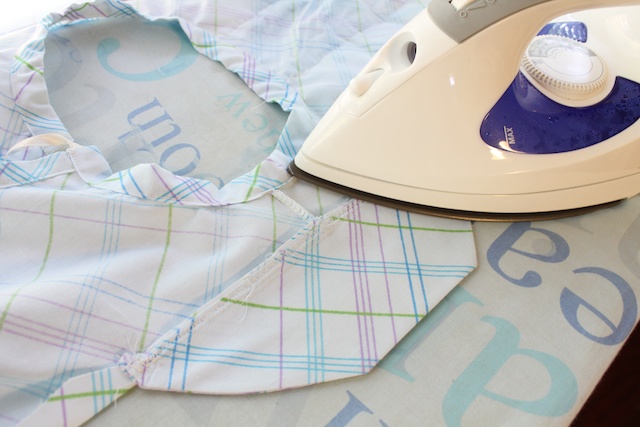
- Flip the pillowcase inside out and lay flat. Then place a dress that is the size and fit you like for measurements. Using a washable fabric marker I marked the collar, armpits and the length of the dress.
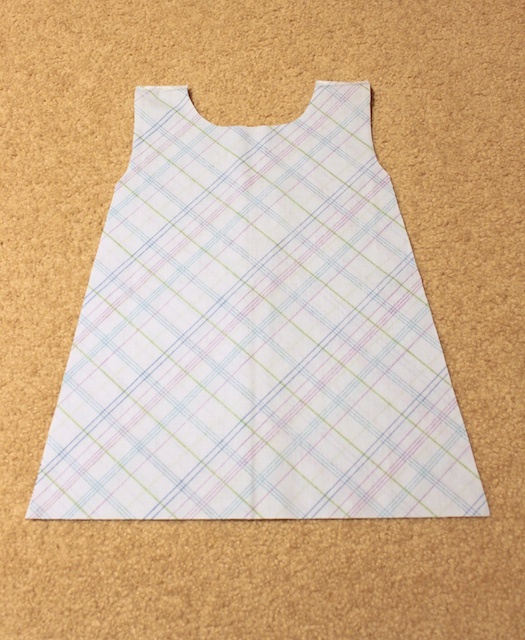
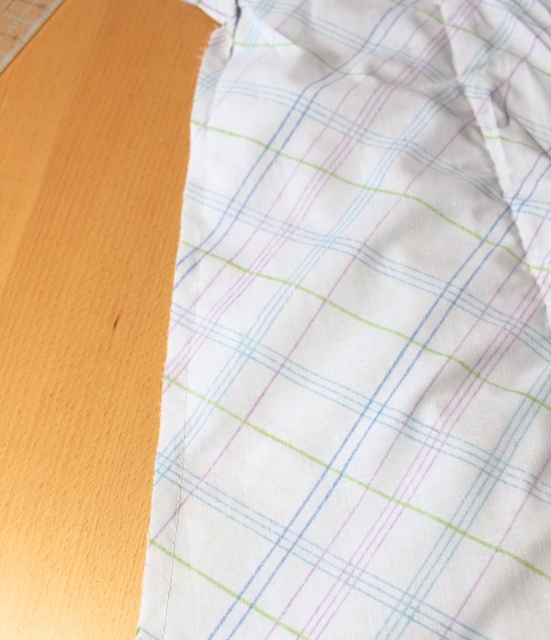
- Add seam allowance to the markings on your pillowcase. I used 1/2 inch seam allowance everywhere unless noted otherwise in later instructions. The bottom of the dress I added 2 inches for the seam and the hem. I matched the shoulder of the pattern to the top of the pillowcase so I didn’t have to sew that part. Once you marked your measurements, fold the pillowcase in half long ways then cut. I do this so the left side of the dress will be exact with the right side. Keep all your scrap pieces because you’ll use them.
Tip: Make the collar a little straight at the bottom instead of rounded because you’ll have the ruffles there.
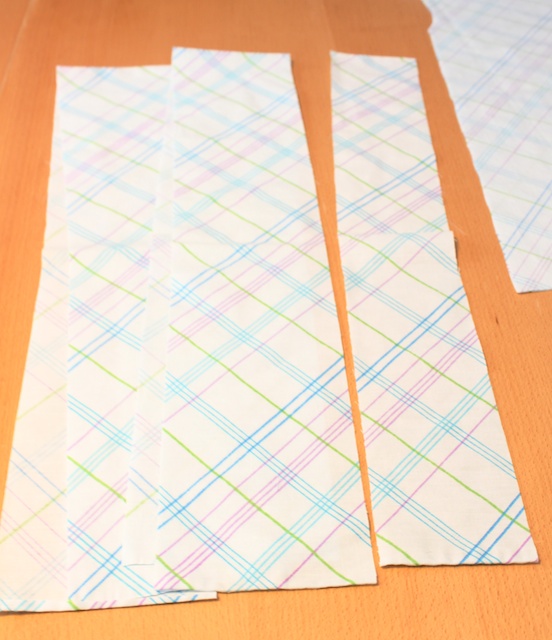
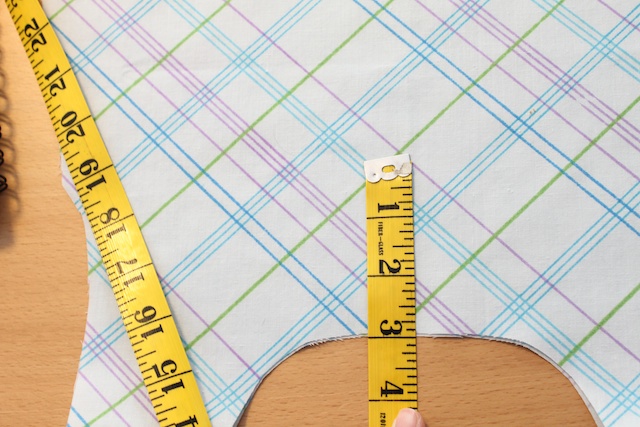
- Cut strips for the other parts of the dress using remaining pillowcase. Large strip that goes down the middle of the dress is 3 1/2 x 20 inch. The ruffles are 4 x 40 inch strips, you’ll need 2. The collar is 2 x 30 inch, this only has a 1/4 inch seam allowance. The V-split on the back of the dress is 1 1/2 x 6 inch, this also has a 1/4 inch seam allowance.
Tip: Use tape to mark each strip so you don’t get them mixed up.
- Using scraps cut the sleeves. You’ll need 4 pieces of 3 x 10 inch in the shape pictured below.

- Flip the dress right side out. On the back side of the dress, find the middle of the collar and cut a 3 inch slit. This is for the V-split (I don’t know what the technical term for it is, so correct me if I’m wrong) closure on the back of the dress. Be careful not to cut the front of the dress too.
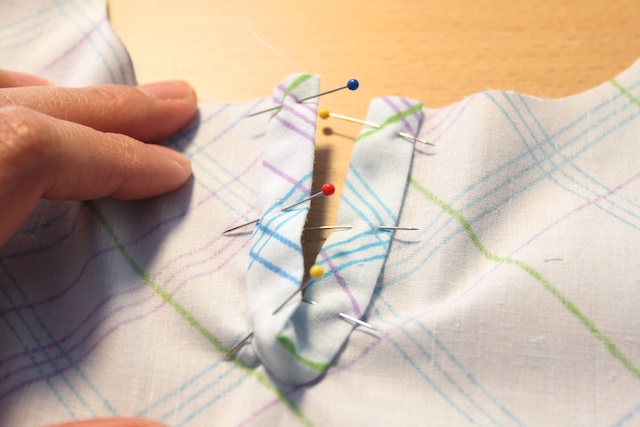
- Take the V-split strip (1 1/2 x 6 inch) and iron the 2 long sides with 1/4 inch seam into the wrong side of the fabric. Then fold in half and iron so you now have a 1/2 x 6 inch strip. Then pin it to the slit you just cut. The bottom of the V will have a fold. Make sure that’s on the inside of the dress. Sew strip in place (see tip below) as close to the edge as you can.
Tip: The best way to pin is to open the V wide so it’s a straight line. Pin then allow it to naturally fold back to a V. Same thing with sewing it.
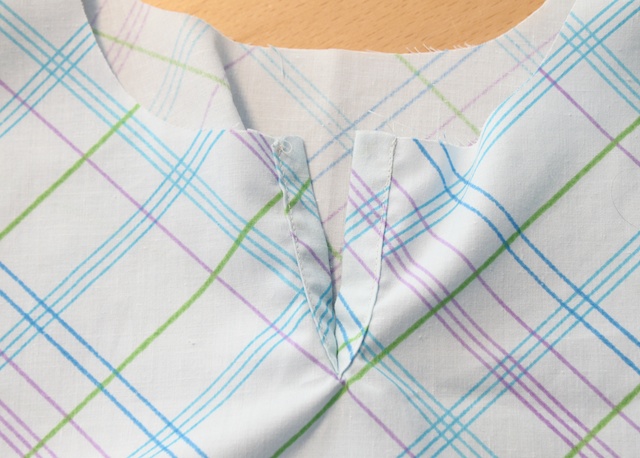
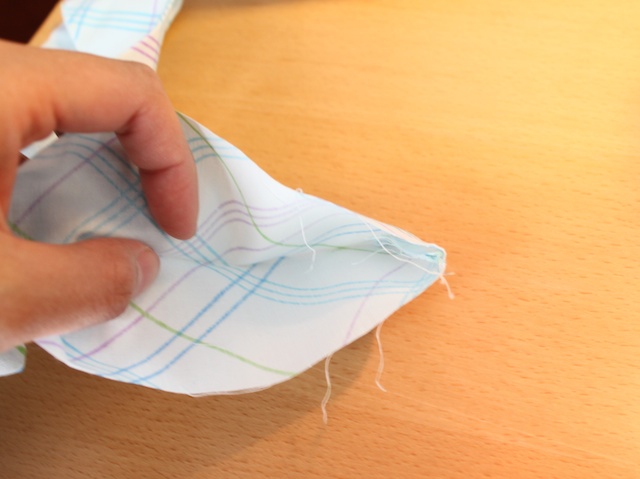
- With the dress inside out, match the two sides of the V-split so the strip you just sewed on is in half and flat. Then sew the bottom of the V at a 45 degree angle.
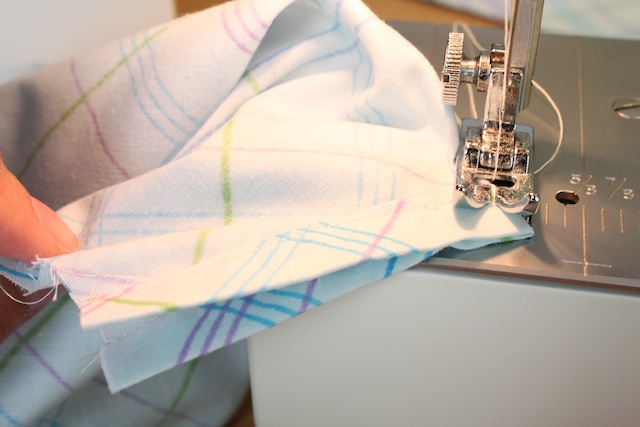
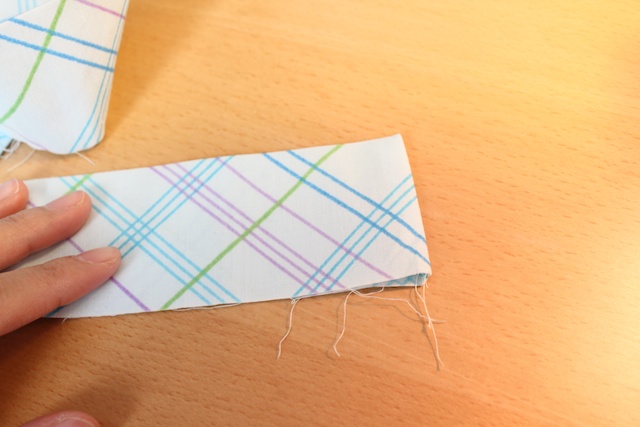
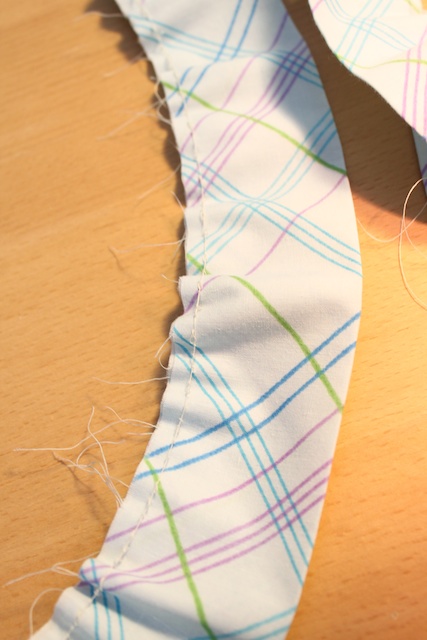
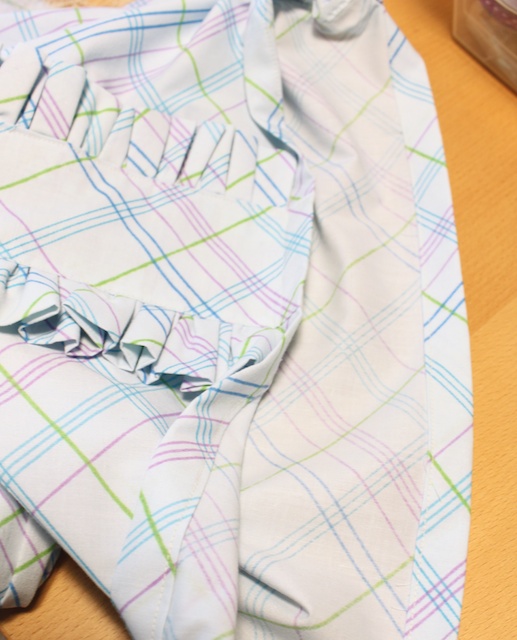
- Moving to the front of the dress now. Iron the ruffle pieces in half the long way right side out. With the short ends of the ruffle pieces temporarily turned inside out, sew the two short ends. Iron them flat right side out again. Next, do a basting stitch down the open side at 1/4 inch seam with the right side out.
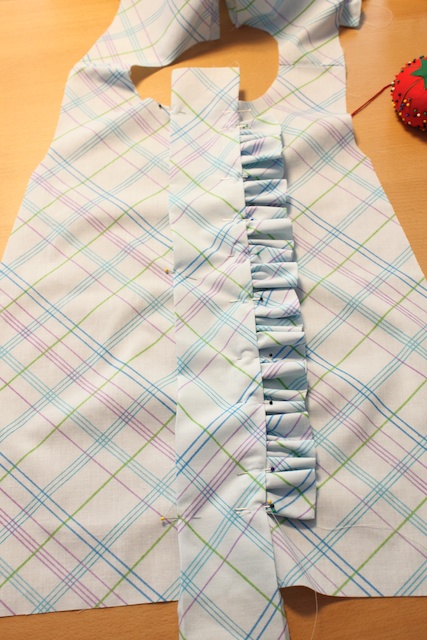
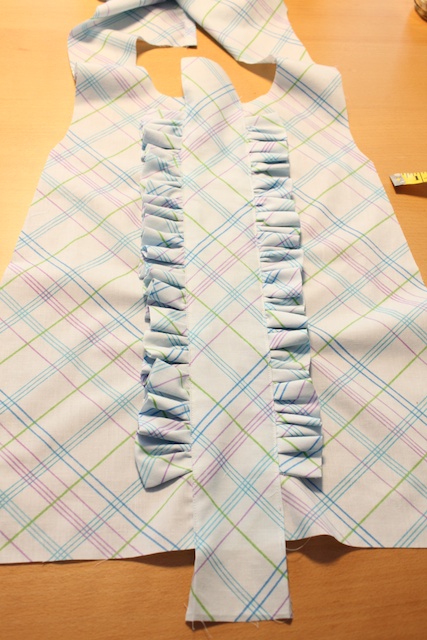
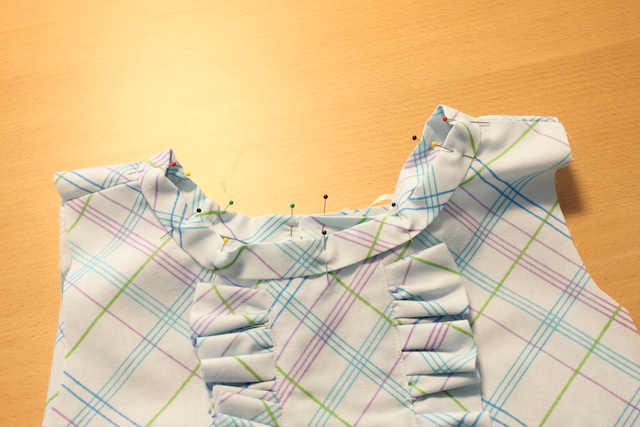
- Iron the 1/2 inch seam on both sides of the large middle piece then place down the middle of the dress. Pin it in place with the dress right side out, front side up. Scrunch the ruffle pieces and pin one side in place. Account for the 3/4 inch collar that will be at the top and the 2 inches at the bottom of the dress for the seam and hem. Sew a straight line from the top of dress all the way to the bottom to keep the strip and the ruffles in place. Then do the same to the second side. Trim off the excess at the top and the bottom from the large middle strip.
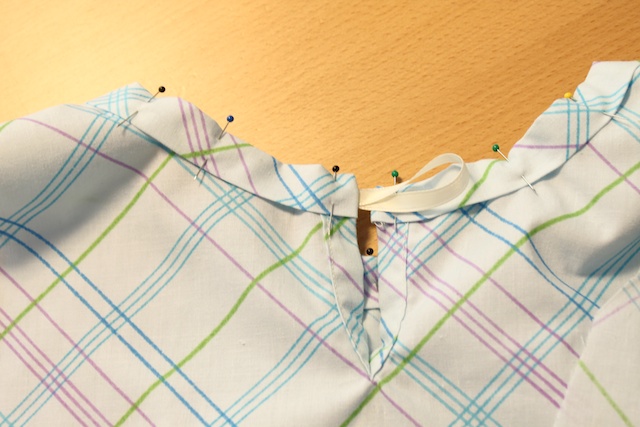
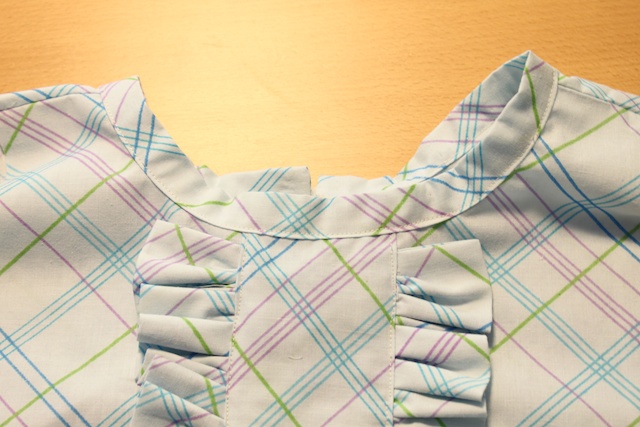
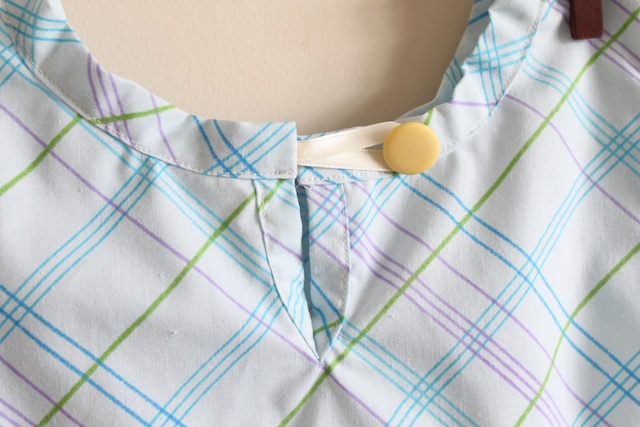
- Take the collar strip and iron 1/4 inch seam into the wrong side of the fabric on both of the long sides. Fold in half long way and iron right side out. At one of the short ends of the collar sew the end close with the wrong sides out. Flip right side out then iron. The collar should now be 3/4 inch wide. Starting from the back of the dress, pin the collar in place using the closed end matching one of the V-split ends.
- The collar piece should be longer than the collar on the dress. On the opened end of the collar strip, measure the end of the collar and add 1/4 inch for seam then trim off excess. Flip the opened end inside out and place the ribbon on the inside, touching the right side of the fabric. Make sure the ends of the ribbon matches the end of the open ended collar so it will be sewn in place with the seam. Sew the seam, flip right side out and iron. Sew the collar in place all the way around as close to the edge as you can.

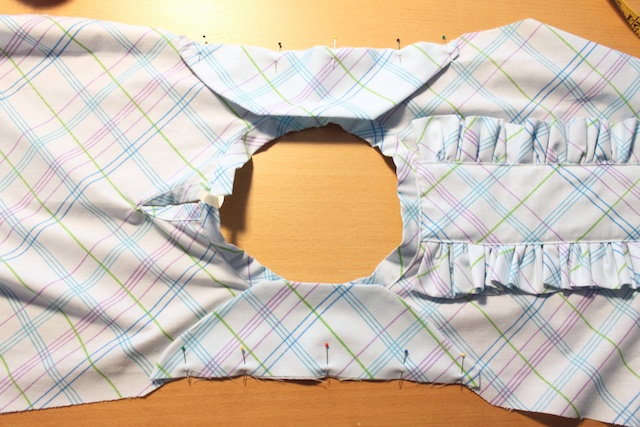
- The sleeves. Match two pieces right sides together. Sew only the curved side at 1/4 inch seam. Flip right side out and iron. Do to both sleeves. Then pin the sleeves to the arms on the dress (see picture below). Sew the sleeves in place then use a serger or zig zag stitch the seam of the sleeve. Iron flat.
- Flip the dress inside out and pin the sides of the dress. Sew at 1/2 inch seam then use a serger or zig zag stitch to go over the seam.
- Fold the bottom of the dress at 1/2 inch then iron all the way around on the wrong side of the dress. Then fold again so the hem matching the front ruffles. Iron the hem then sew it all the way around.
- Sew button on the back and you’re done!
Read NextDIY Upcycled Crochet Jean Shorts
Your Recently Viewed Projects


Thanks for your comment. Don't forget to share!
sweets14611 220996 0
May 11, 2016
I love this dress pattern! Thanks for sharing it. I did want to know if you had this dress in a sleevless pattern. Thanks again.
marymcg62
May 13, 2013
I absolutely love this dress I can't wait to get started on this tomorrow for my granddaughters, I'd start now but it's 1:45am & everyone is sleeping!
Terryb646
Nov 19, 2011
Sometimes the biggest problems can be fixed by the simplest of corrections. I would suggest removing upper thread and lower bobbin thread and re-threading your machine from the start. Your same problem happened to me once. I had hurriedly refilled my bobbin, when it ran out of thread. I was so anxious to get back my project that I misthreaded the bobbin and the problems began. It took me awhile to figure out that this was the problem. It's worth a try.
olivesaint 9419553
Nov 18, 2011
This IS EXCEPTIONALLY CUTE FOR MY 2 YEAR OLD GRAND she already looks fine in this and I haven't made it yet
edmondsjh 0764124
May 16, 2011
I've been considering making Dresses for Africa, and had this very idea. Thank you!
JoyH
Feb 18, 2011
I love this dress!!! - I am in the middle of making it but have run into a problem if you or anyone who sees this comment can give me a suggestion I sure would appreciate it! I have come to the part of the dress where I sew the ruffles and middle piece onto the front of the dress but for the life of me I cannot get it to stitch properly. It keeps skipping stitches (lots at a time). I have tried different needles, threads, tensions and nothing seems to work. What needle size, thread type and tension did everyone use. I would really appreciate the advice. Thanks!!
elnisi
May 12, 2013
IF you are still doing this dress, try sewing on something else and then redo the whole threading bobbin etc also maybe the thickness of the dress ruffle is the problem. try a 15-16 needle for thickness. you might have a burr on the needle. also if you have not cleaned out around the bobbin and under the needle/ plate. try blowing out dust and what other else might be there.
peri 6974423
Feb 17, 2011
This is the cutest dress and was perfect for me. I was looking for a baby gift to make along with several other items and here it was. I looked over several sites and this dress, by far, was the Best Pattern. I can use it over and over again with different fabrics (besides a pillow case) and it will always look different. I wanted something to Match one of the toys I made and here it is! Thanks. Peri
JudY the 1st
Oct 28, 2010
The dress is adorable. And, your intructons and pictures are great. Thanks - Will be sewing soon.
MomOf2ArmyBrats
Aug 26, 2010
Oh I love this! I can't wait to make one for my daughter and one for my soon-to-be new niece.
irishwings
May 30, 2010
EXCELLENT IDEA-love the dress and the availability of supplies needed to make it. Thank You
gardencrafter
May 29, 2010
you could also make it a sundress without the sleeves. Just make sure to adjust the armhole and cut facings to match armholes. Vola...a sundress.
Monogramom
May 29, 2010
This is my kind of projest sweet, but simple. Thanks Alot. I can't wait to make these.
love to sew
May 29, 2010
Great idea... the v slit is called a placket... great use of a pillowcase.
renraw
May 24, 2010
how adorable. inexpensive and classic. "sew" easy! perfect for my great neices. very unique. thanks for the idea.
Report Inappropriate Comment
Are you sure you would like to report this comment? It will be flagged for our moderators to take action.
Thank you for taking the time to improve the content on our site.