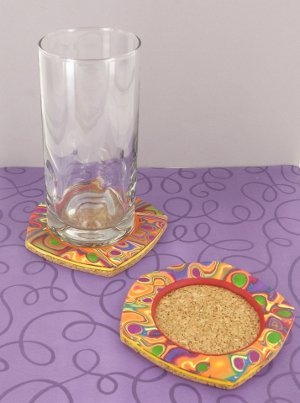
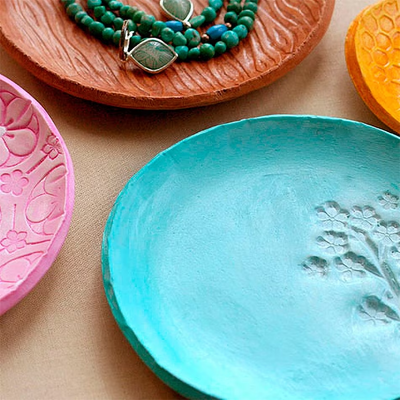
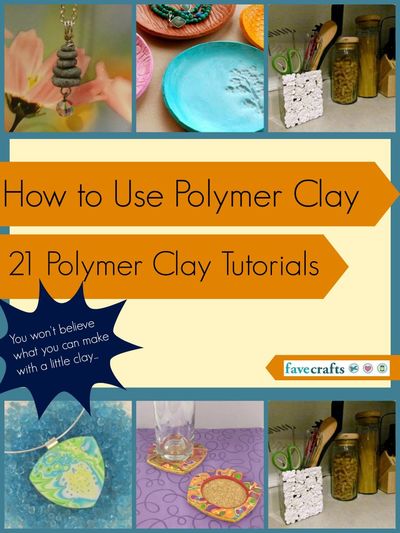
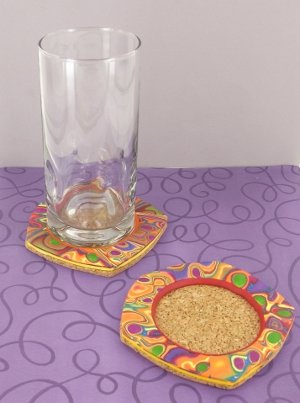
Faux Tie Dye Coasters
These Faux Tie Dye Coasters prove that tie dye isn't just for fabrics. In fact, you can get the look of tie dye with almost any crafting medium, including clay. Learn how to make your own coasters by playing with clay. Your little ones will have a blast helping you blend colors as you make a set of these polymer clay projects. With their bold colors and retro design, these DIY coasters are great for summer parties. Mix and match your favorite colors to create funky coasters for a friend or for yourself.

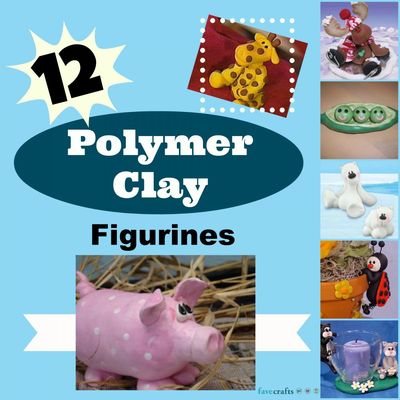
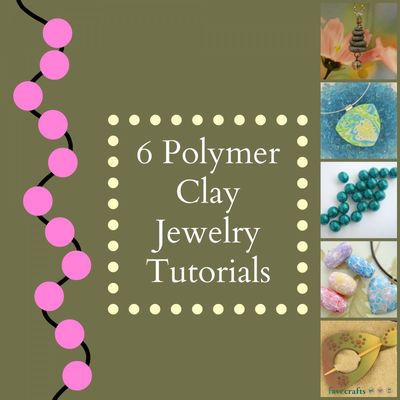
You can find this project, as well as many other Polymer clay tutorials, in our free eBook, 24 Polymer Clay Tutorials: Polymer Clay Jewelry, Decor and More!
Materials:
- 1 block Premo! Accents: Blue Glitter - 2 oz
- 1 block Premo! Accents: Red Glitter - 2 oz
- 1 block Premo! Accents: Bright Green Pearl - 2 oz
- 1 block Premo! Accents: Purple Pearl - 2 oz
- 1 block Premo! Sculpey®: Sunshine - 2 oz
- 1 block Premo! Sculpey®: Orange - 2 oz
- Clay Conditioning Machine
- Sculpey Acrylic Roller
- Sculpey® Style & Detail Tools, Set of 3
- Sculpey® Super Slicer
- 3” Round Cutter
- 3.25” Round Cutter
- Card Stock Coaster Template
- Craft Knife
- 1/8” Cork
- Pen
- Foam Sanding Sponge
- Silicone Craft Glue
- Coaster Template
Video:
Instructions:
Do not use unbaked clay on unprotected furniture or finished surfaces. Start with clean hands and work surface area. Good work surfaces include wax paper, metal baking sheet, or disposable foil. Knead clay until soft and smooth. For best results, clean your hands in between colors. Shape clay, pressing pieces together firmly. Bake on oven-proof glass or metal surface at 275 °F (130 °C) for 15 minutes per ¼" (6 mm) thickness. For best baking results, use an oven thermometer. DO NOT USE MICROWAVE OVEN. DO NOT EXCEED THE ABOVE TEMPERATURE OR RECOMMENDED BAKING TIME. Wash hands after use. Baking should be completed by an adult.
-
Begin by preheating oven to 275 °F (130 °C). Test temperature with oven thermometer for perfectly cured clay. For best results, condition all clay by running it through the clay dedicated pasta machine several passes on the widest setting. Fold the clay in half after each pass and insert the fold side into the rollers first.
-
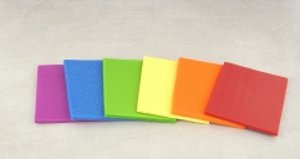
Roll out a sheet of each color of clay through the Clay Conditioning Machine on the thickest setting. Using the Super Slicer, cut out rectangles approx. 2" X 2.5".
-
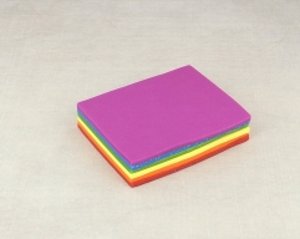
Stack the colors as desired. The stack shown is Red Glitter, Orange, Sunshine, Bright Green Pearl, Blue Glitter, Purple Pearl - so the colors would blend nicely.
-
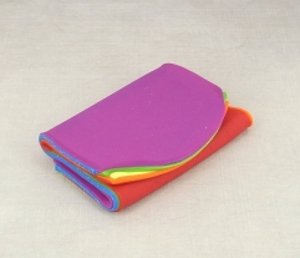
Using the Acrylic Clay Roller, roll the stack of clay until it is increased to 3" X 6". Fold the stack into thirds accordion style. Repeat this step one more time.
-
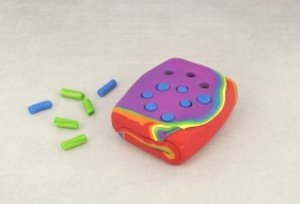
Using your hands form the slab into a compact rectangle about 2.5" X 2". Use the 6mm Style & Detail Tool to poke holes down through the red side of the slab only going half way through. Plug the holes with green clay. Repeat this on the purple side and plug the holes with blue clay. Form the slab back into a compact rectangle making sure the plugs have been secured into place by the surrounding clays.
-
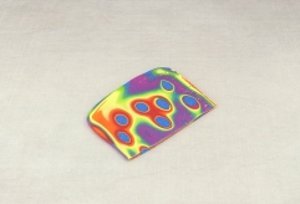
Stand the slab on edge. Slice down through the slab at least 1/8" thick parallel to the stripes. Alternate cutting slices from either side of the slab so that you have slices with different color spots. Press each slice through the pasta machine on the thickest setting then again on the next thinner setting before using in your project.
-
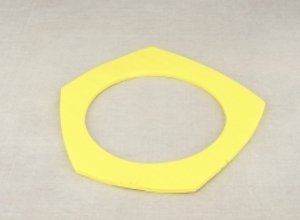
Roll out a sheet of Sunshine (or whatever color you chose for your base) through the Clay Conditioning Machine on the thickest setting. Lay your card stock template on the clay and cut around it with the flexible super slicer. Cut out the middle with the larger circle cutter.
-
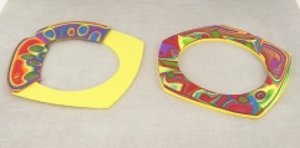
Lay the slices for mokume gane on the coaster base in patchwork fashion. When placing the strips on the coaster base it’s easier if the pieces have straight edges to line up. Make sure you do not cut through the coaster base if you are cutting a straight edge on a piece that is already on the base. If you need to remove excess clay from the center of the coaster, use the smaller circle cutter to cut away any extra.
-
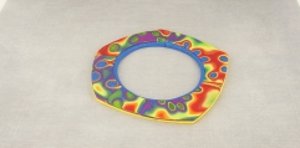
Cover the entire coaster base with a layer of mokume gane. When complete, turn the coaster over, remove any excess clay from the center of the coaster using the larger circle cutter and use the flexible Super Slicer to trim any excess from the edges. Turn the coaster over right facing. Run your finger over the edges to smooth.
-
Roll out a thin snake of clay in a coordinating color. Press the rope into place around the inside of the coaster circle and trim. Buff with your finger to finish.
-
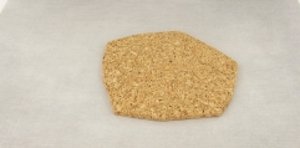
Bake the clay coasters according to manufacturer's instructions. When cool, use a pen to trace around the outside of each clay coaster onto the cork. Cut the cork with a craft knife. Sand the rough edges of the cork with a sanding sponge. Use the silicone glue to secure the cork to each coaster and dry completely before using.
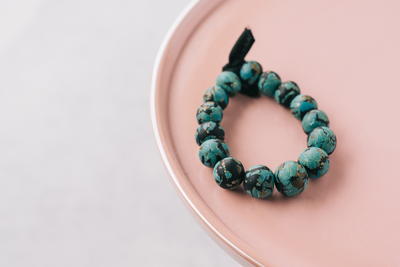
Read NextHow to Make Faux Turquoise Beads