DIY Clay Jewelry Dish

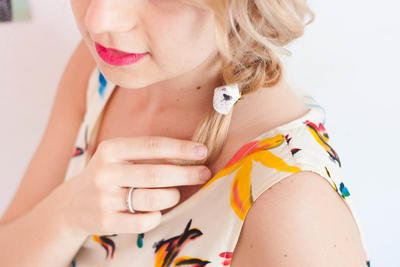
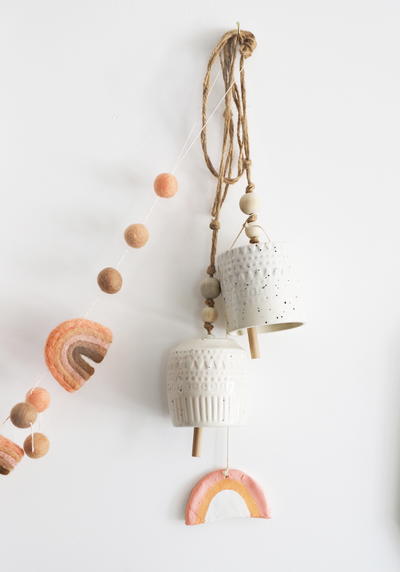
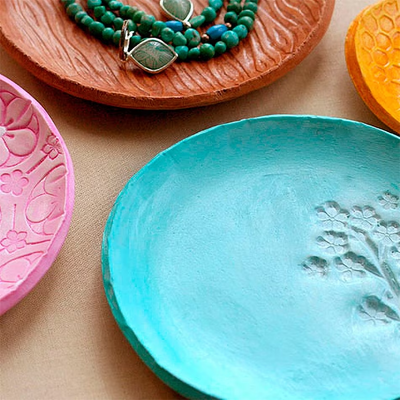
Looking for some inspiration? This DIY Clay Jewelry Dish is a cute way to store jewelry, loose change, and more. Polymer clay crafts like this can be molded into any shape and almost any texture. You can give these clay dishes a vintage feel by using soft hues and floral stamps. Or, take a more modern route and create a honeycomb plate. Because these DIY jewelry dishes are so portable and useful, they make wonderful gifts for your favorite hostess with the mostest. Of course, we won't tell if you decide to keep them all for yourself. They make great accents around your home as well.
Estimated Cost$11-$20
Time to CompleteIn an evening
Main MaterialClay

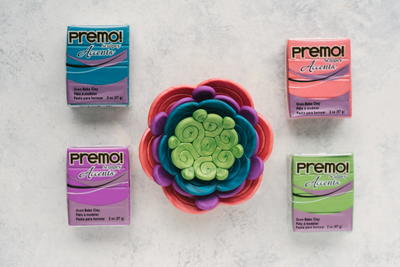
Materials List
- Texture Plates - 6pk Asst. III
- Stamp Block Set
- Monthly Mixed Media Ideas #5
- Sculpey clay in color of your choice
- Acrylic roller
- Texture plate/stamps
- Super Sized Circle Template
- Paper bowl
- Acrylic paint
- Glossy top coat
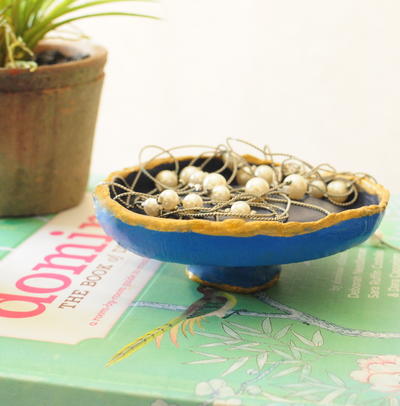
DIY Clay Jewelry Dish
Directions
-
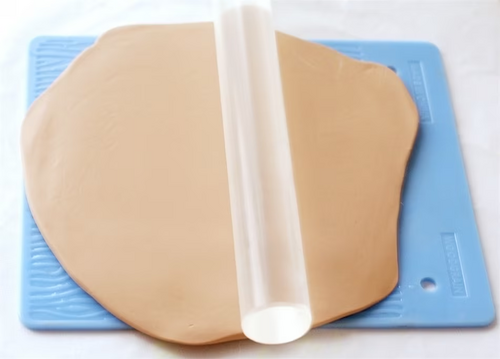
Condition Sculpey oven-bake clay per instructions.
-
Roll out clay on protected surface with acrylic roller to 1/4 inch or less in thickness.
-
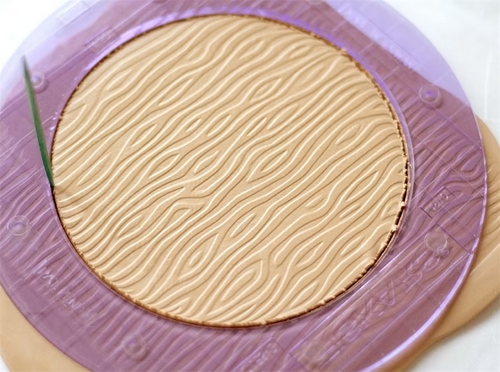
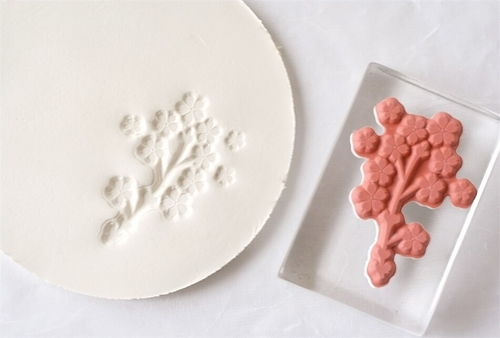
Place onto texture plate (first sprinkle with water to avoid sticking) and roll gently.
-
Remove from texture plate gently and return to protected surface.
-
Place Super Sized Circle Template onto clay and cut out with toothpick. Don't worry about any jagged edges as the clay can be sanded after baking.
Tip: You can first cut out the circle from a piece of wax paper to layer between clay and template for super quick clean-up. -
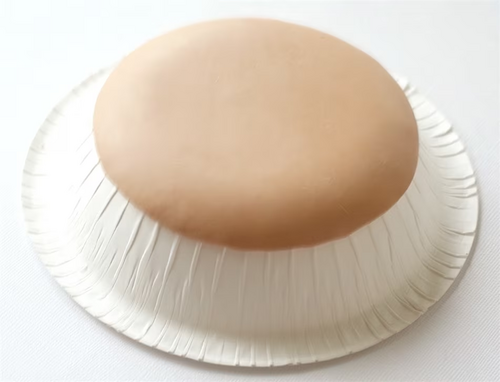
Place upside down onto small paper bowl as shown gently pressing edges down and bake on baking sheet according to directions.
-
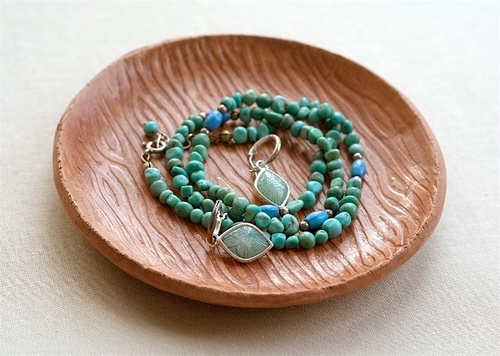
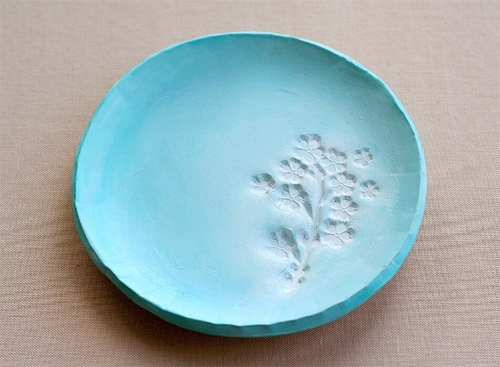
Once cooled, sand if needed and paint with acrylic paint as desired (try painting in grooves and removing excess paint from ridges with paper towel to accentuate texture) and finish with glossy top coat to protect.
-
Be sure to clean any clay from tools immediately.
-
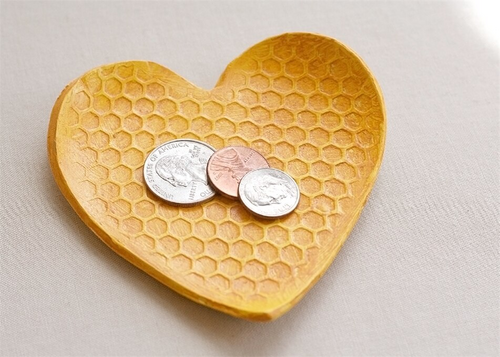
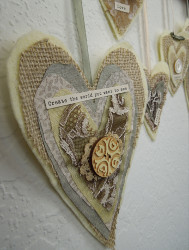
You can try other large shapes, too. Here I've used the largest heart from the heart template.
-
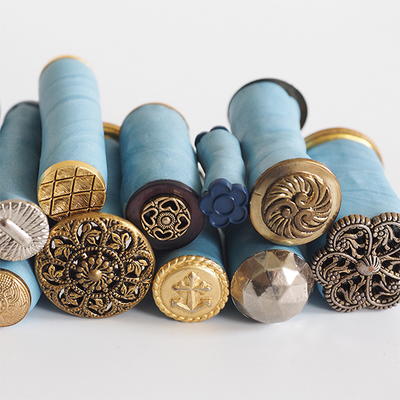
This texture was created the same way using a background stamp.
-
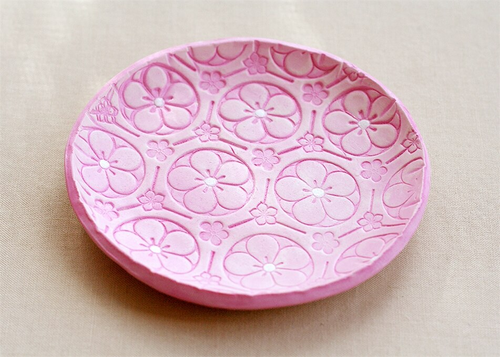
Or stamp a single design. Just play around and have fun!
Read Next41 Clay Crafts for Adults
Your Recently Viewed Projects
Thanks for your comment. Don't forget to share!
M Altenberg
Mar 14, 2017
These would make fabulous gifts for friends and relatives. Can't wait to make one of these for myself as well. Love the bold colors.
SassaYarns
Dec 22, 2016
Clay Jewelry Dish, looks like an easy way to make a lovely gift for family or friends. I like the way one can use a variety of ideas for patterns to create the dish. It could also be made with a more masculine tone to use as a coin or key catch all. It could be a great way to use up leftover clay to form a stylish one of a kind gift.
mulberrygalprinces s
Sep 29, 2016
I think this is just lovely. And I want to make them as gifts. I can put their initials in each one too. And my initials and the date on the back. You can decorate these in so many ways. I may even use them for advertising with my online shop name in them. This us just so neat. Thank you for sharing this great idea.
caroleshuey 310972 4
Jun 20, 2013
This is pretty cute. We may try this at our craft workshop for our church bazaar. Thanks for sharing.
Report Inappropriate Comment
Are you sure you would like to report this comment? It will be flagged for our moderators to take action.
Thank you for taking the time to improve the content on our site.