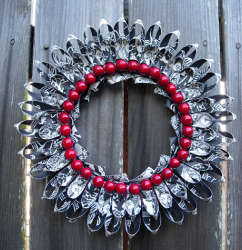
Scrapbook Paper Looped Holiday Wreath
Start the season off right with pretty and creative Christmas wreath craft projects. This one is great because you can make it at the last minute! A Scrapbook Paper Looped Holiday Wreath from Tiffany Windsor will look great on your front door.

Materials:
- Aleene’s Original Tacky Glue
- Scrapbook paper (12″ x 12″ double sided) – colors of your choice
- Styrofoam or cardboard wreath
- Squeegee (cardboard or plastic to squeegee glue on back of paper for wreath)
- Paper cutter (not required but makes the cutting of the paper strips quick and easy)
- Scissors
- Acrylic paint (color of your choice to complement or coordinate with paper)
- Paint brush
- Clothespins
- Holiday berry pick (you may need wire cutters to cut berries from pick)
Instructions:
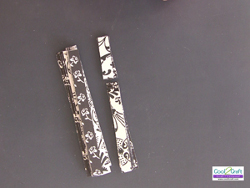
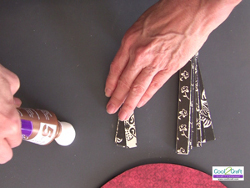
- Cut scrapbook paper into strips: 1/2″ X 6″, 1/2″ X 4″ and 1/2″ X 2″.
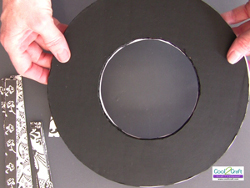
- You can cut a wreath from a piece of cardboard or your can use a Styrofoam wreath. (I like the flat Styrofoam wreath style.) Paint wreath with acrylic paint. Let dry.
- Cut scrapbook paper to cover top surface of wreath and glue in place. To apply a thin coat of glue, use squeegee to apply Aleene’s Tacky Glue to the back of the paper.

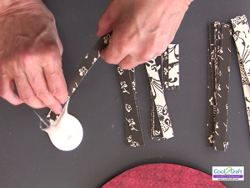
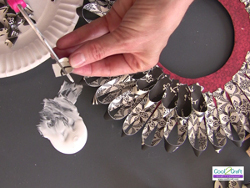
- Squeeze a puddle of Aleene’s Tacky Glue onto work surface.
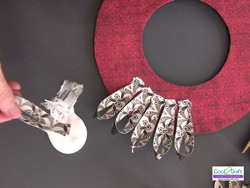
- For first (outside) row of loops, lightly dip one end of 6″ strip into Aleene’s Tacky Glue.
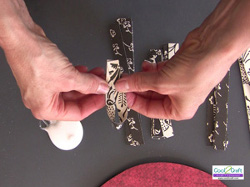
- Bend in half and fold ends crossing over to glue in place.
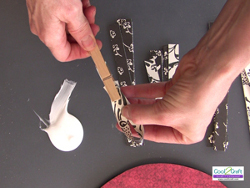
- Use clothespin to hold in place while glue starts to hold. Repeat with each strip. After about 10-minutes you should be able to remove the clothespin.
- Dip ends of glued loop into Aleene’s Tacky Glue and place on wreath. The exact placement of glued end will depend on the width of your wreath and the number of rows you plan on creating. Designer tip: don’t overdo it on the glue! Just a light even coat will hold the loops in place.
- Repeat gluing procedures for 4″ strips. Glue in place to create second row.
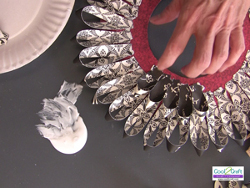
- Repeat gluing procedures for 2″ strips. Since this is the last inside row, I like to cut the excess paper from the end of the loop before gluing in place.
- Once you have glued all your loops in place, cut berries from pick.
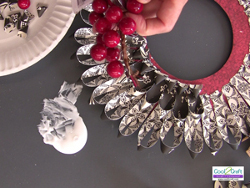
- Dip berries into Aleene’s Tacky Glue and place along inside edge of wreath.
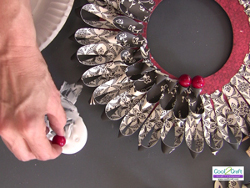
- Here’s a close up of the three rows of loops and one row of berries. (On the flat Styrofoam wreath, you may also like to cover the inside edge with loops.)

- Another great way to use the loops is to cover a Styrofoam cone. I first covered the cone with scrapbook paper (glued and pinned in place).

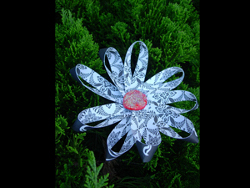
- If you have extra loops, you can create a super simple looped ornament.
For a comprehensive photo tutorial of this project, check out How to Make a Looped Scrapbook Paper Wreath.
Read NextDollar Store Ornament Wreath