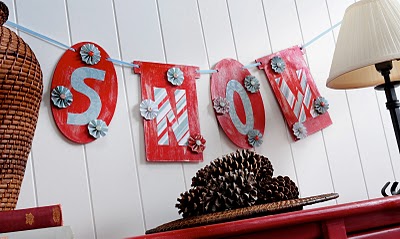
Snow Banner
Decorate for winter or the holidays with this decoupage SNOW banner from Amy Anderson. This banner looks great hanging across your mantel or above an entryway table. The great thing about this project is that you can easily have it on display from December through February. You can use this same technique to create banners for different occasions. This is an easy project that anyone will enjoy making.
Materials:
- FolkArt® Acrylic Paint in Christmas Red and Silver Sterling
- Mod Podge® - Gloss
- Banner pieces to fit the word of your choice - I used wood ones that I had left over from Michaels summer selection; you can also use fabric or paper
- Paper of your choice - I used papers from SEI's Winter Song Collection
- Embellishments to glue on top of your rosettes - I used Winter Song brads
- Piece of ribbon long enough to hang your banner
- Flat Paint Brush
- Stencil Brush
- Craft Glue
- Scissors
- Pencil or pen
Instructions:
-
Paint your banner pieces. Mine took about three coats; I did the front and the back. If you use paper, you can still paint it. Allow to dry. If you use fabric, you obviously won't paint it, but you will need to cut your banner pieces the size you want.
-
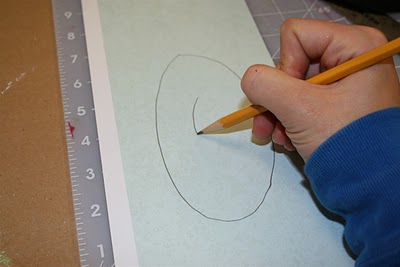
While my paint was drying, I went ahead and cut out the letters "SNOW." I simply freehanded them onto the back of the paper (your S and N will need to be reversed) and then cut out with scissors. I like the uneven look of the letters! If you want yours to be exact, print them from the computer and use as a template to cut out from the paper. Set the letters aside.
-
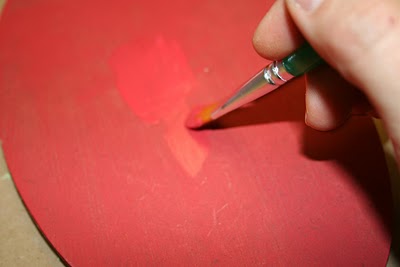
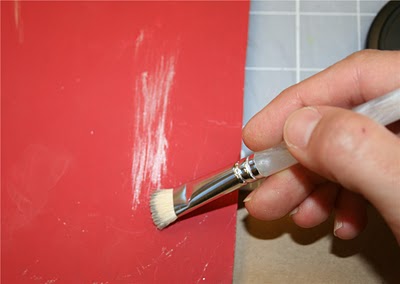
My banner pieces were dry, so I used the stencil brush and just a *little* bit of silver to dry brush onto the red. Dry brushing means you remove most of the paint from the brush and then the residual goes onto your painted surface in streaks. It gives a great distressed look! Do this to all four pieces (or however many you have). Allow to dry. Again, if you used fabric, you won't do this step.
-
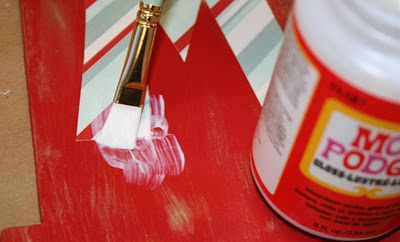
This is my favorite part! Grab the Mod Podge and adhere all the letters to the banner pieces. Do this by putting Mod Podge onto the back of the letters (flat brush, medium layer) and then smoothing onto the banner pieces. Smooth, smooth, smooth! A brayer works best, but you can also use your hands. Leave to dry for 15 - 20 minutes. Then come back and cover the front of the letter with Mod Podge. Allow to dry for a few minutes, and then coat the entire banner piece with Mod Podge, front and back. Allow to dry and do another coat. Allow to dry again.
-
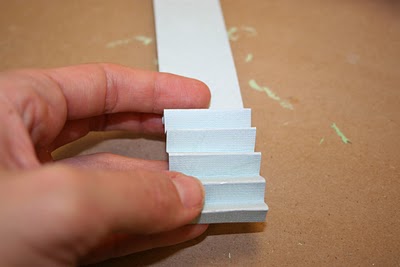
While you are waiting for the banner pieces to dry, you should create your rosettes or other embellishments.
-
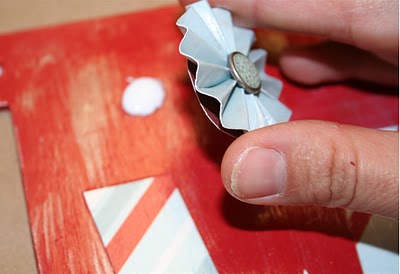
After the rosettes are dry, glue them on with craft glue and allow them to dry. Give it about 24 hours and then hang your banner from a piece of coordinating ribbon. Yay!
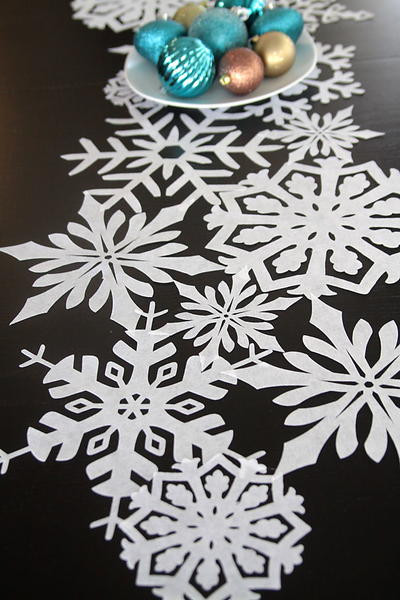
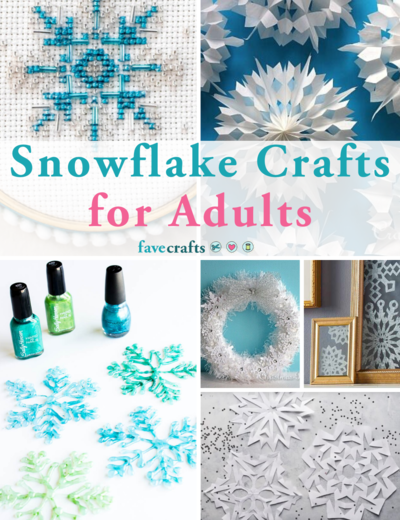
Read NextHow to Make Easy Paper Snowflakes
Your Recently Viewed Projects

Thanks for your comment. Don't forget to share!
Melissa Ryan
Oct 31, 2012
I love this banner! What are some other ideas for banners to make using this technique?
Report Inappropriate Comment
Are you sure you would like to report this comment? It will be flagged for our moderators to take action.
Thank you for taking the time to improve the content on our site.