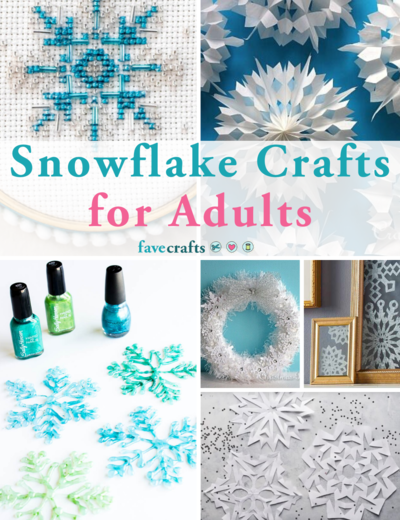
3D Paper Snowflakes
Learn how to make snowflakes that have a three-dimensional look that wows.

Making paper snowflakes is about to go 3D! Take your skills up a notch with the methods in this video from Emi Harrington that give more shape and dimension to your paper snowflakes. Unlike other tutorials that show you how to make paper snowflakes, this paper crafts tutorial shows you how to construct DIY paper snowflakes that have a simple, three-dimensional look to them. These snowflakes will truly stand out and would look fantastic hanging in your home on a bulletin board. If you are looking to save paper, consider making these out of recycled magazines or even wrapping paper once you have unwrapped the gifts.
Want free tutorials delivered straight to your inbox?
Sign up for FaveCrafts
Estimated CostUnder $10
Time to CompleteUnder an hour
Primary TechniquePaper Crafts
Project or Page Size8.5 inches x 11 inches

SeasonWinter
Materials List
- 1 sheet of computer paper
- Scissors
- Brad for the center
How to Make Paper Snowflakes
Instructions
-
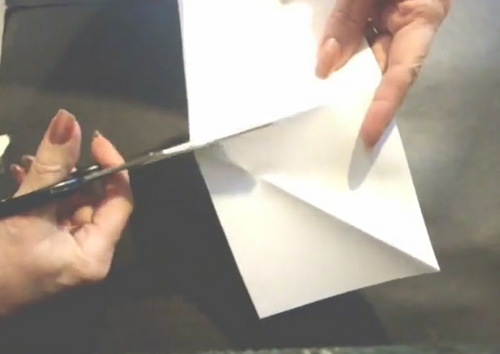
Fold the sheet of computer paper in half, then fold in half again so that you have a rectangle of a stack of 4 sheets of paper, which measure 4 ¼ inches by 5 ½ inches. To make each of the pieces of paper into a square, cut off 1 ¼ inch from the long end of the rectangle, so that you now have a square shape. Cut on the folded lines to separate into 4 separate pieces of paper.
-
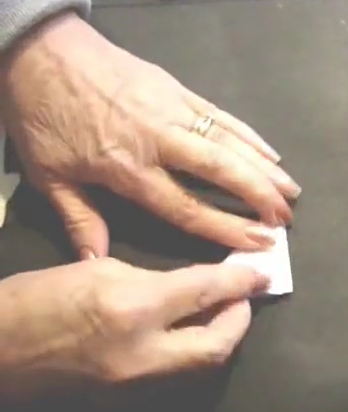
To make each layer, you will fold each sheet in half, then in half again, to form a stack of 4 layers, in a square shape. Then fold in half diagonally, and once again in half diagonally.
-
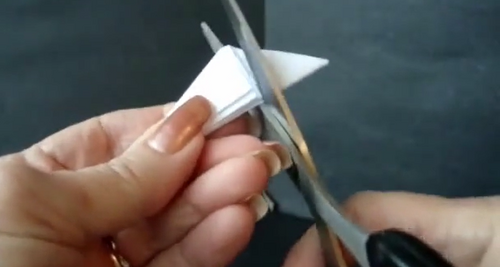
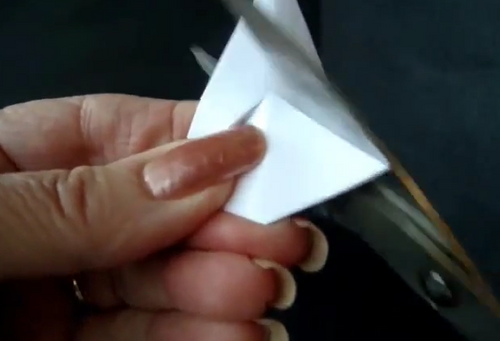
Trim off the triangle that juts out at the top.
-
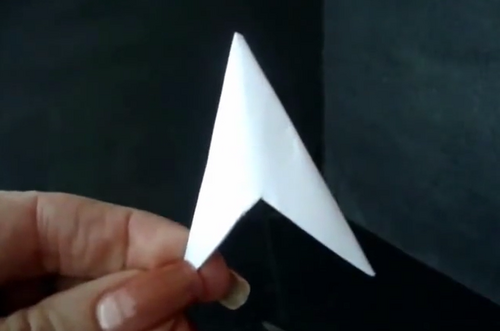
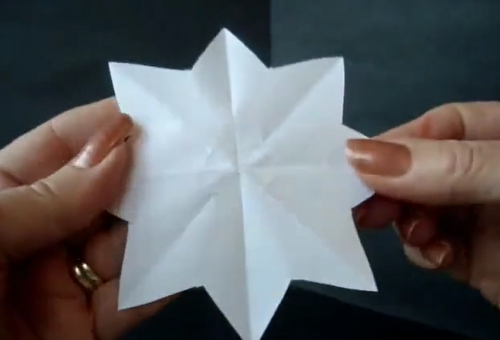
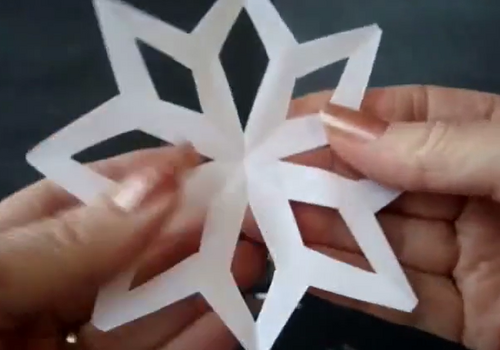
Open the last fold. Cut out the shape of a “V”, toward the point of the triangle. (Your folded paper will resemble an arrowhead.) Open the folds. This will be the base of the star. (The bottom layer.)
-
Prepare two more squares of paper, by folding and trimming as in steps 2, 3 and 4.
-
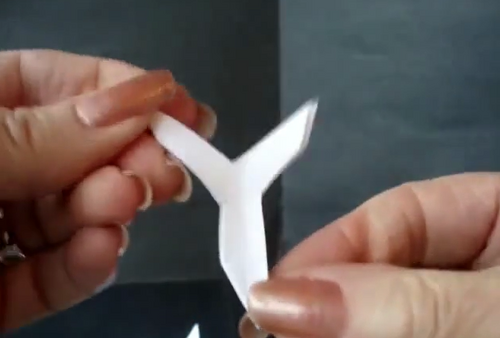
For the middle layer, cut out an additional “V” shape on each side of the “arrowhead” shape. (Your folded paper will resemble the letter “Y”.)
-
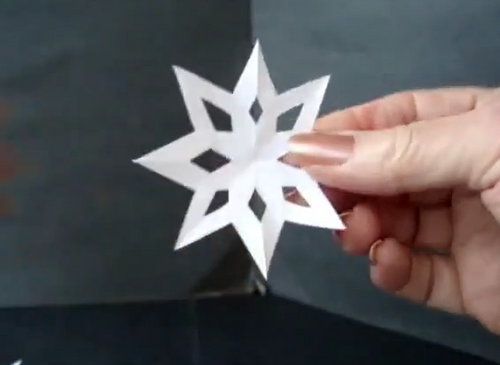
For the top layer, in step 4, cut so that the “arrowhead” shape is a miniature of the previous one. (This means you will cut the in the same manner, but closer to the point, so that when it is opened it will be smaller than the previous one.) As well, cut out “V” shapes in the sides of the arrowhead shape, so that it resembles the letter “Y”.
-
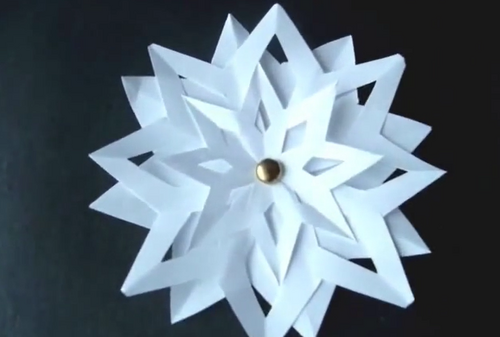
Open all the layers, and stack them, alternating the points to be between the points of the previous layer.
-
Either pass a brad through the center of the snowflake, or simply glue the 3 layers together in the center.
-
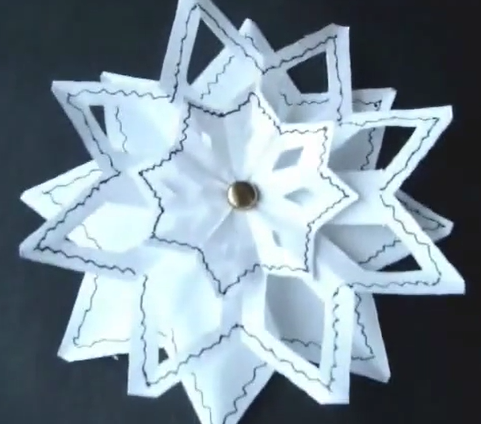
Optional: Draw a squiggly line along the outside edge of each snowflake layer for a different effect.

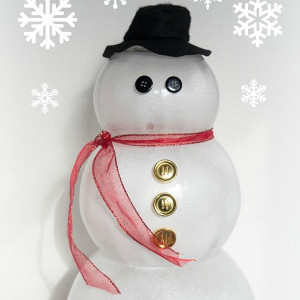
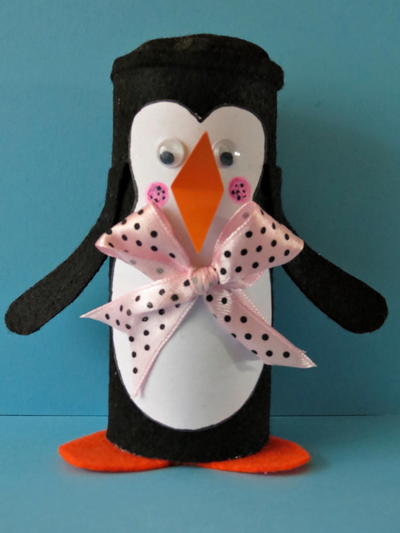
Read NextSnowy Day Penguin Craft
Your Recently Viewed Projects

Thanks for your comment. Don't forget to share!
Marilyn B
Nov 03, 2017
Such a cool project and would look great suspended from the ceiling with clear fishline or filament thread! I would add a thin layer of diluted glue or decopage and add a bit of clear or white glitter to each layer for a bit of a snowflake fantasy look. You could even tint them slightly for a very faint rainbow or irredescent look too! Fun idea, would make a great family craft night project!
SissieSass
Dec 13, 2016
I love this idea for snowflakes, but I always seem to get the paper twisted to where it does not line up right when I am ready to glue or add the brad. Do you have any tips to holding the paper pieces straight while pinning them? I would love to try making them again.
shilohdana
Dec 11, 2016
I like the idea of 3D snowflakes and hanging them in your windows is a really fun way to share them with the neighborhood! You could add some glitter and make these look sparkly. I remember making paper snowflakes as a child and they were a fun craft. What do you think of the idea of making them from magazine paper? I am not sure I would like them...
Lizz C
Feb 05, 2016
These look wonderful. Making paper snowflakes (that actually look good) is a lot harder than one typically thinks. This tutorial is great.
Report Inappropriate Comment
Are you sure you would like to report this comment? It will be flagged for our moderators to take action.
Thank you for taking the time to improve the content on our site.