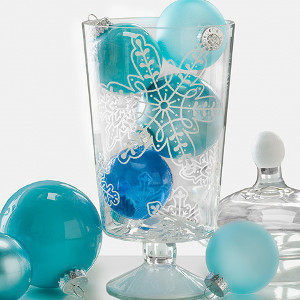
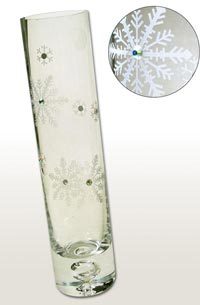
Pretty Snowflake Vase
You can make this Pretty Snowflake Vase in six easy steps. Home decor craft ideas are fun to work on during the winter months. Add colorful flowers to your vase so you bring out the soft and pretty snowflake design. If you're looking for seriously genius winter craft ideas but want to leave your creation out after the holidays are over, this project is for you. Etching cream and rhinestone give this vase an unexpected yet seasonal look that's reminiscent of the snow and ice just outside your door.


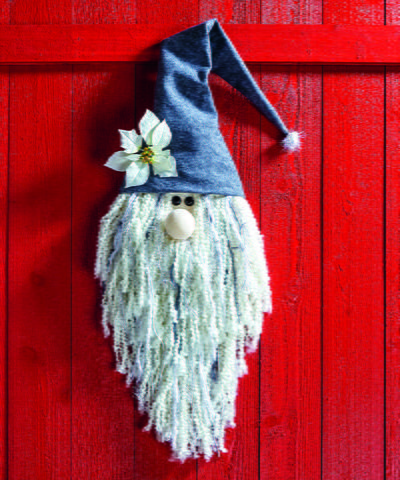
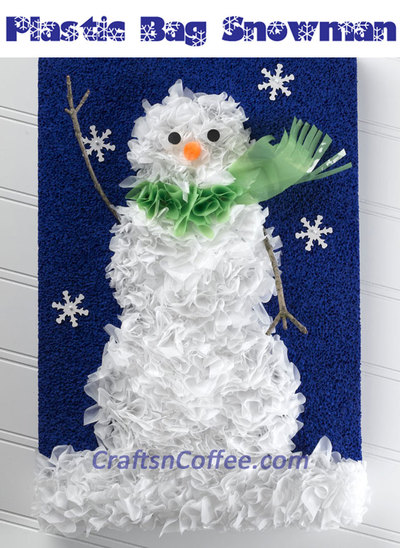
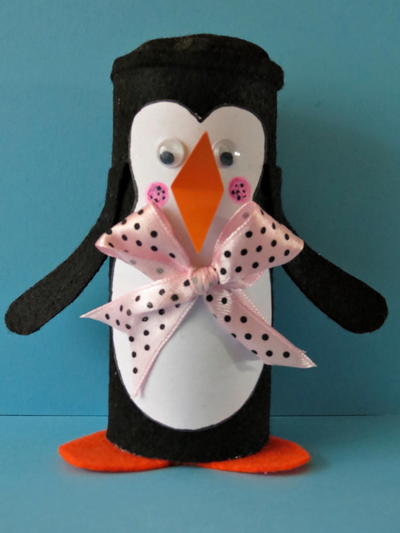
Winter never has to end when you have the 23 Snowmen and Snowflake Crafts to work on. You'll find projects that you can make yourself or work on with kids. With this collection of crafty winter projects, there's no need to put on a coat and boots to experience the best aspects of snow.
Materials:
- #21-1612 Over N Over Large Snowflakes stencil
- Armour Etch Cream*, Sand Etch Kit** or Pencil Bottle Blaster***
- #60-6913… 9.5” Bud Vase (or vase of your choice)
- 4-4.5mm Clear Rhinestones
- Glass Glue
- Armour Etch Cream:
- #15-0250 Armour Etch 22 oz
- #15-0150 Armour Etch 3 oz
- #15-0200 Armour Etch 10 oz
- **Sand Etch Kits:
- #70-9001 Sand Etch starter kit
- #70-9000 Sand Etch deluxe kit
- **** Pencil Bottle Blaster (requires a compressor & 220 grit): #61-5020
- Masking tape
- Toothpick
- Paper towels
- Disposable small plastic plate or I like using flat blister packaging plastic (for placing a dab of glue on) & running water
Instructions:
- Arrange all of the snowflake stencils randomly around bud vase using project photo as a guide for placement or as desired.
- Cover open spaces in between stencils with masking tape, overlapping edges and covering any glass not to be etched.
- Following package directions that came with either your Armour Etch Cream bottle, Sand Etch Kit or by using standard sandblasting techniques with the Pencil Bottle Blaster, proceed with etching the snowflakes.
- Rinse vase under warm running water until no visible cream or sand remains on glass. Peel off tape, remove stencils, shake off excess water and lay back on carrier sheet to dry. Rinse vase again until no residue of the cream or sand remains.
- Take the plastic plate and put a small dab of glue on it.
- Decorate the centers of the snowflakes with rhinestones by dabbing a small dot of glue slightly smaller than the rhinestone in the center of the flake. (The glue dries quickly, so only do a few at a time) Place rhinestone on glue dot and press down until you see a rim of glue show around edge of stone. Let dry thoroughly. For best results hand wash vase only (dishwasher may strip off stones)
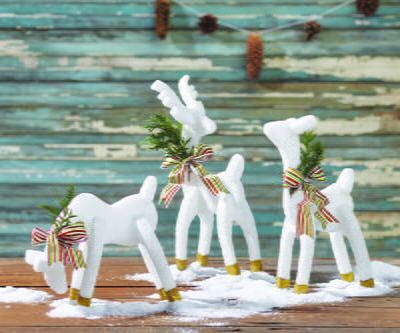
Read NextGold Dipped Frosted Reindeer Trio


Thanks for your comment. Don't forget to share!
Crafter 3635193
Dec 17, 2010
Where can I find the Snoflake stencils for etching? How can this project be done by using MacTac instead of buying a stencil for ech bottle? What is the brand name for the stencils?
Report Inappropriate Comment
Are you sure you would like to report this comment? It will be flagged for our moderators to take action.
Thank you for taking the time to improve the content on our site.